
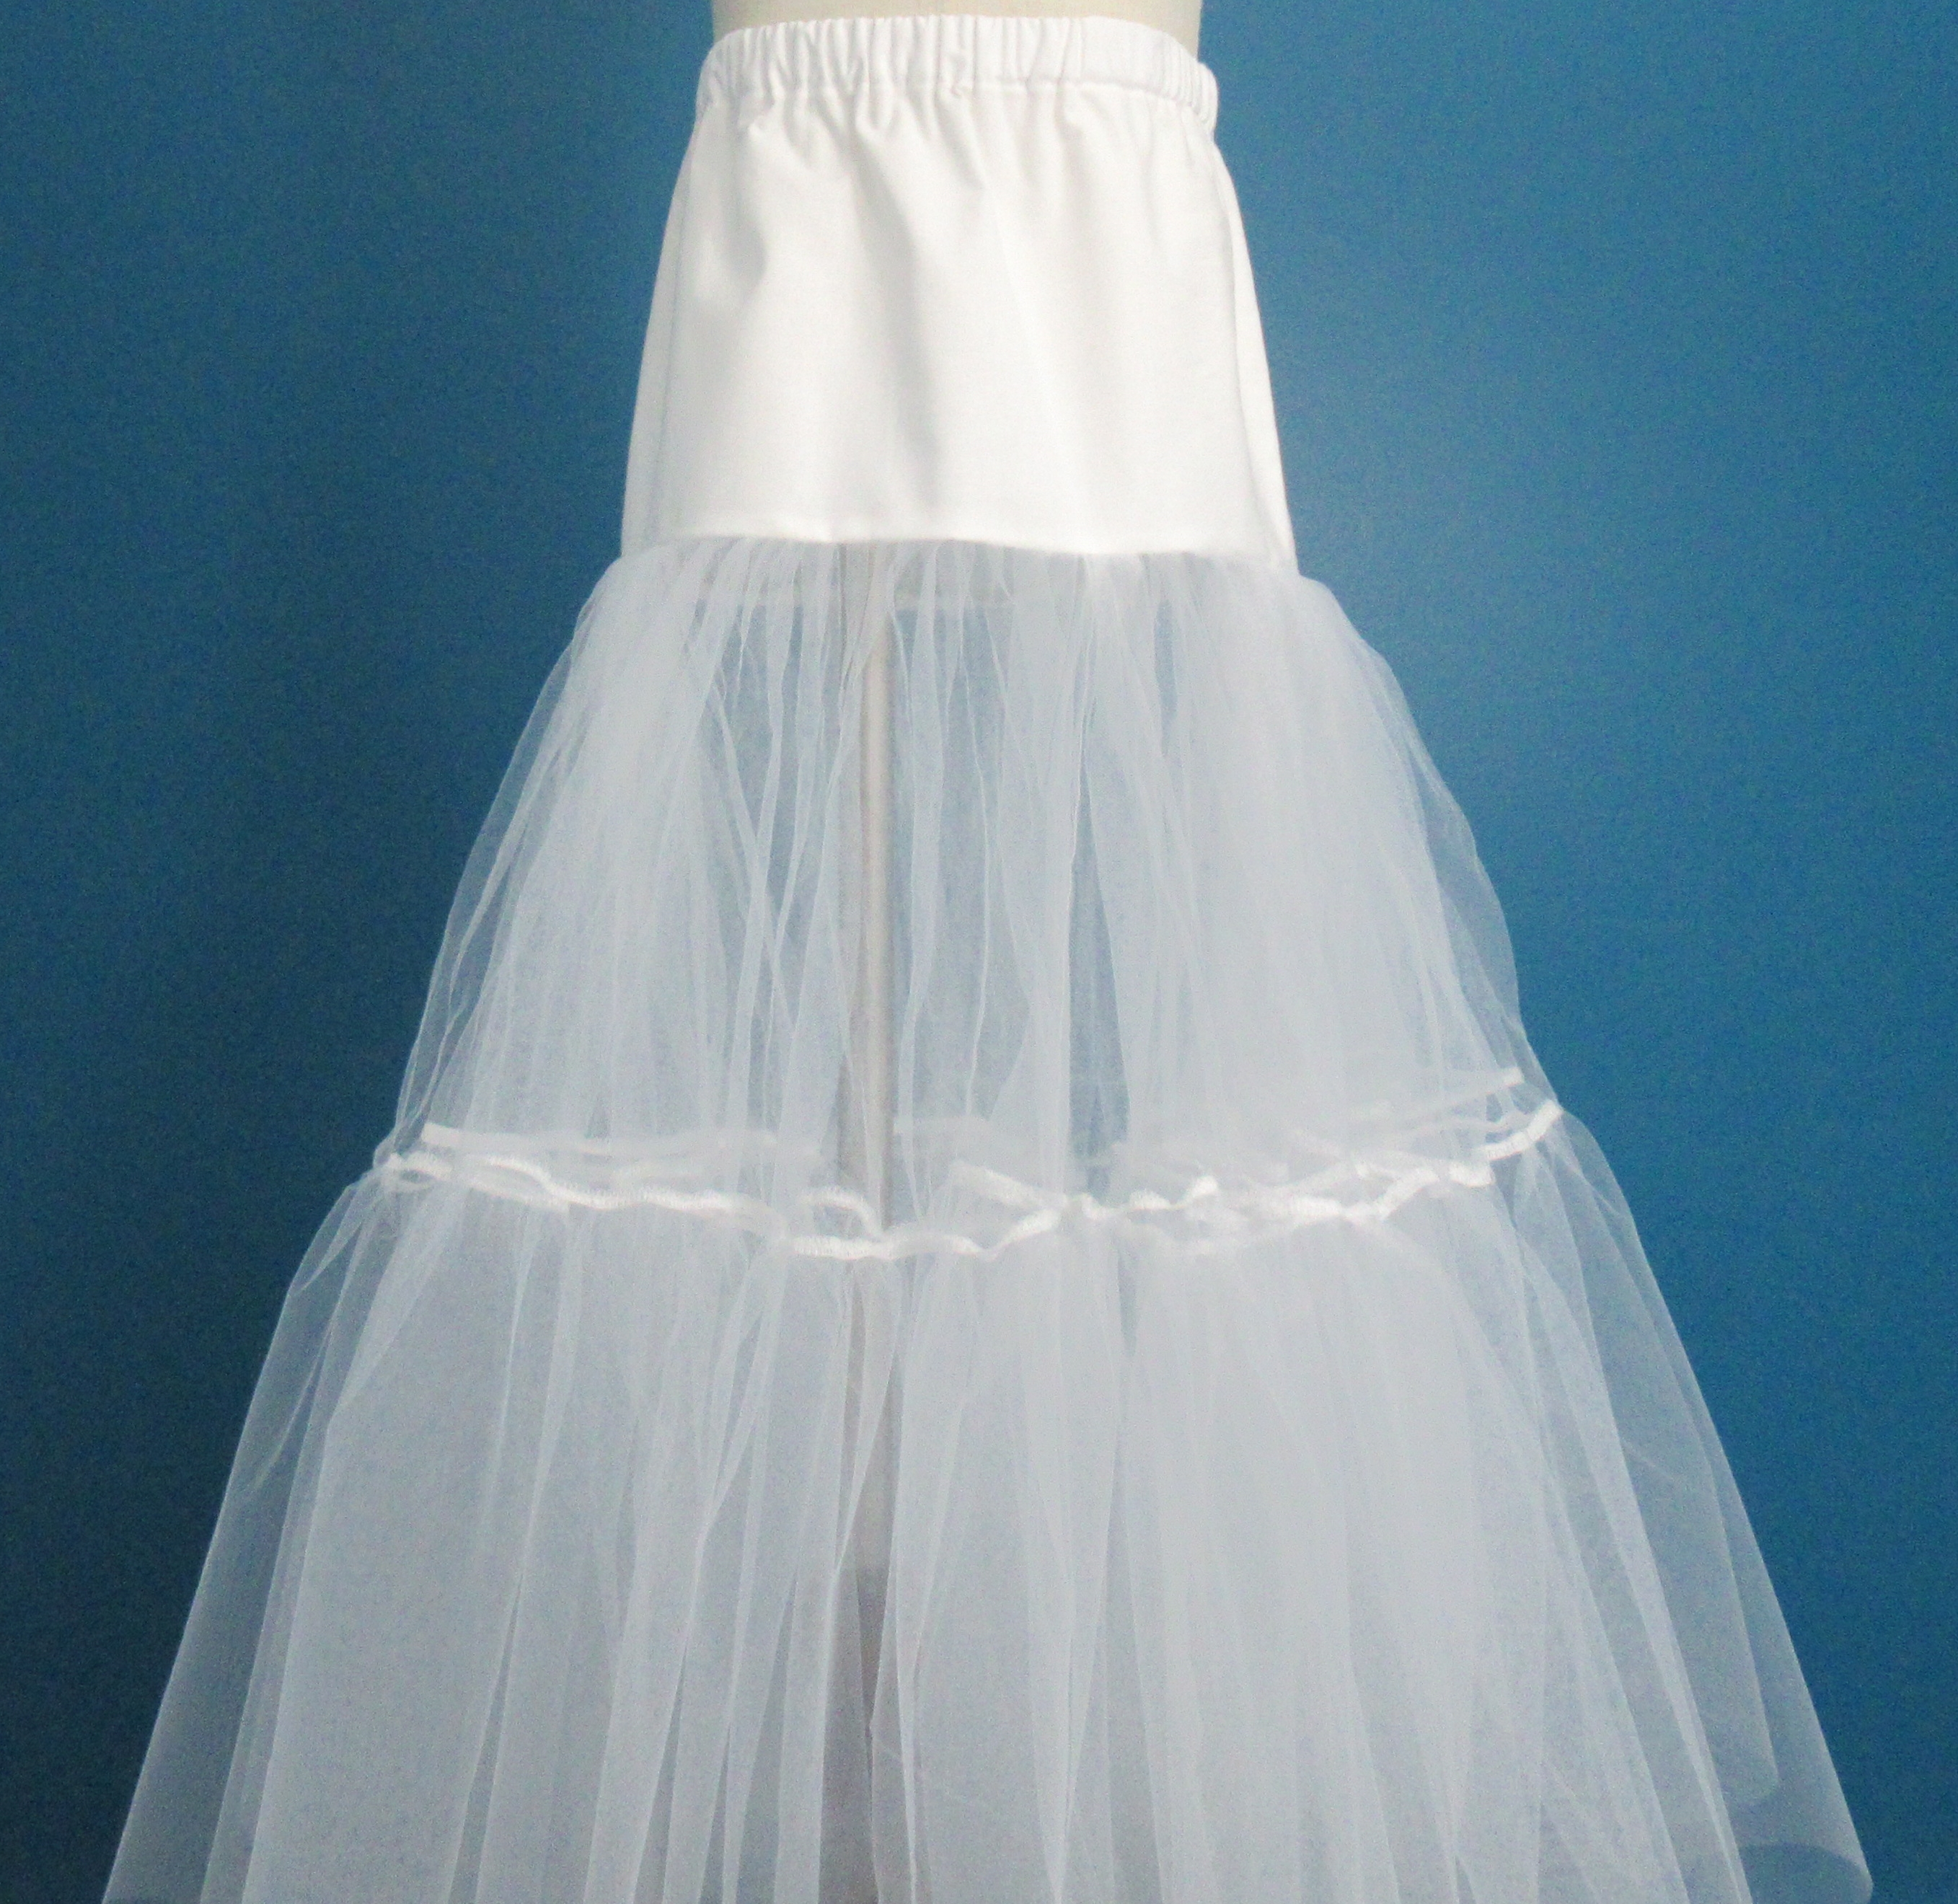
Have you ever bought a flowy dress online, but when you tried it on at home it didn’t have the same flare? Chances are the model had a petticoat on underneath. For those of you who may not know what that is, a petticoat is a special slip that is worn under a dress to give it more fluff. It’s commonly used with formal dresses and may also be attached to children’s dresses.
HERE WE GO….
I plan on making my daughter a princess gown soon and I don’t want the tulle to be directly stitched to her dress. This is where a petticoat comes in handy. However, if you look online, you will see that petticoats can get costly. So, I just decided to make one instead.
I previously made a petticoat for my younger daughter that was tulle on the outside and had a full lining on the inside. This time I decided to make a different one. Not because I felt adventurous, but because I didn’t have any white lining material in my stash when I went to make it. I settled for a scrap of cotton to serve as a top modesty piece. (If I’m completely honest, I also chose the cotton remnant because it’s a lot easier to pull elastic through it instead of tulle).
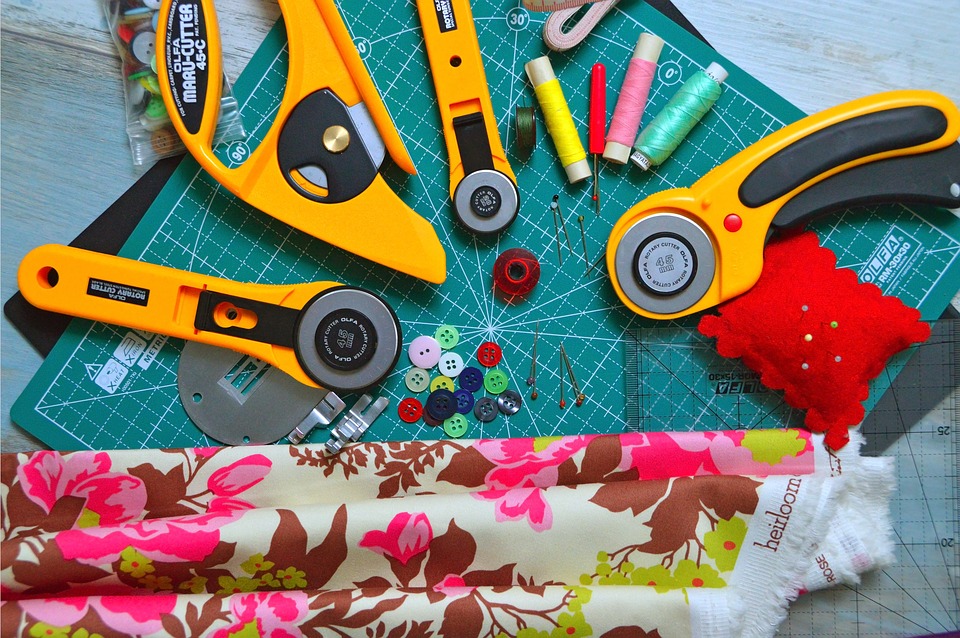
Materials Needed:
- Cotton Fabric (First Layer)
- Tulle (2nd & 3rd layers)
- Elastic
- Thread
- Pins
- Ruler or Measuring Tape
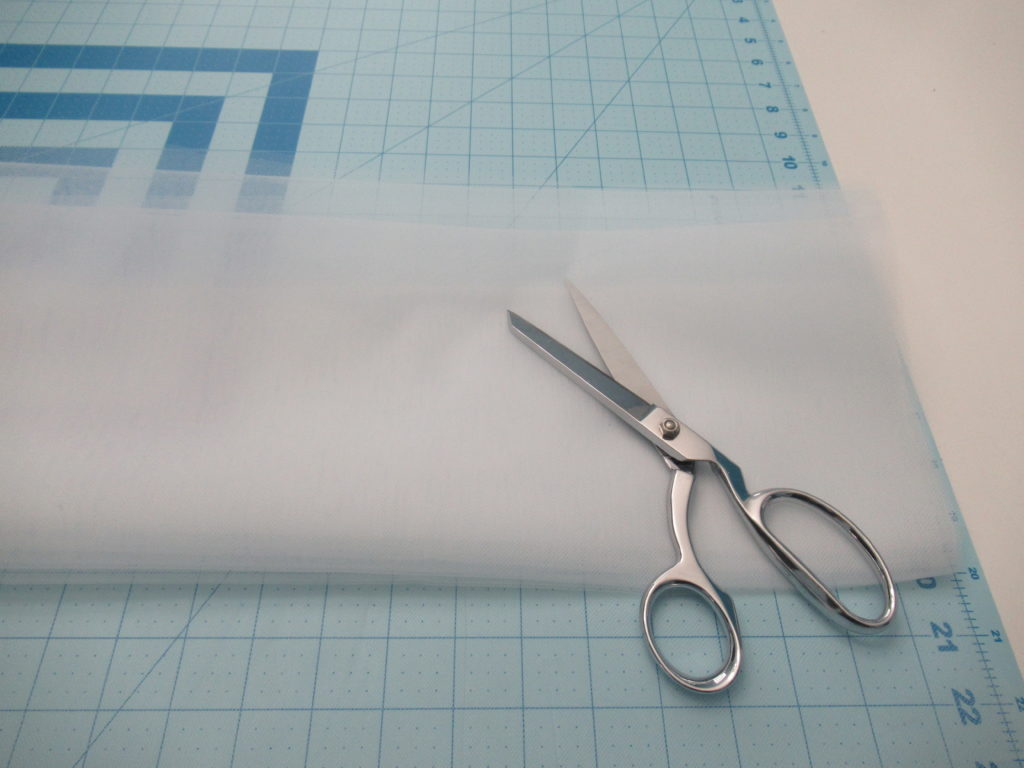
- Scissors
- Safety Pin (To pull elastic through)
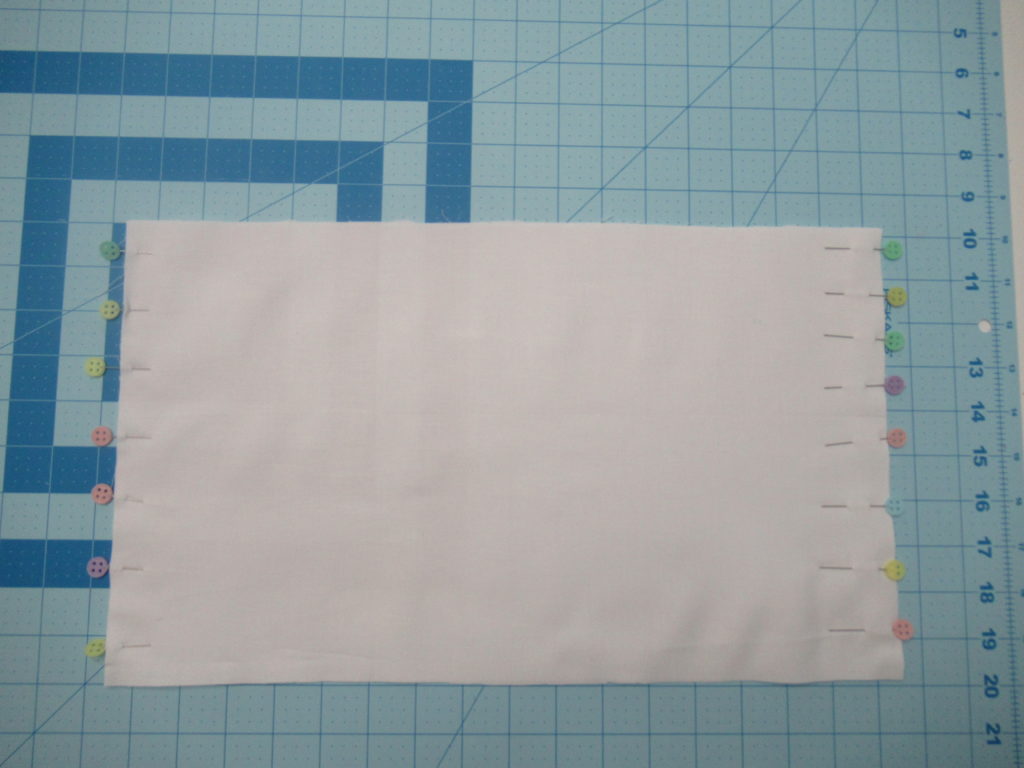
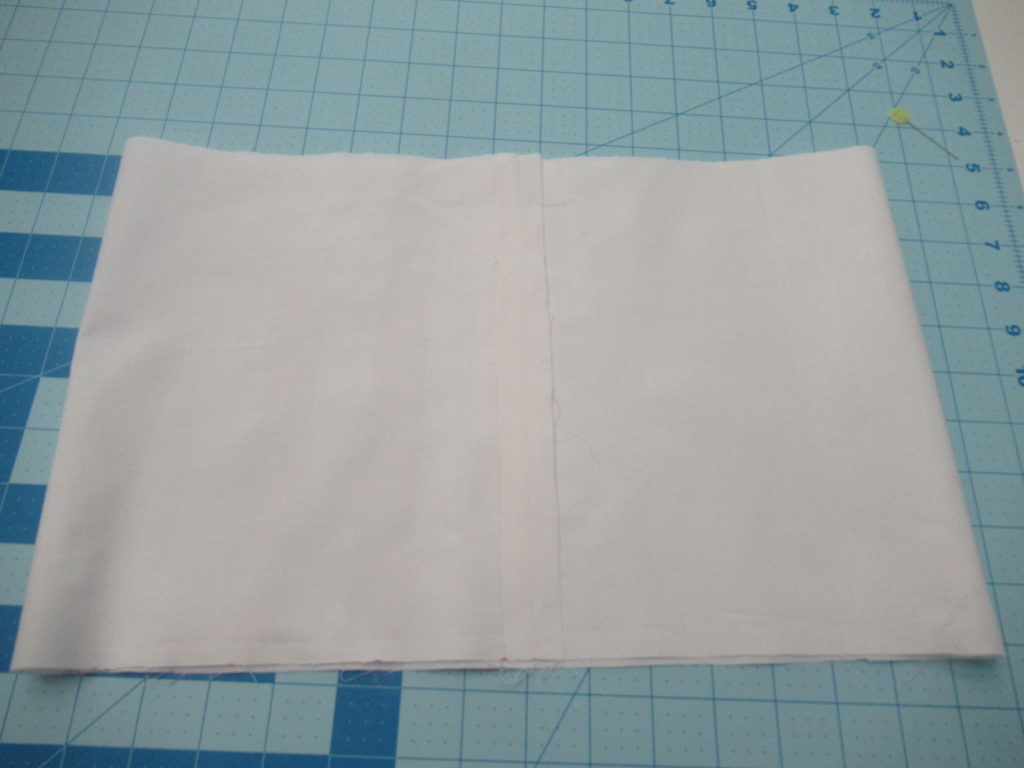
My daughter’s waist is 26 inches. I cut 2 rectangular pieces for the top part that was 17” wide and 10” long. This allowed for hip room. This is not a set measurement so feel free to add to more of less to your measurements. When you’ve cut your pieces pin right sides together and sew both side seams.
At this point you will want to press your seams and if you are using a serger, you will want to serge the ends to prevent the possibility of fraying.
Next, you will want to make the casing for the elastic. Since this is for a child, I used ¾ elastic. Fold your top edge under ½ inch and again 1 inch. Pin all around and sew. Leave about an inch open to insert your elastic.

The easiest way to insert a piece of elastic into a casing is to use a safety pin. Pin the end of the elastic and insert it into the casing, pull the safety pin through from the outside. I like to cut my elastic 1 inch smaller than the actual waist. Again, this may vary depending on the type of elastic you used. Knit elastic tends to have a lot of stretch to it.
Take your tulle and cut however many layers your skirt will have. This skirt has 2 double layers of tulle. The middle row has 2 layers of tulle 10 inches by 4 yards. The bottom layer has 2 more layers that are 12 inches by 6 yards. Side note: tulle is slippery and can be a pain to cut straight. IT’S OK! You won’t really be able to tell if it’s off. It’s also easier to cut if it’s free of wrinkles.
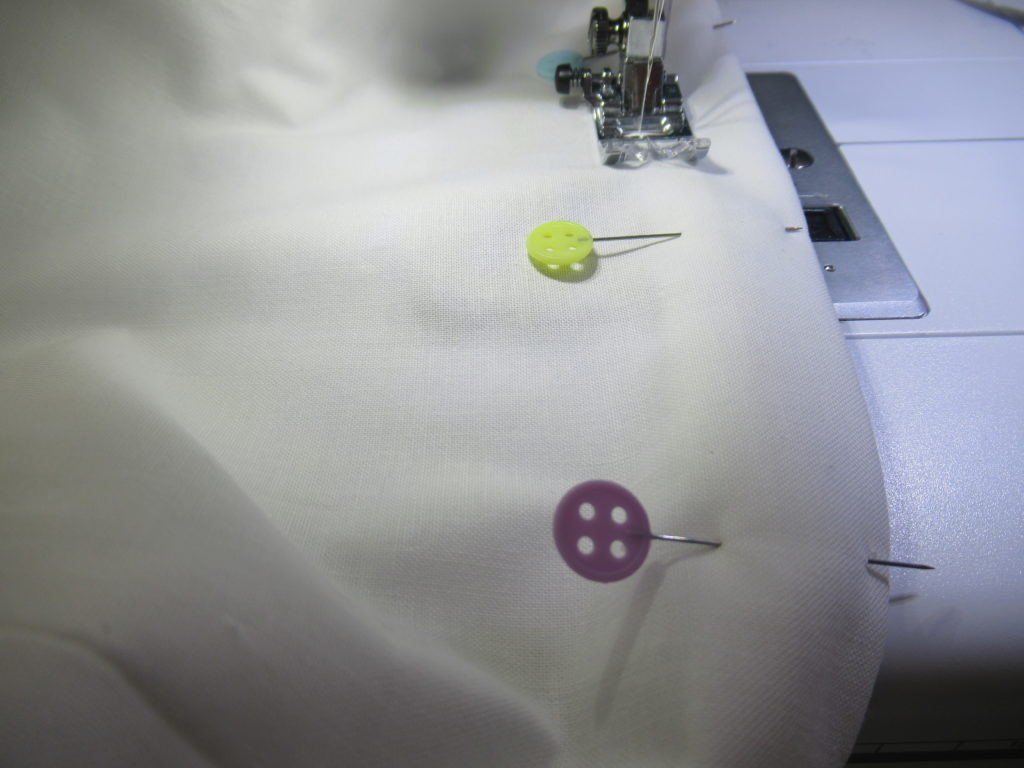
Next you will sew the side(s) of your tulle together. Take the 2 middle layers and gather them the length of your top layer which is 34 inches. I chose to do this part by hand which is time consuming, feel free to use a gathering stitch on your machine or a ruffle foot. Pin BOTH layers of the middle tulle section to the bottom edge of the top piece as shown.
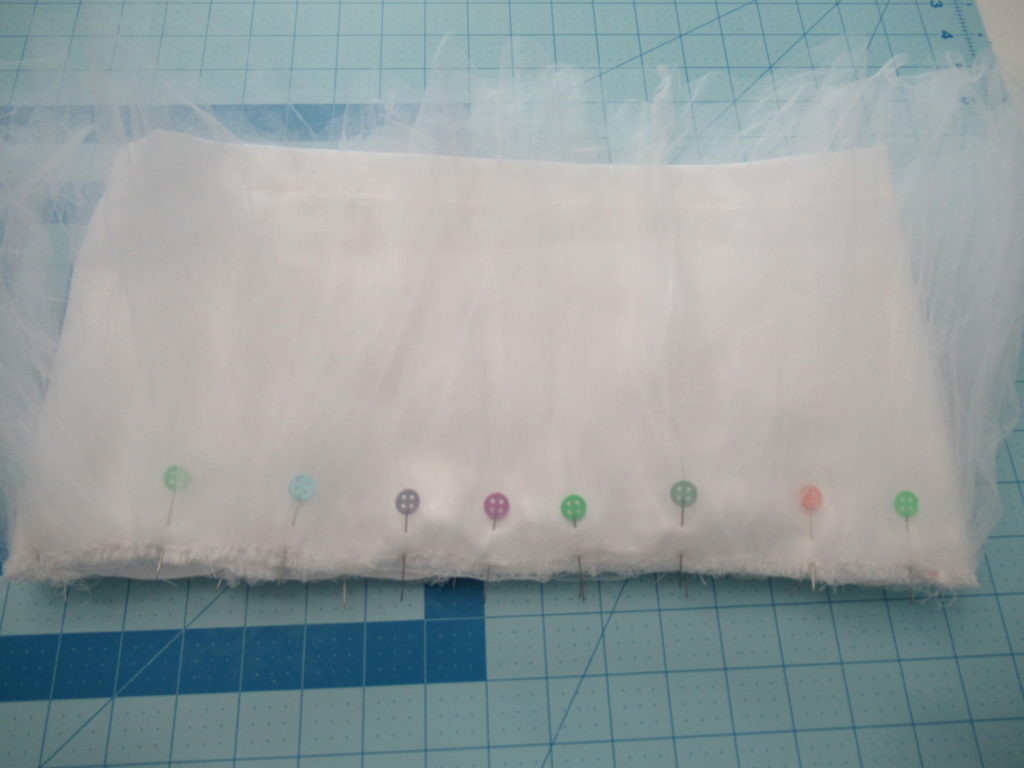
As you can see, we sew it this way so that when the tulle flips to the right side the stitches are covered. Depending on the material used you may or may not press these seams together. Tulle burns at higher temperatures, so be careful.
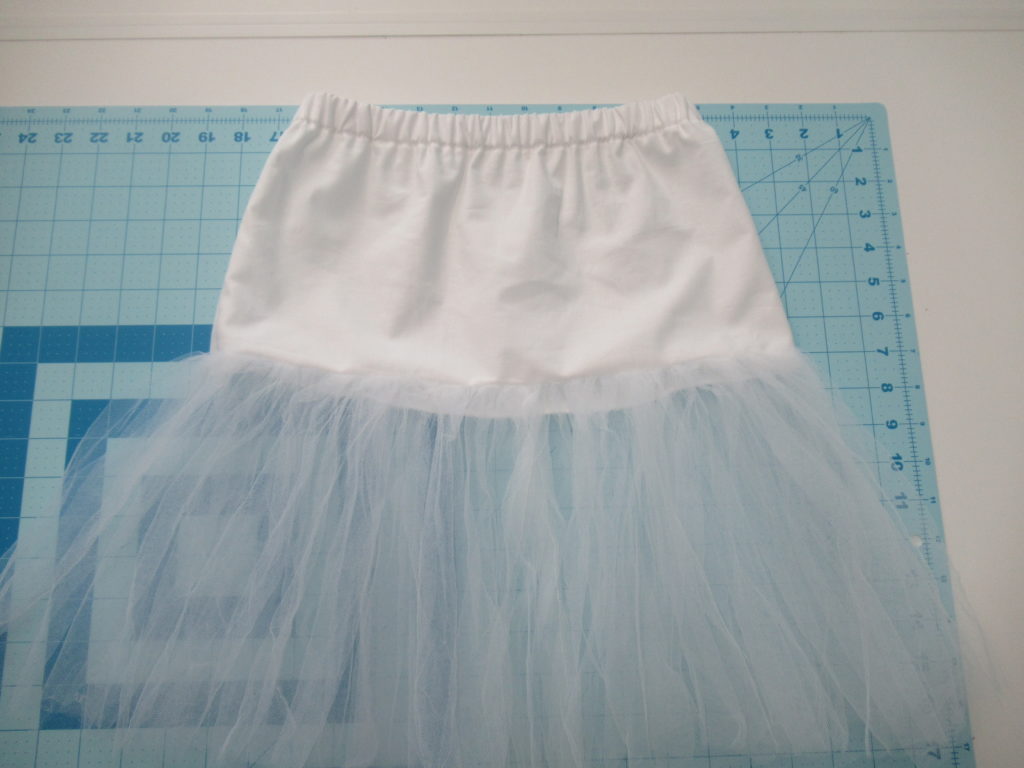
Last is the bottom pieces. You attach them the same way that you did the middle piece to the top. The only difference here is you are attaching each piece individually. This creates more of a flowy look whereas, attaching the pieces together results in a bulkier look.
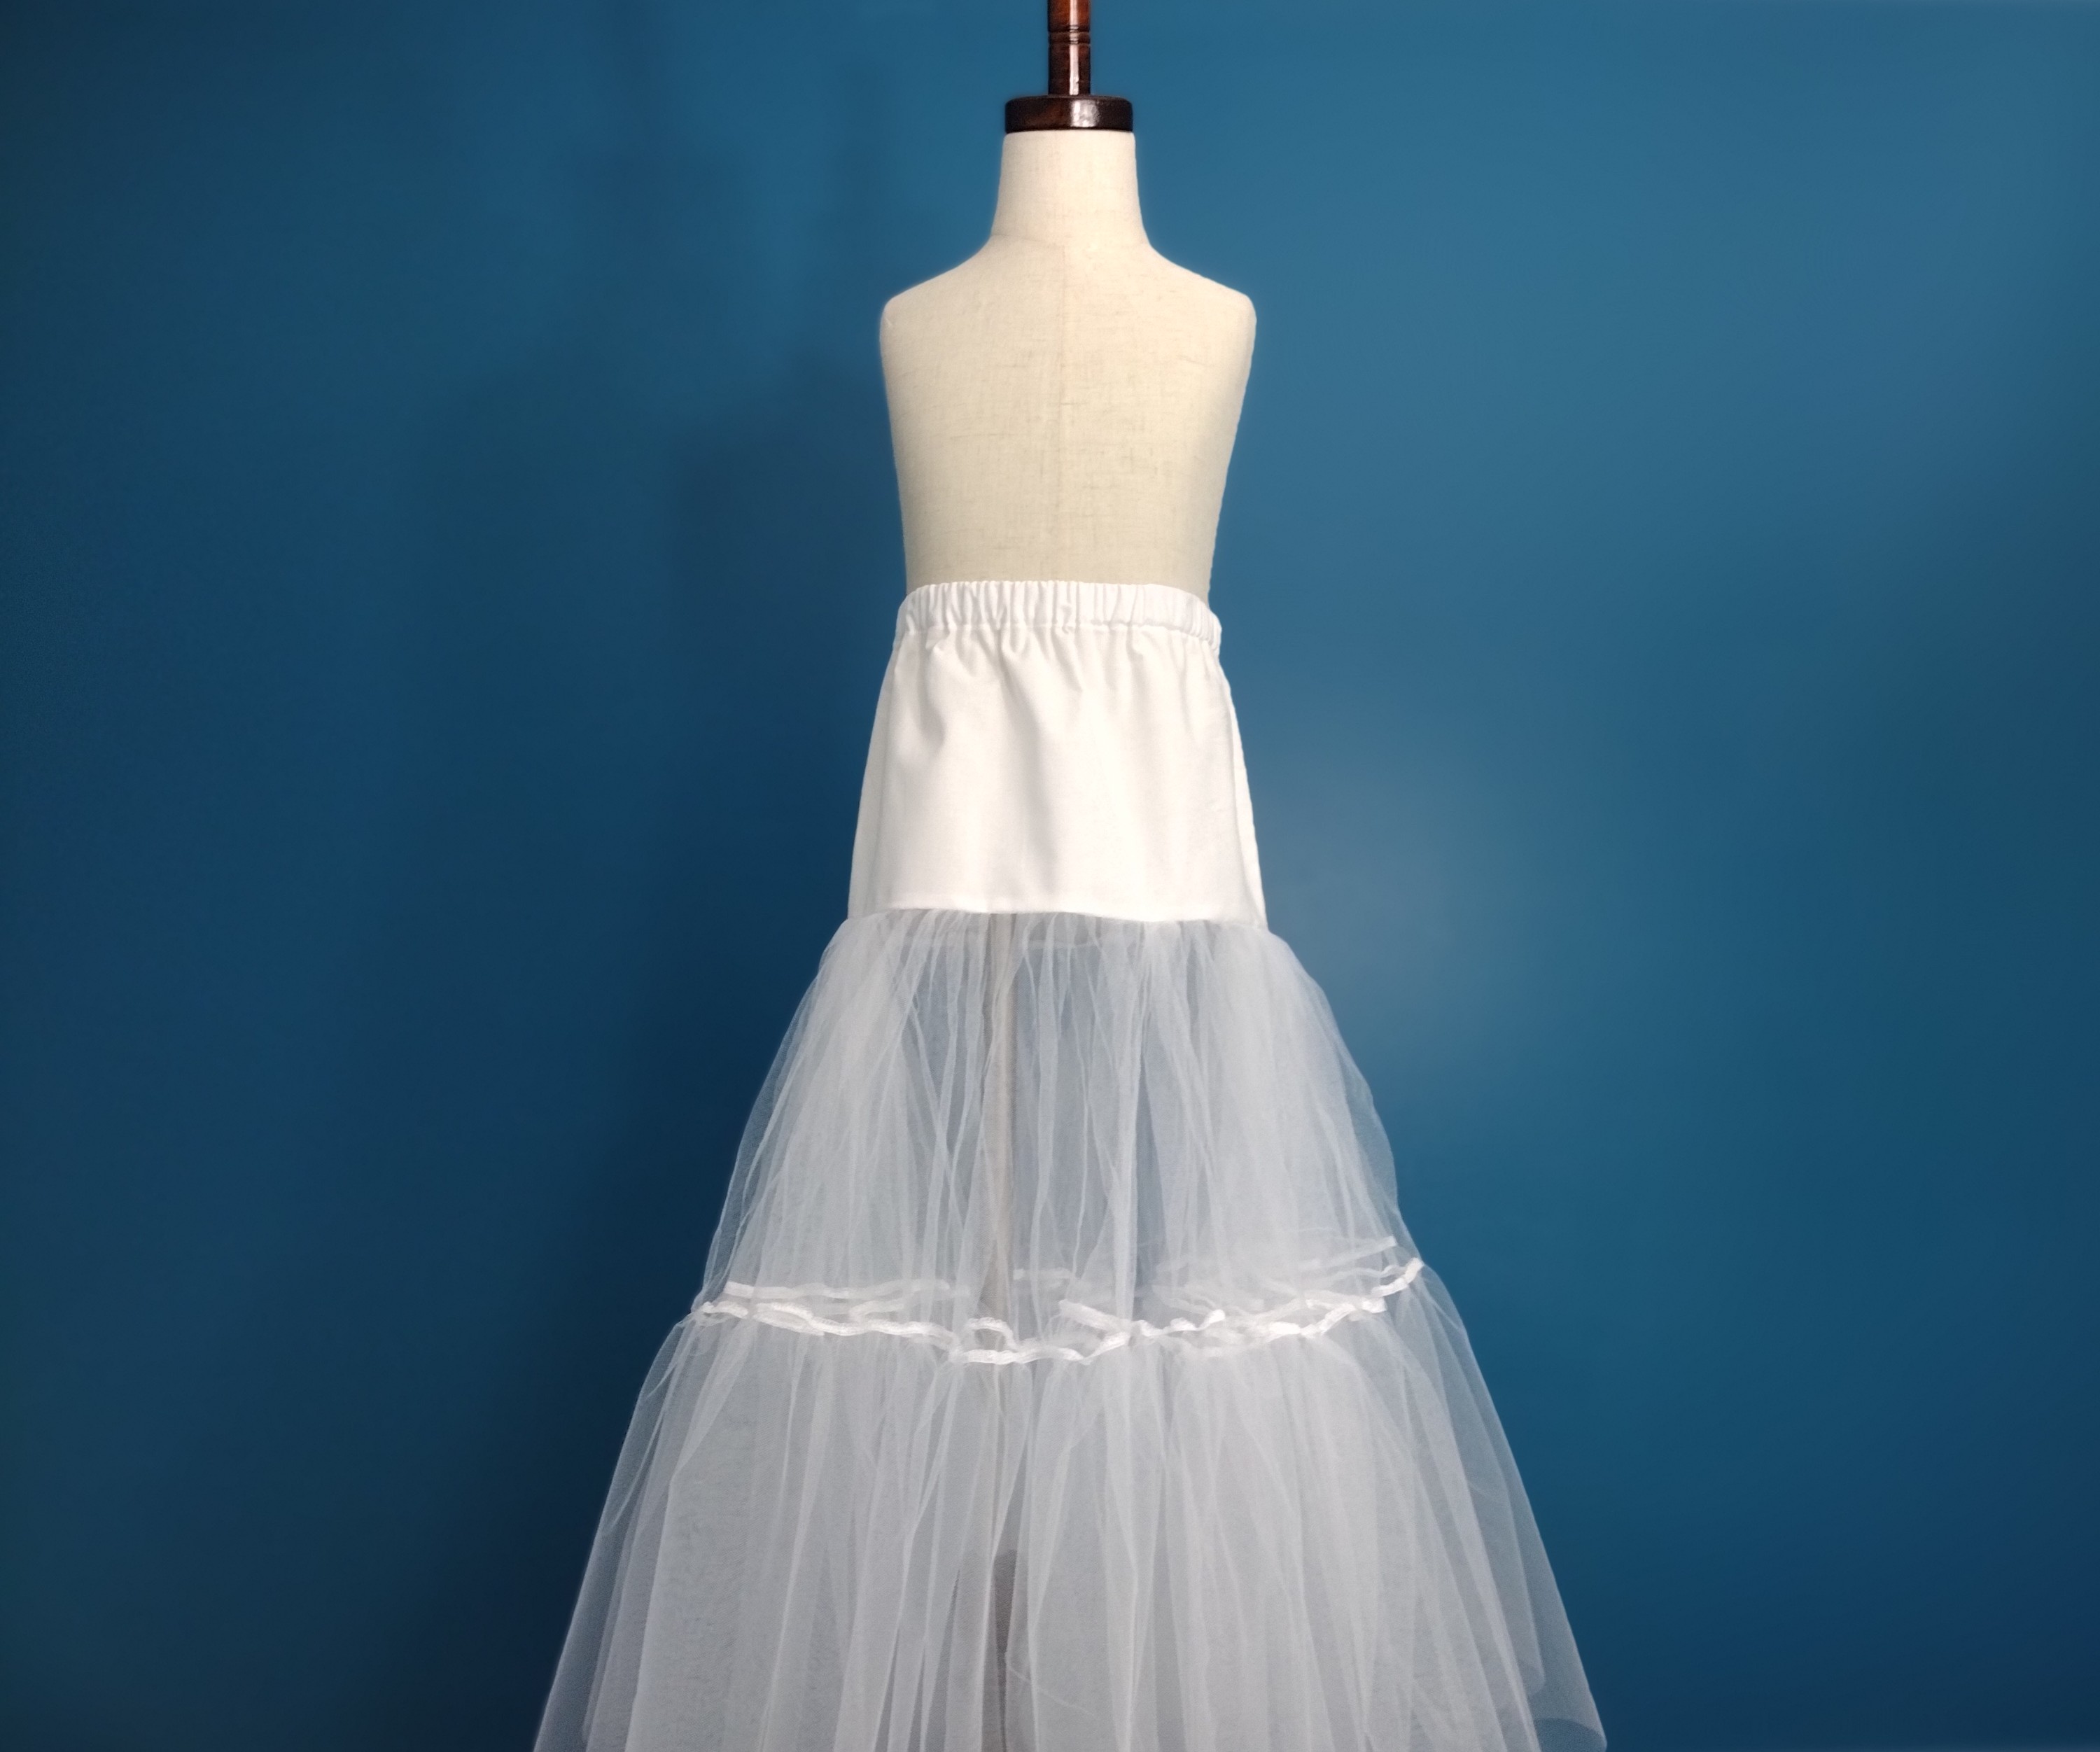
That’s it! You now have a petticoat tailored to your liking at a fraction of the cost. Stayed tuned if you would like to see how the princess dress comes out. Until then, if you have any questions about this petticoat, leave me a comment below.


This Post Has 2 Comments
Great post! Thanks so much for the information. I plan to use this tutorial for my little one. I JUST made her a dress and im looking to make something just like this😊
That’s awesome! I’m glad this was useful and will add some flare to your little one’s dress. Happy Sewing 😉