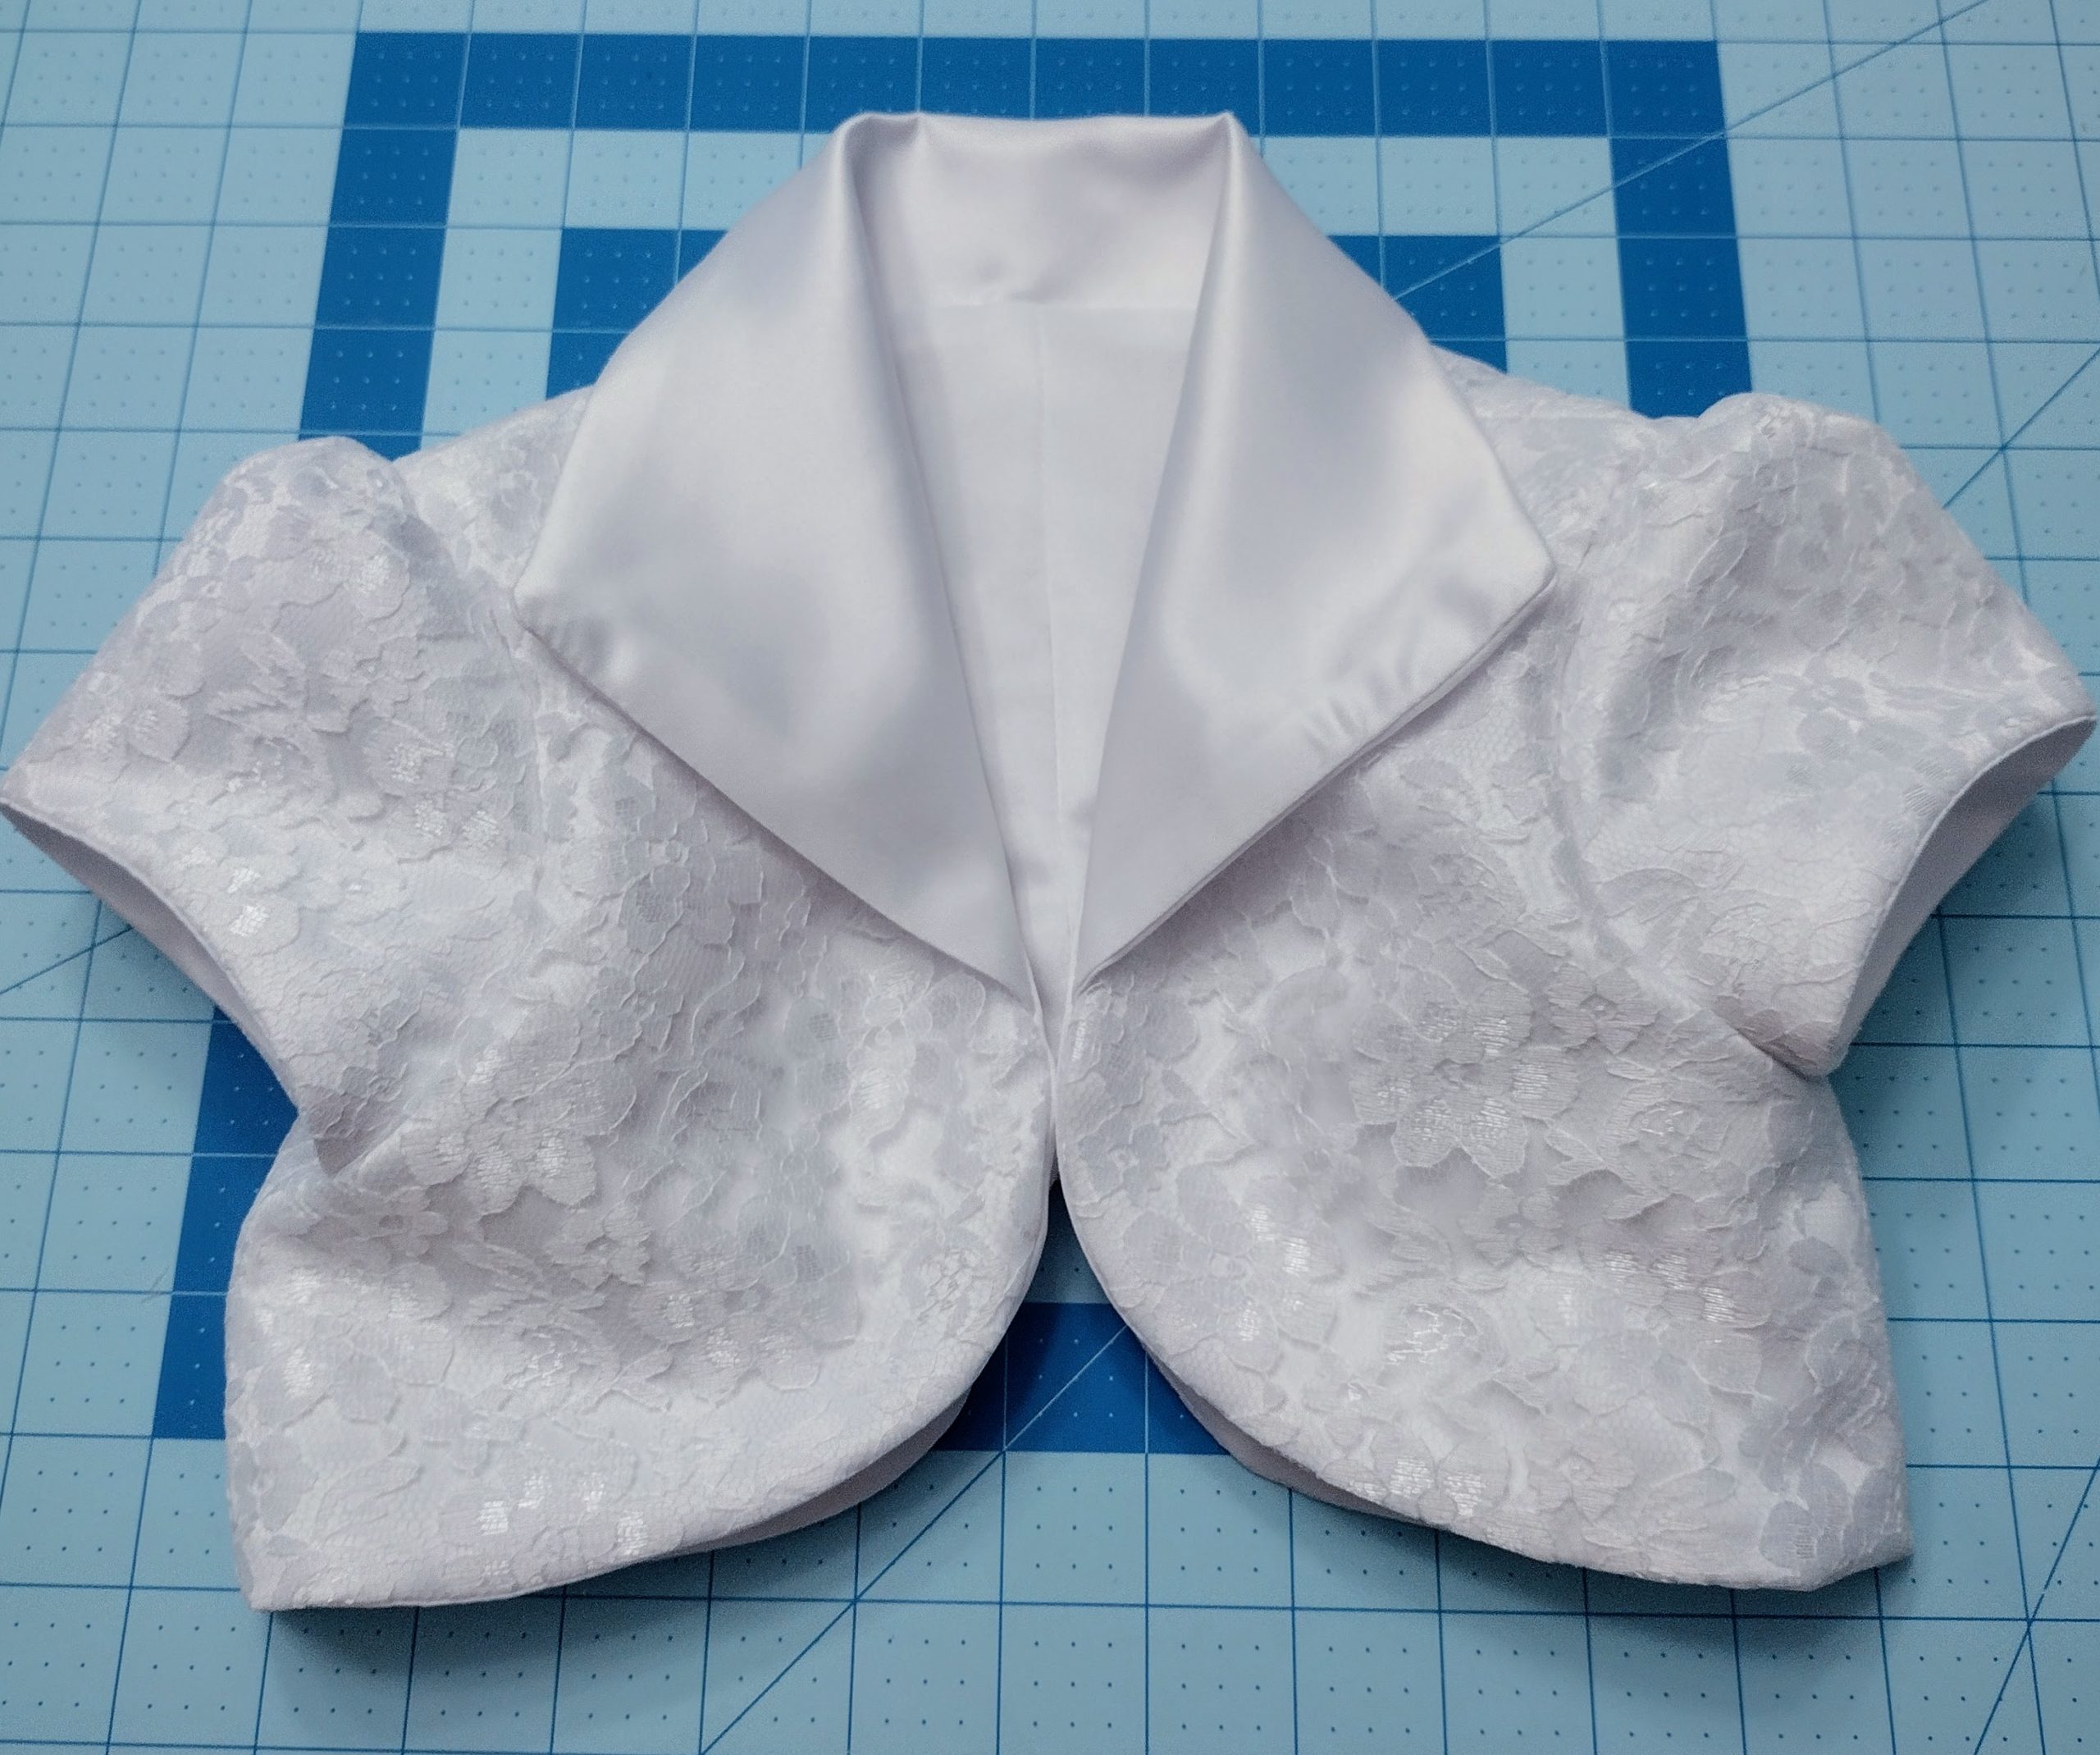
In my pervious post, “How to Make a Petticoat” I mentioned I’m making a princess dress for my daughter, I’ve decided what better accessory to that dress than a jacket? Ok, so maybe a jacket comes 3rd after shoes and hair ties, but still, it’ll be a nice touch. This bolero may look familiar to all my pattern lovers, it is Simplicity 1509! I used satin with a lace overlay for my main pieces and plain satin for my lining and collar.
Disclaimer: I’m not a pattern girl so this tutorial won’t follow along exactly as suggested in the instructions. Mainly because patterns tend to confuse me and some of the steps aren’t always necessary in my opinion.
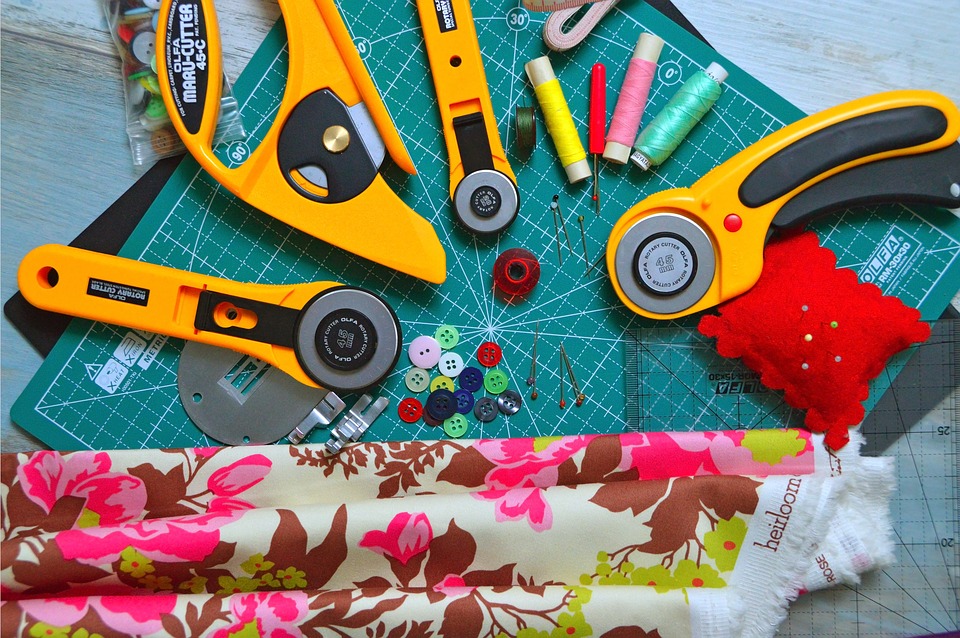
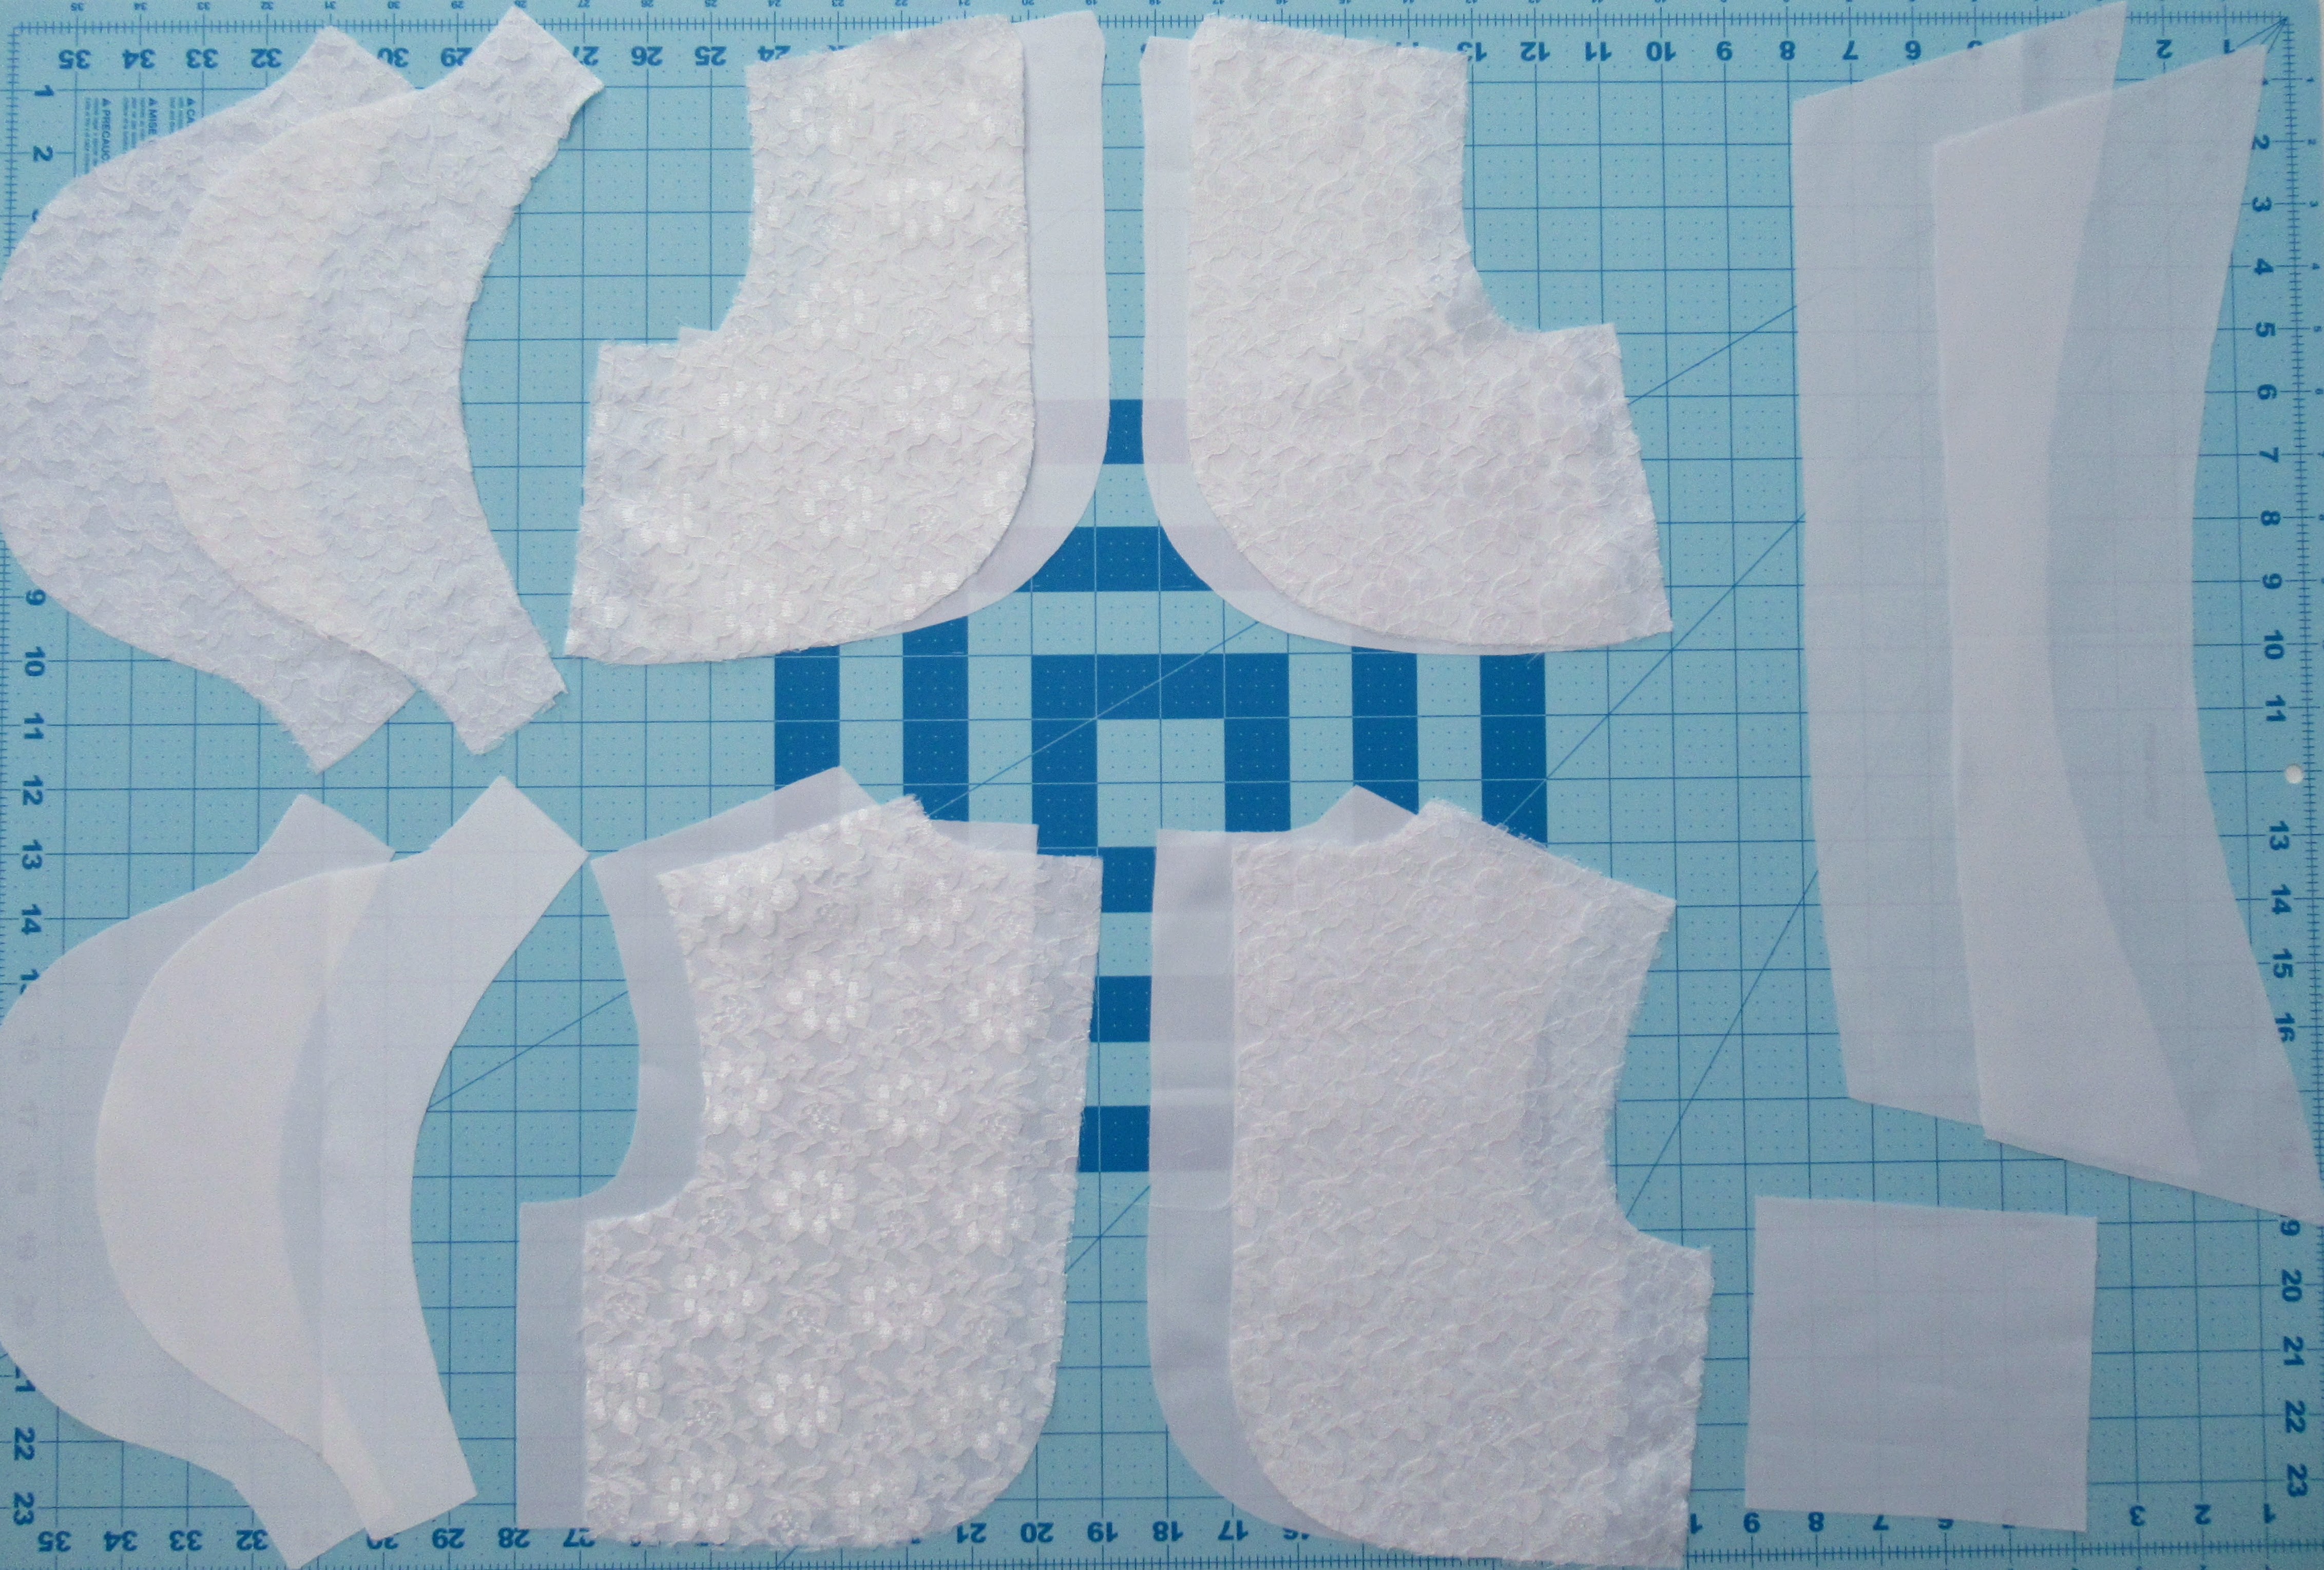
First step is to cut the pieces. This is one of the most time-consuming parts of sewing. You can save time by using a rotary cutter if you’re comfortable with one, but it will still take time. I think more experienced sewers make this step look so simple, that beginners are surprised when their projects take them forever. Don’t fret, however long it takes you, it will be worth it in the end.
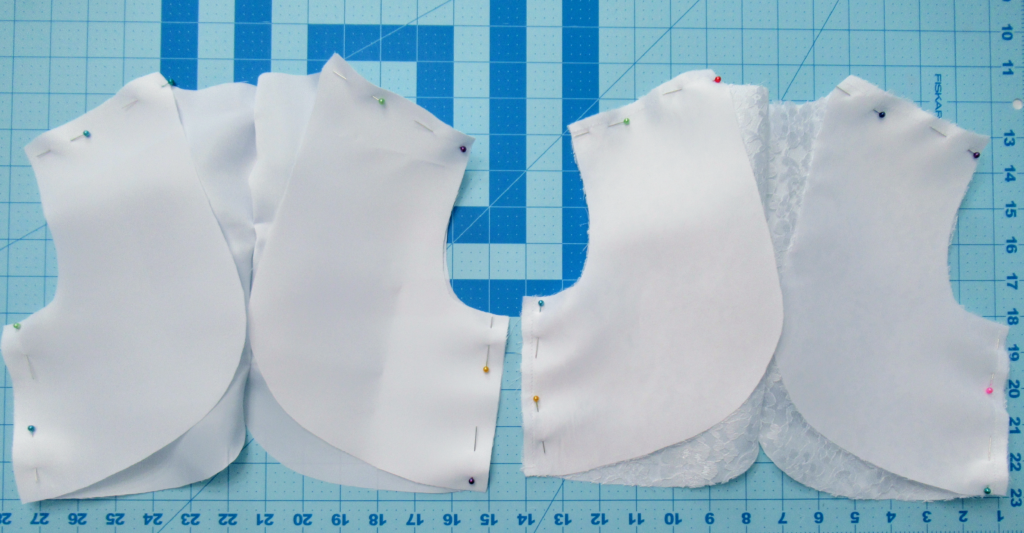
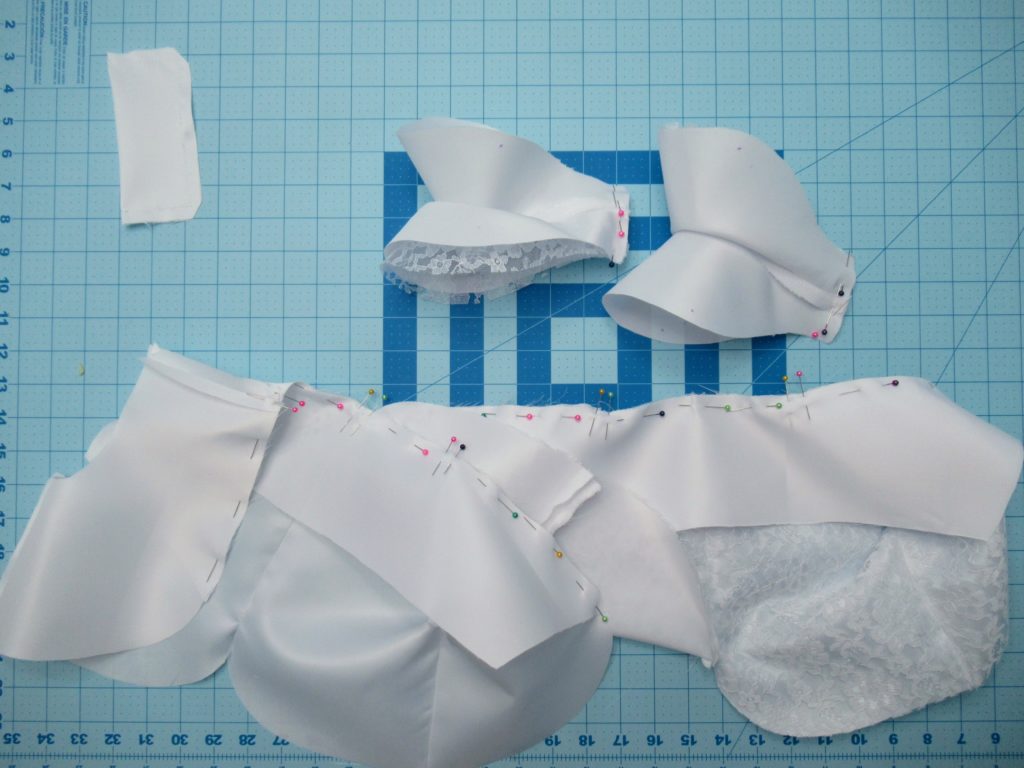
Now that your pieces are all cut out grab your bodice back pieces. The instructions tell you to stay stitch the neck edges and the back edge. I’ll be honest, I skipped this step. I went straight to pinning. You can see in the photo below, I not only pinned the back, but the neck and side pieces too. This saved me some time because I didn’t have to keep stopping once I was at my machine.
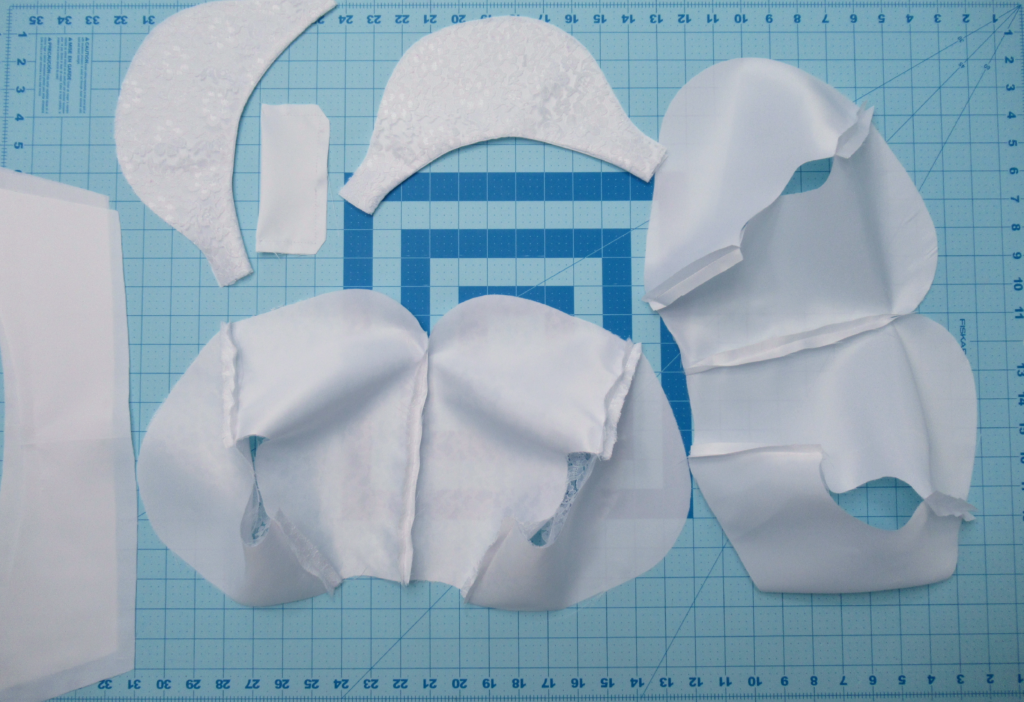
Next stitch the back seams as pictured. Then sew the front bodice to the back at the shoulders and sides. You do this for the main piece as well as the lining. ***At this point I went ahead and sewed the edges of the main sleeve and the liner together. Then I pressed them right side out***
If you are using interfacing, this is where you will attach it to the collar. I’m not a big fan of fusible stabilizers so I chose a sew-in one instead. Pin the collar to the bodice pieces you’ve just sewn. Be sure that the center of your collar lines up with the center back seam of the bodice. If you have sewn your sleeve edges like I did above, then pin the sides together now.
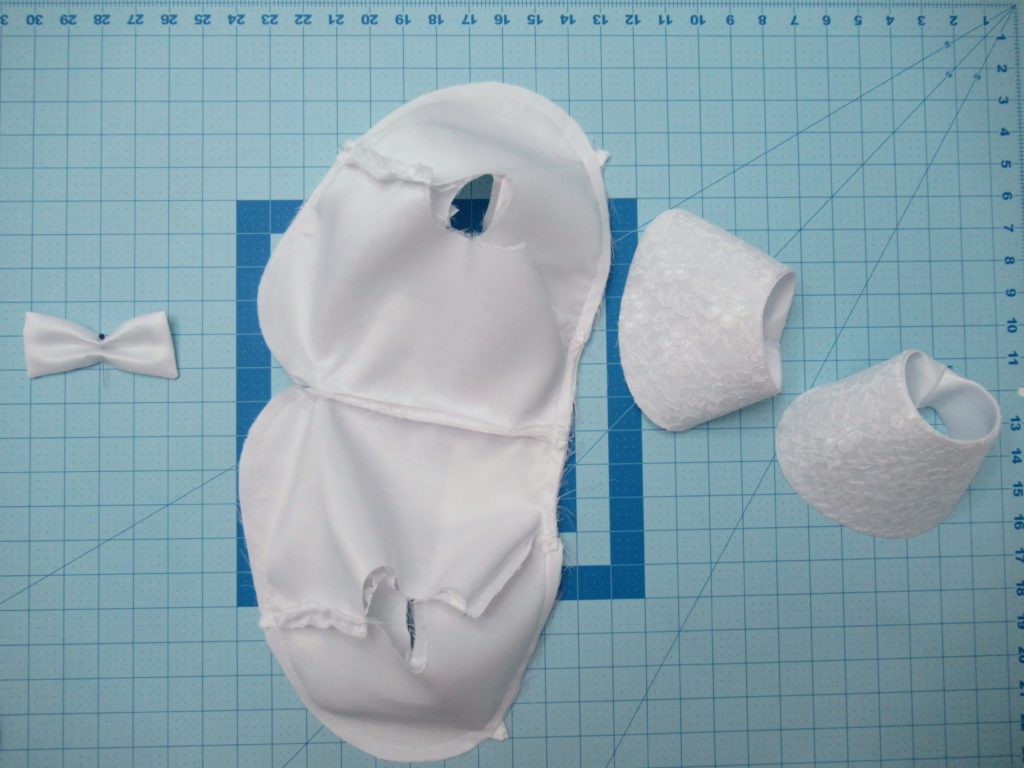
Once you have finished sewing the main bodice pieces and lining, pin them right sides together. This may look a little strange, but you will be turning everything through the arm holes. If you are going to clip your curves you will want to do that before turning your bolero right side out. Next turn your sleeves back right side out and press.
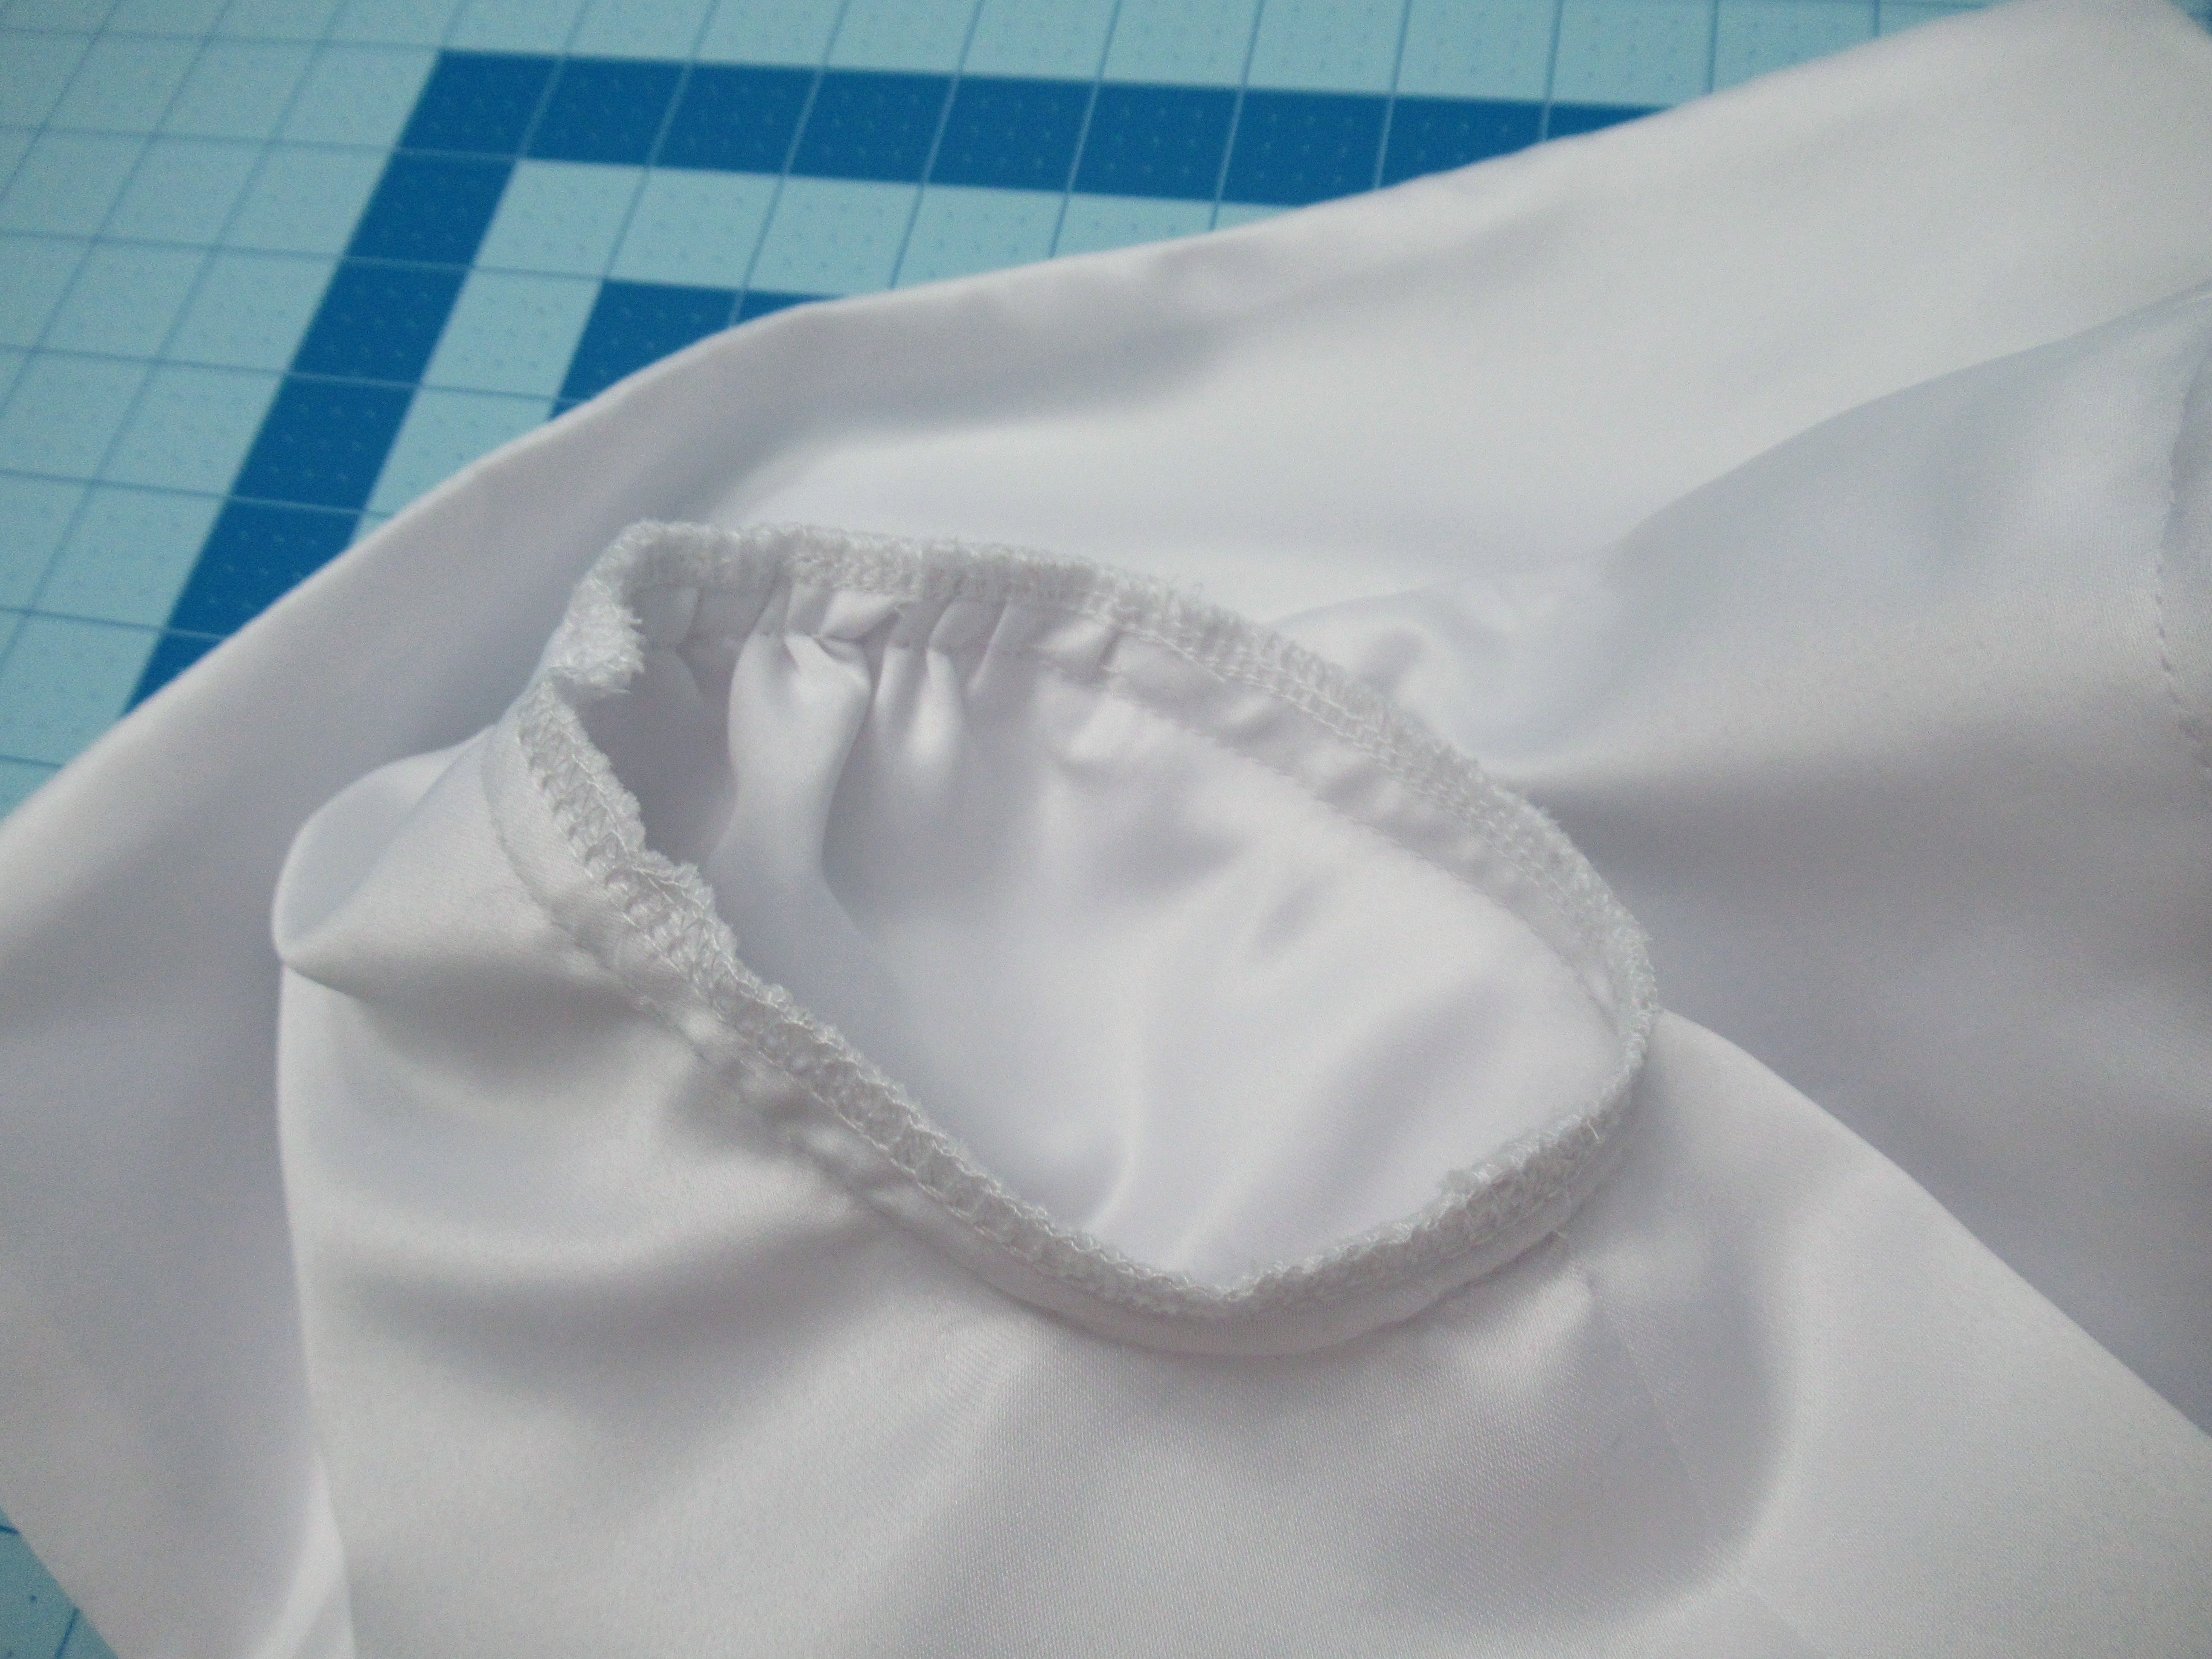
You will then gather the top of the sleeve where the dots indicate on the pattern. I did this by hand, but you can do it with your machine. Be sure to do this at the ¼ inch mark so that when you sew it, the stitches wont’ be visible. Next, take the right side of the sleeve and pin it to the armhole lining side out. Inspect and make sure the gathers are how you want them, then stitch.
As you can see from the pic below, I chose to serge the edges of the armhole instead of adding a double fold bias tape. You can do either or. It’s basically a matter of preference and what you have available.
Last part of this cute bolero is making the bow. You will pin and sew the bow square making sure to leave an opening to flip right side out. Be sure to lock your ends or reverse stitch because you don’t want to rip your seam trying to turn it. Then take the knot piece and stitch the edges leaving ends free. Turn right side out.
Pinch your bow like an accordian. Wrap the knot around and tuck the ends underneath. Use a slipstitch to secure the ends. You may also use a glue gun for the part if you are crafty.
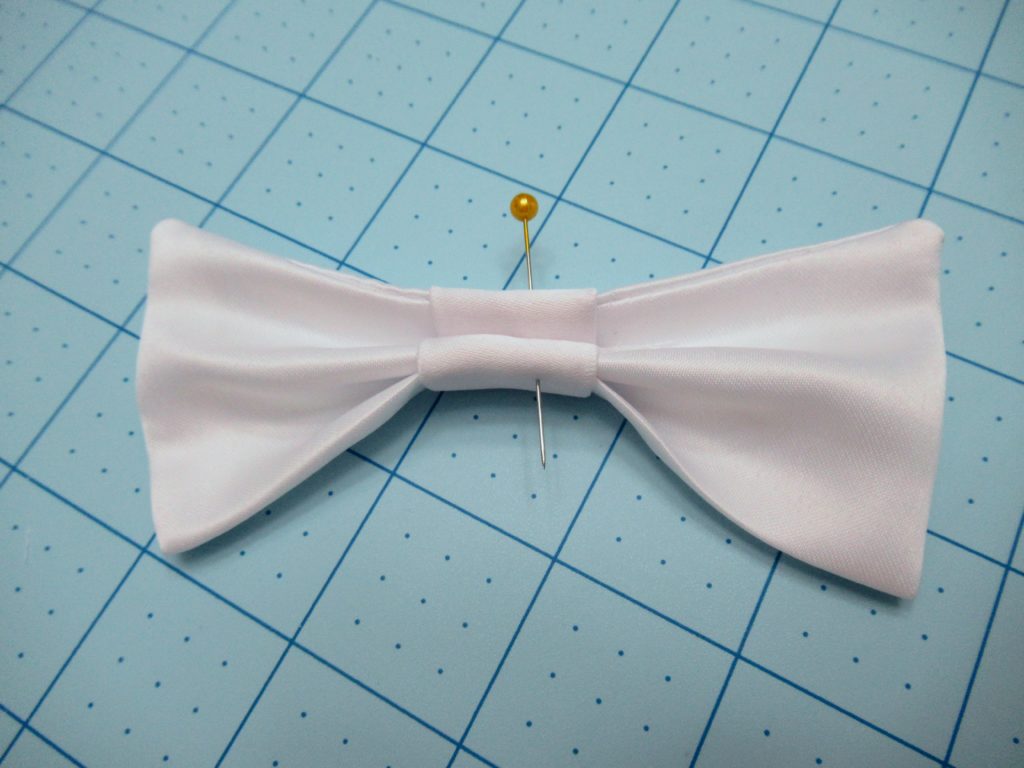
Then fix the finished bow to the back of the bolero as pictured below and on the envelope.
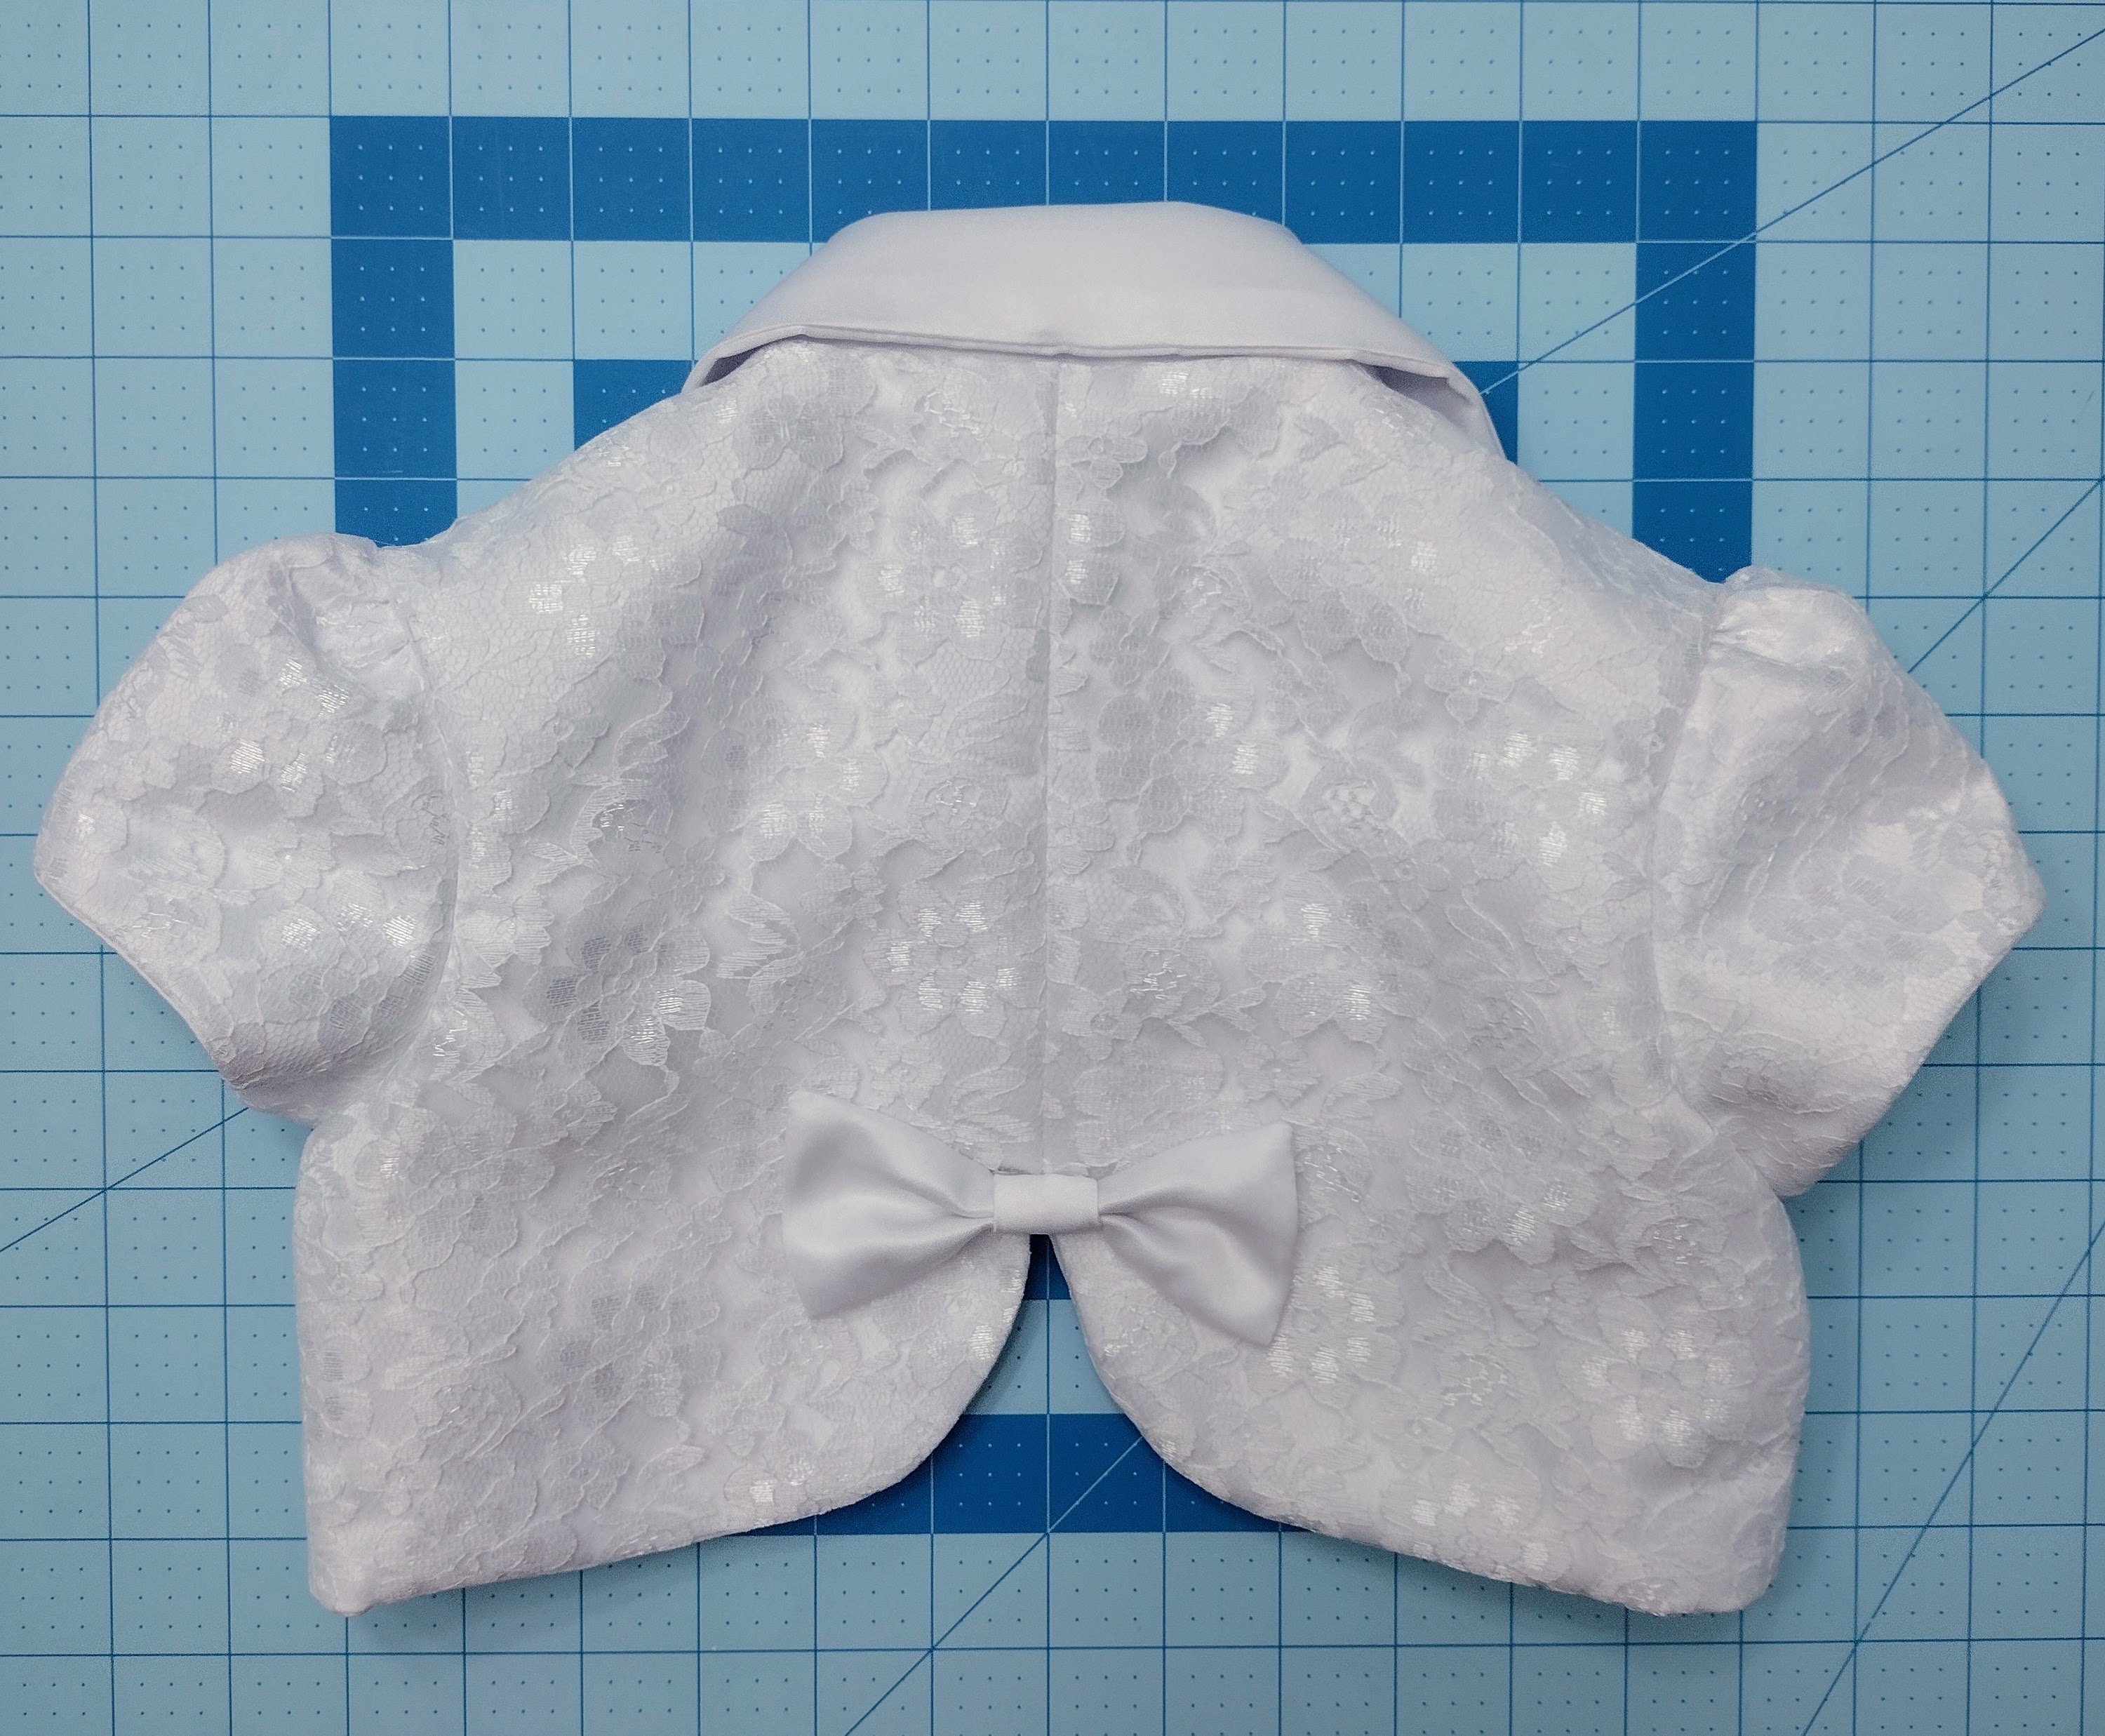
There ya have it, a cute little bolero that can be styled a variety of ways. What do you think? Comment below.