
I’ve never attempted to make a corset back before, but I really like the look of it. I decided to try it out on a little girl’s dress for 2 reasons. 1. it’s not common to see on children dresses (outside bridal stores) and 2. I think it’ll be even cuter on a little girl. So, I googled to find out how to do a corset back and I couldn’t really find a tutorial online that I liked. (I know most people would search YouTube for a video tutorial, but I prefer written tutorials.) Since that was a bust, I decided to just improvise. I mean how hard can it be right? ::laughs:: Surprisingly, it wasn’t as difficult as I thought it would be. Mind you there are several ways to acquire this look, these are the steps I chose to create a corset back.
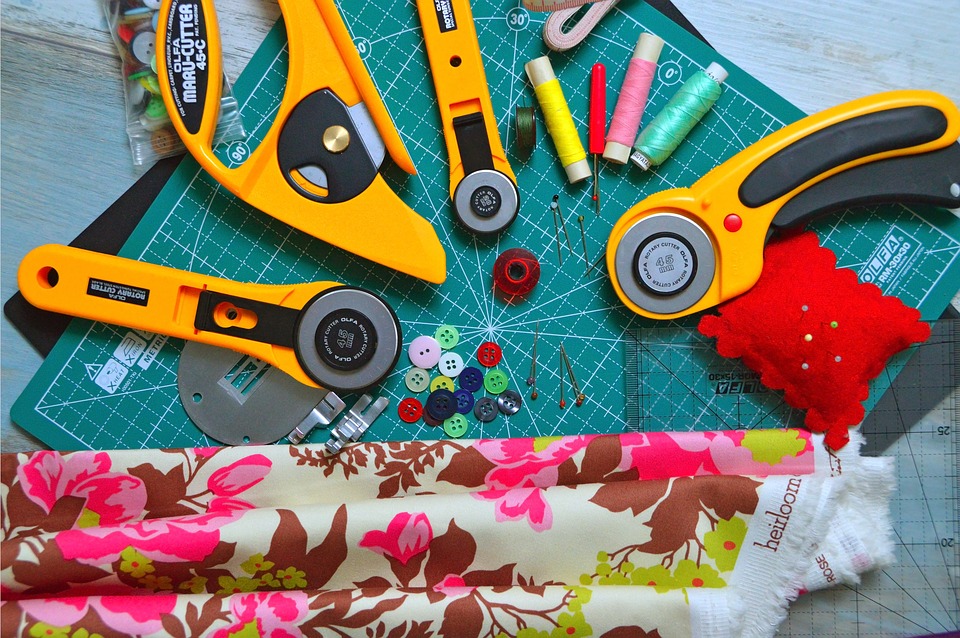
Materials Needed:
- Fabric for dress, lining, and modesty panel
- Double fold bias tape
- Boning
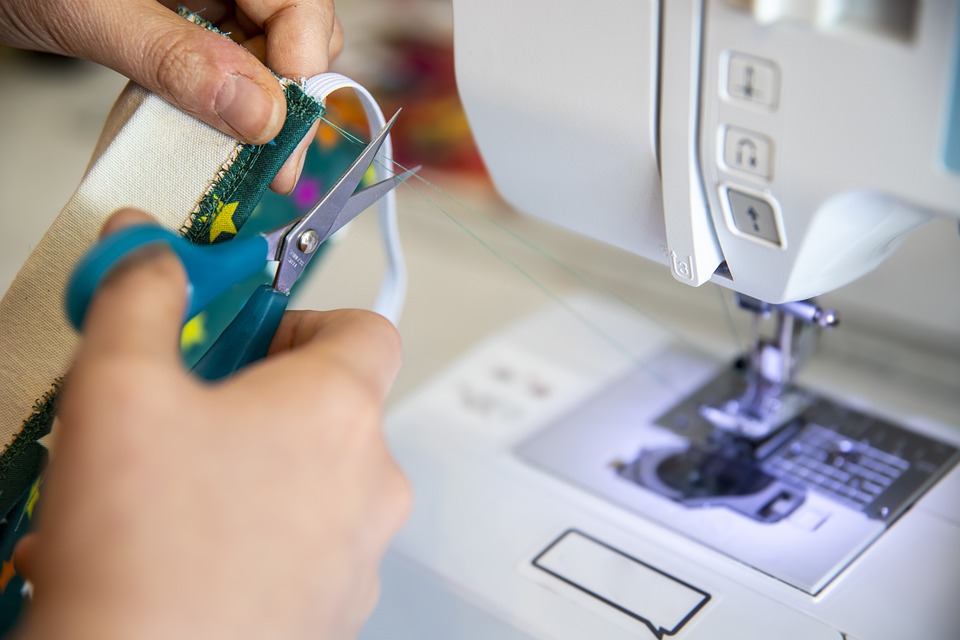
- Scissors
- Tape Measurer/ Ruler
- Pins
- Marking Tool
- Matching Thread
When I search, most people already had a dress they wanted to exchange a zipper closure for a corset. I didn’t have one and needed to create my own. I used a basic bodice pattern as I normally would but trimmed the backside of the bodice. The amount you cut off varies depending on how wide you want your corset to be. I personally like wider corset with thicker laces.
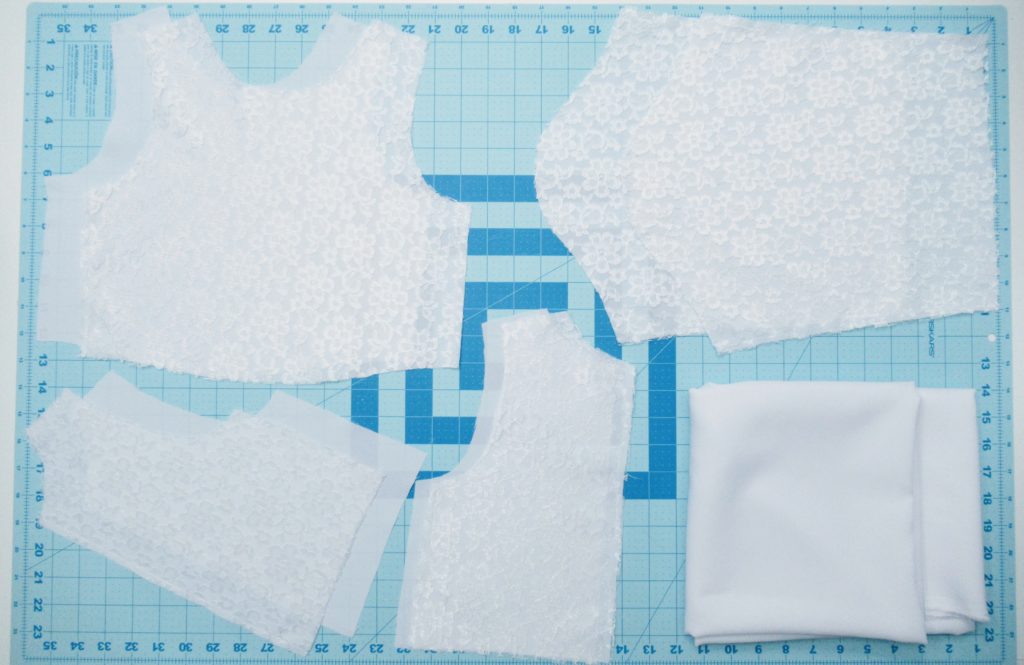
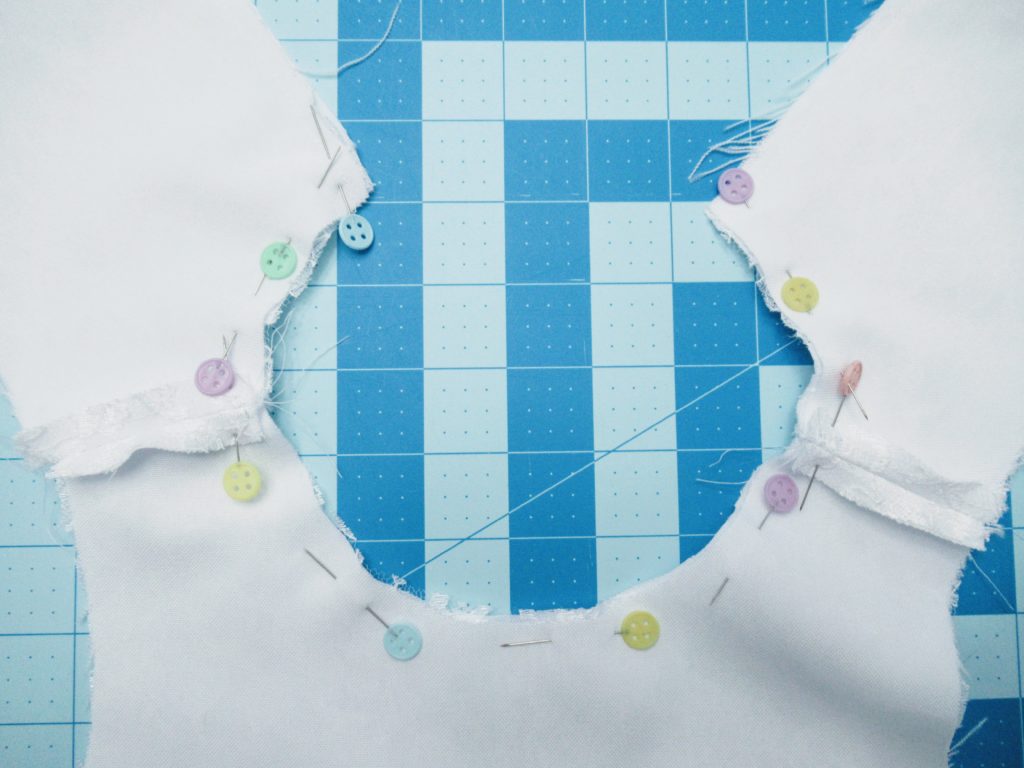
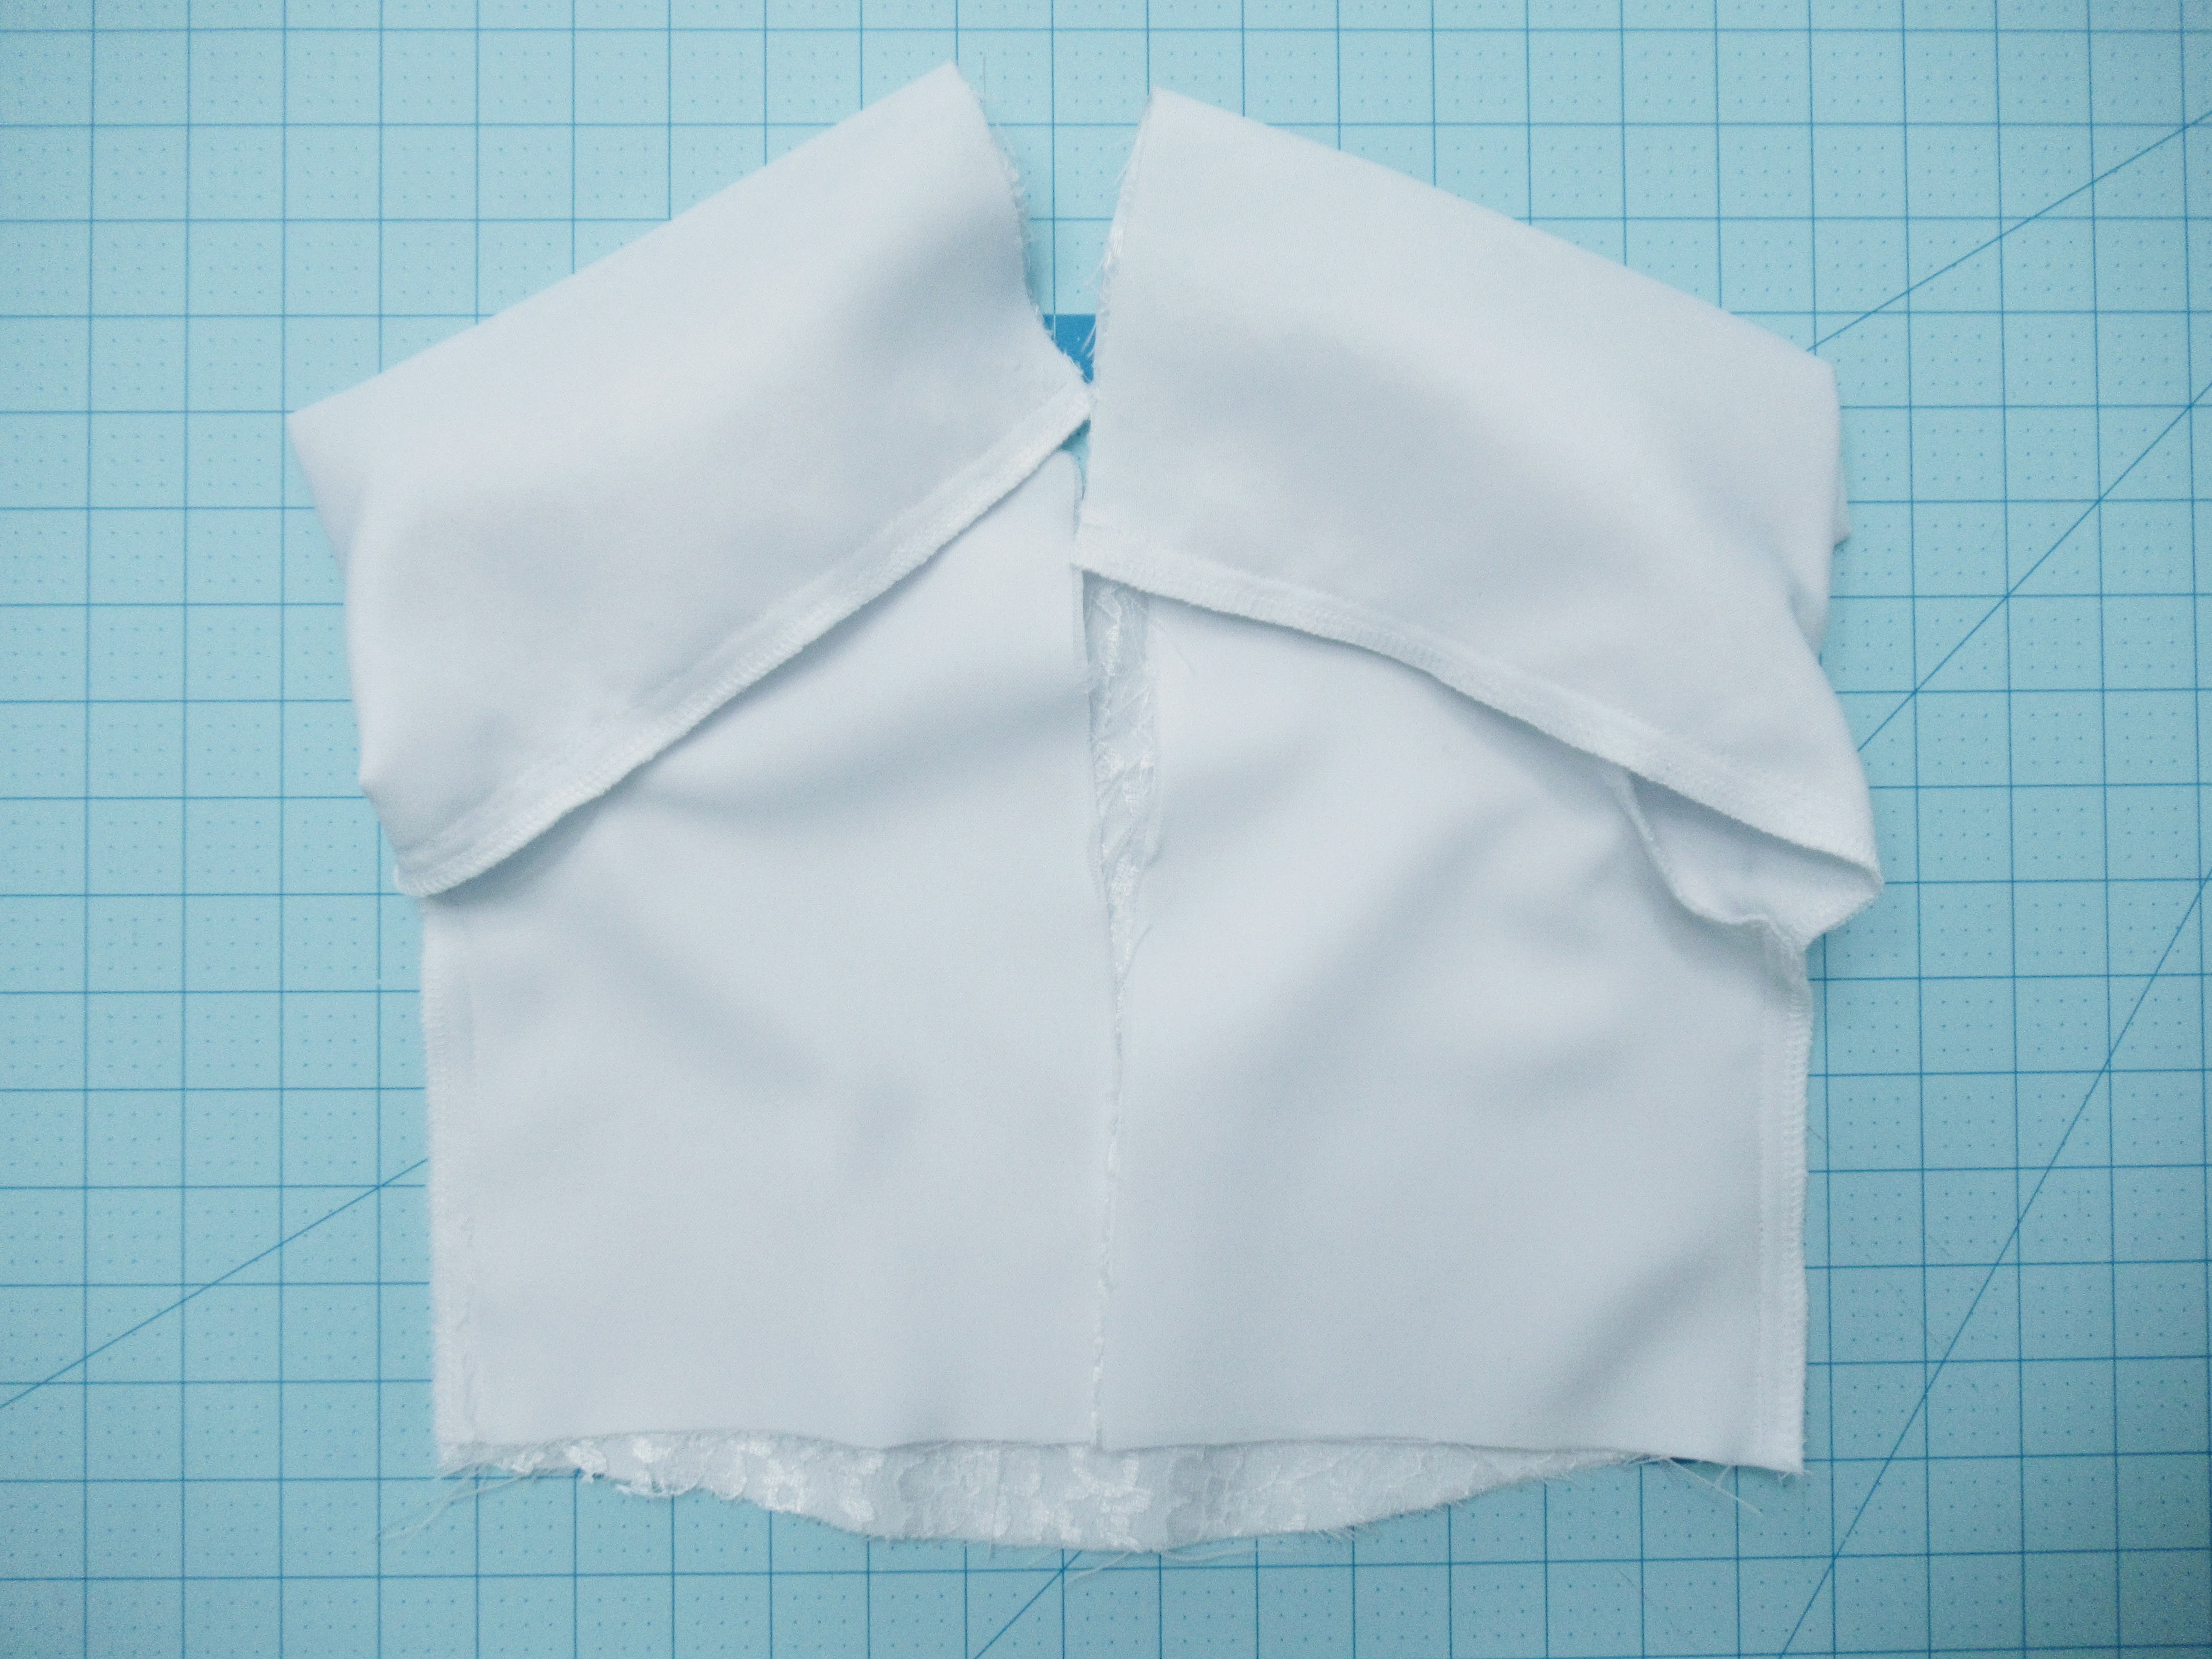
After cutting my bodice pieces, I sewed them together. Putting the shoulders of the main pieces together and then putting the lining shoulders together. Once both are sewn, I pinned the bodice to the lining by the neck as seen.
Continue to piece together the bodice. Finishing the sleeves and the sides.
Finally, the corset back…
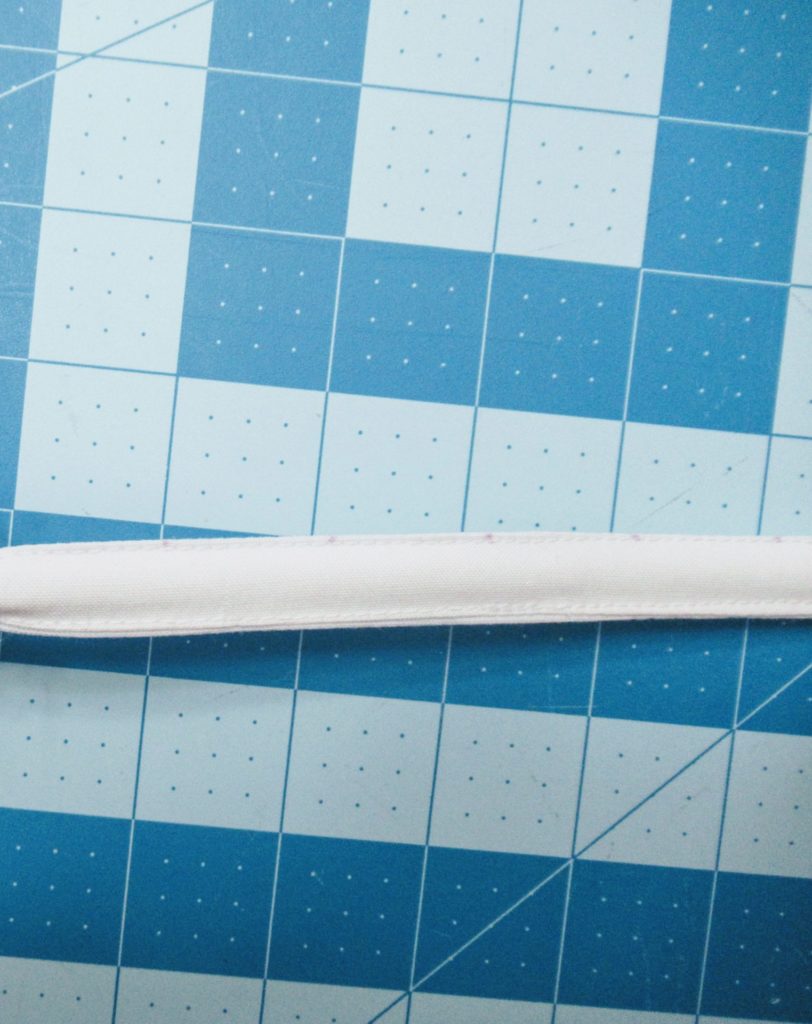
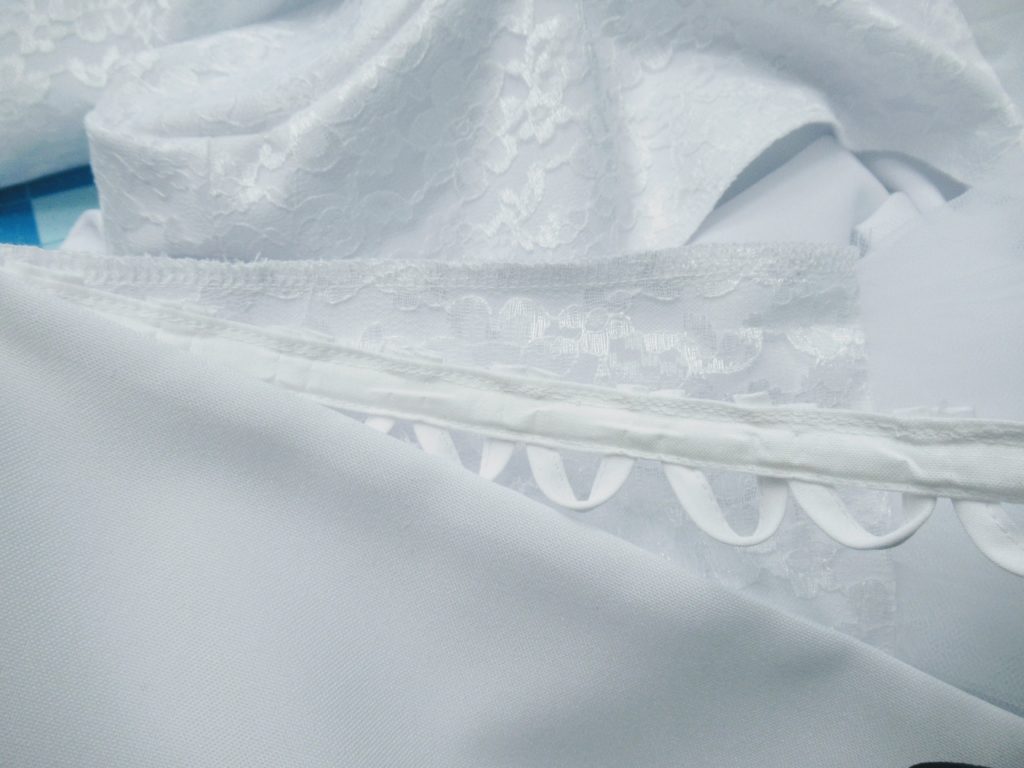
Starting out, I knew I wanted a modesty panel. To create one, I needed some kind of stabilization so that my fabric won’t pull too much and stress the stitches or have them come undone when everything is laced together. I had some old boning leftover and figured to use it instead of buying something else. You could use some interfacing instead or something similar.
The problem with the boning I chose was that it was encased in black fabric and the dress is white. Luckily, I had a scrap of white cotton fabric and I switched it out. I pulled the boning out of the original black casing and closed it in between the casing I made from the white fabric.
At this point you will need to try the bodice on. This is to figure out if you need to cut some more of the back off and to measure for your modesty panel. You will want your modesty panel to overlap an inch to give room for when you sew everything in. Measure at the top and at the bottom. Your modesty piece will look like a triangle with a flat top.

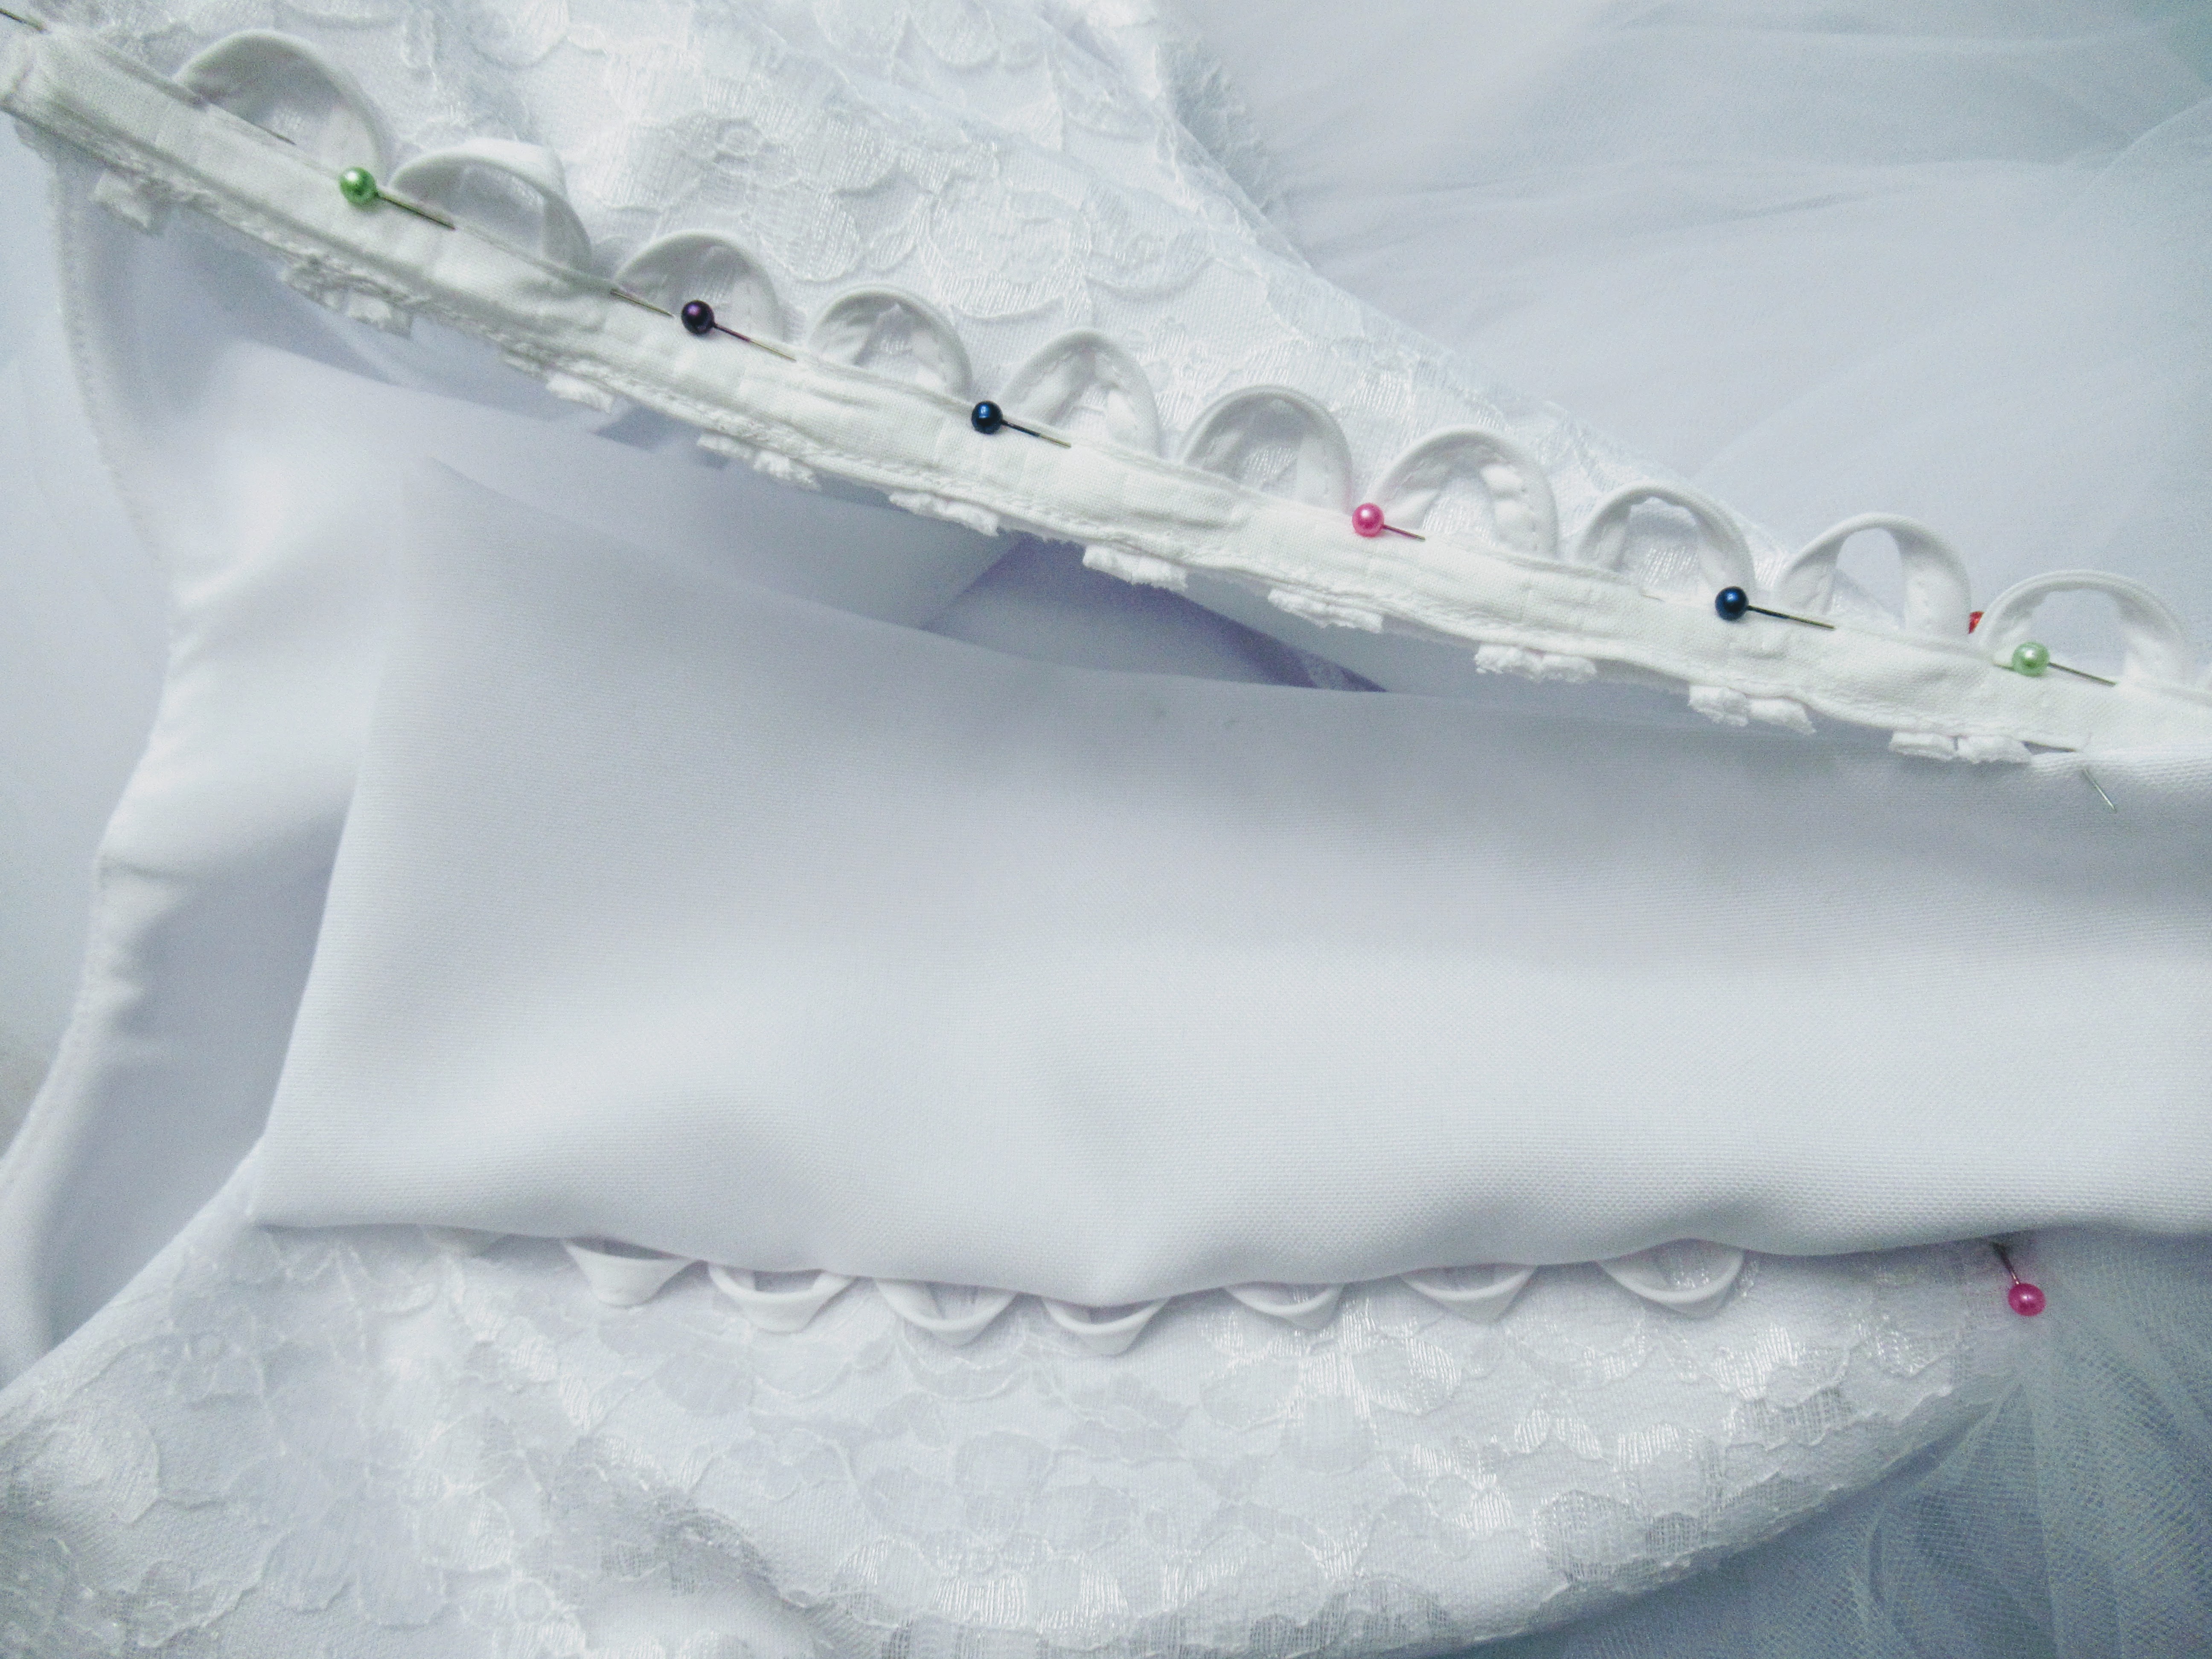
As for the loops…
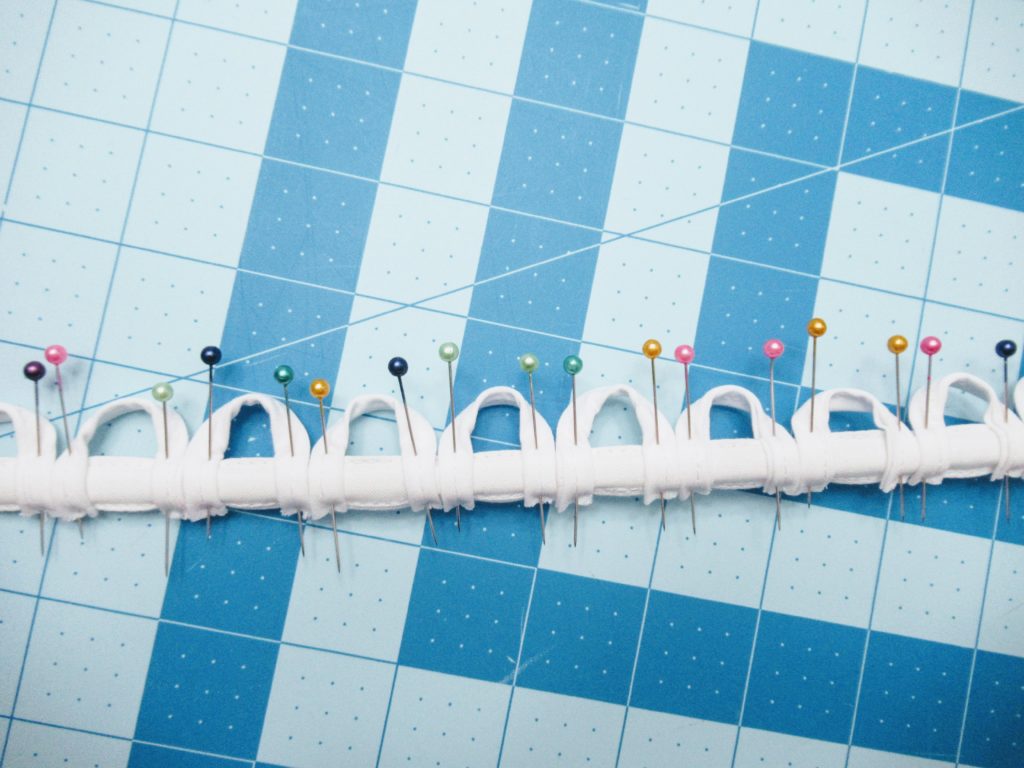
I used double fold bias tape. This wasn’t necessarily my first choice, it’s just what I had on hand at the time and couldn’t find any ribbon trim in stores. Given more time, I might have opted to buy some on Amazon and tried it instead.
I cut each strip 2.5 inches long. This gave me enough room to sew it to the boning and to still have some left for the loop opening. You will want to sew each consecutive loop as close to the last loop as possible. I’ve seen some people choose to overlap the loops. Since I was using bias tape, I didn’t want the bulkiness to make sewing it more difficult. Now you’re probably asking how far to space each loop. From what I research that is a personal preference using between 1 and 2 inches. Children’s clothing use smaller measurements and wider bodices use larger increments.
As you will see later, I left a half inch space at the top of my bodice before the loops began. This is important to note because you want to make sure your loops line up together before you go through all the trouble of attaching the loops. I marked my boning all the way down with slashes to make sure both sides line up when I pin.
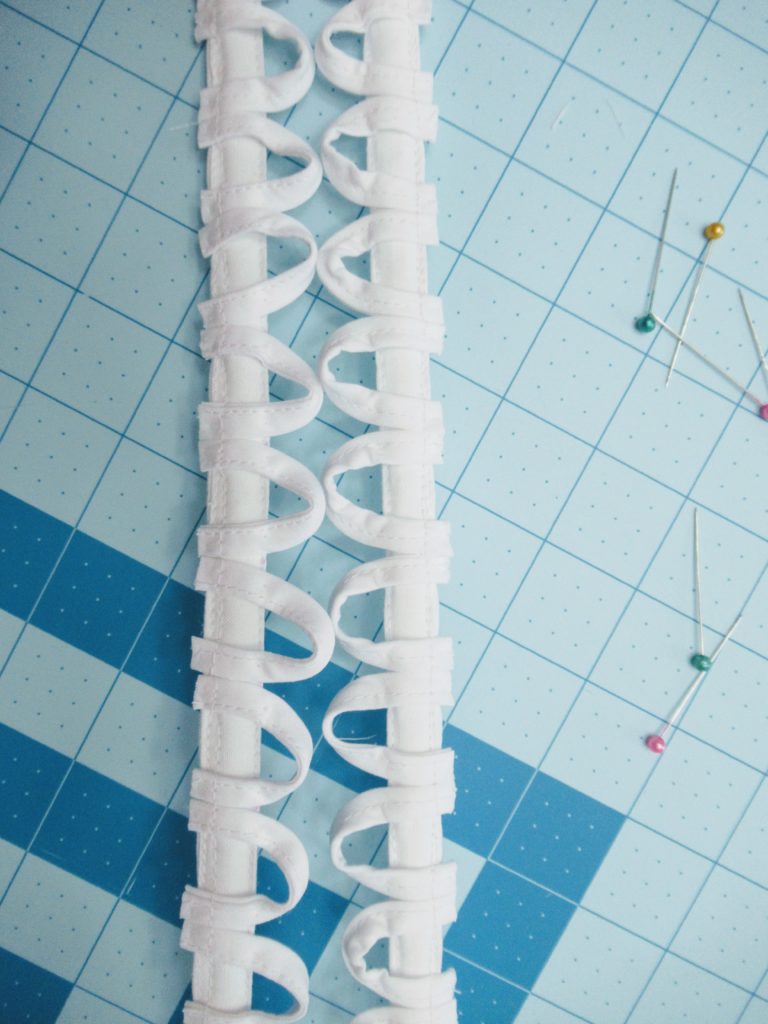
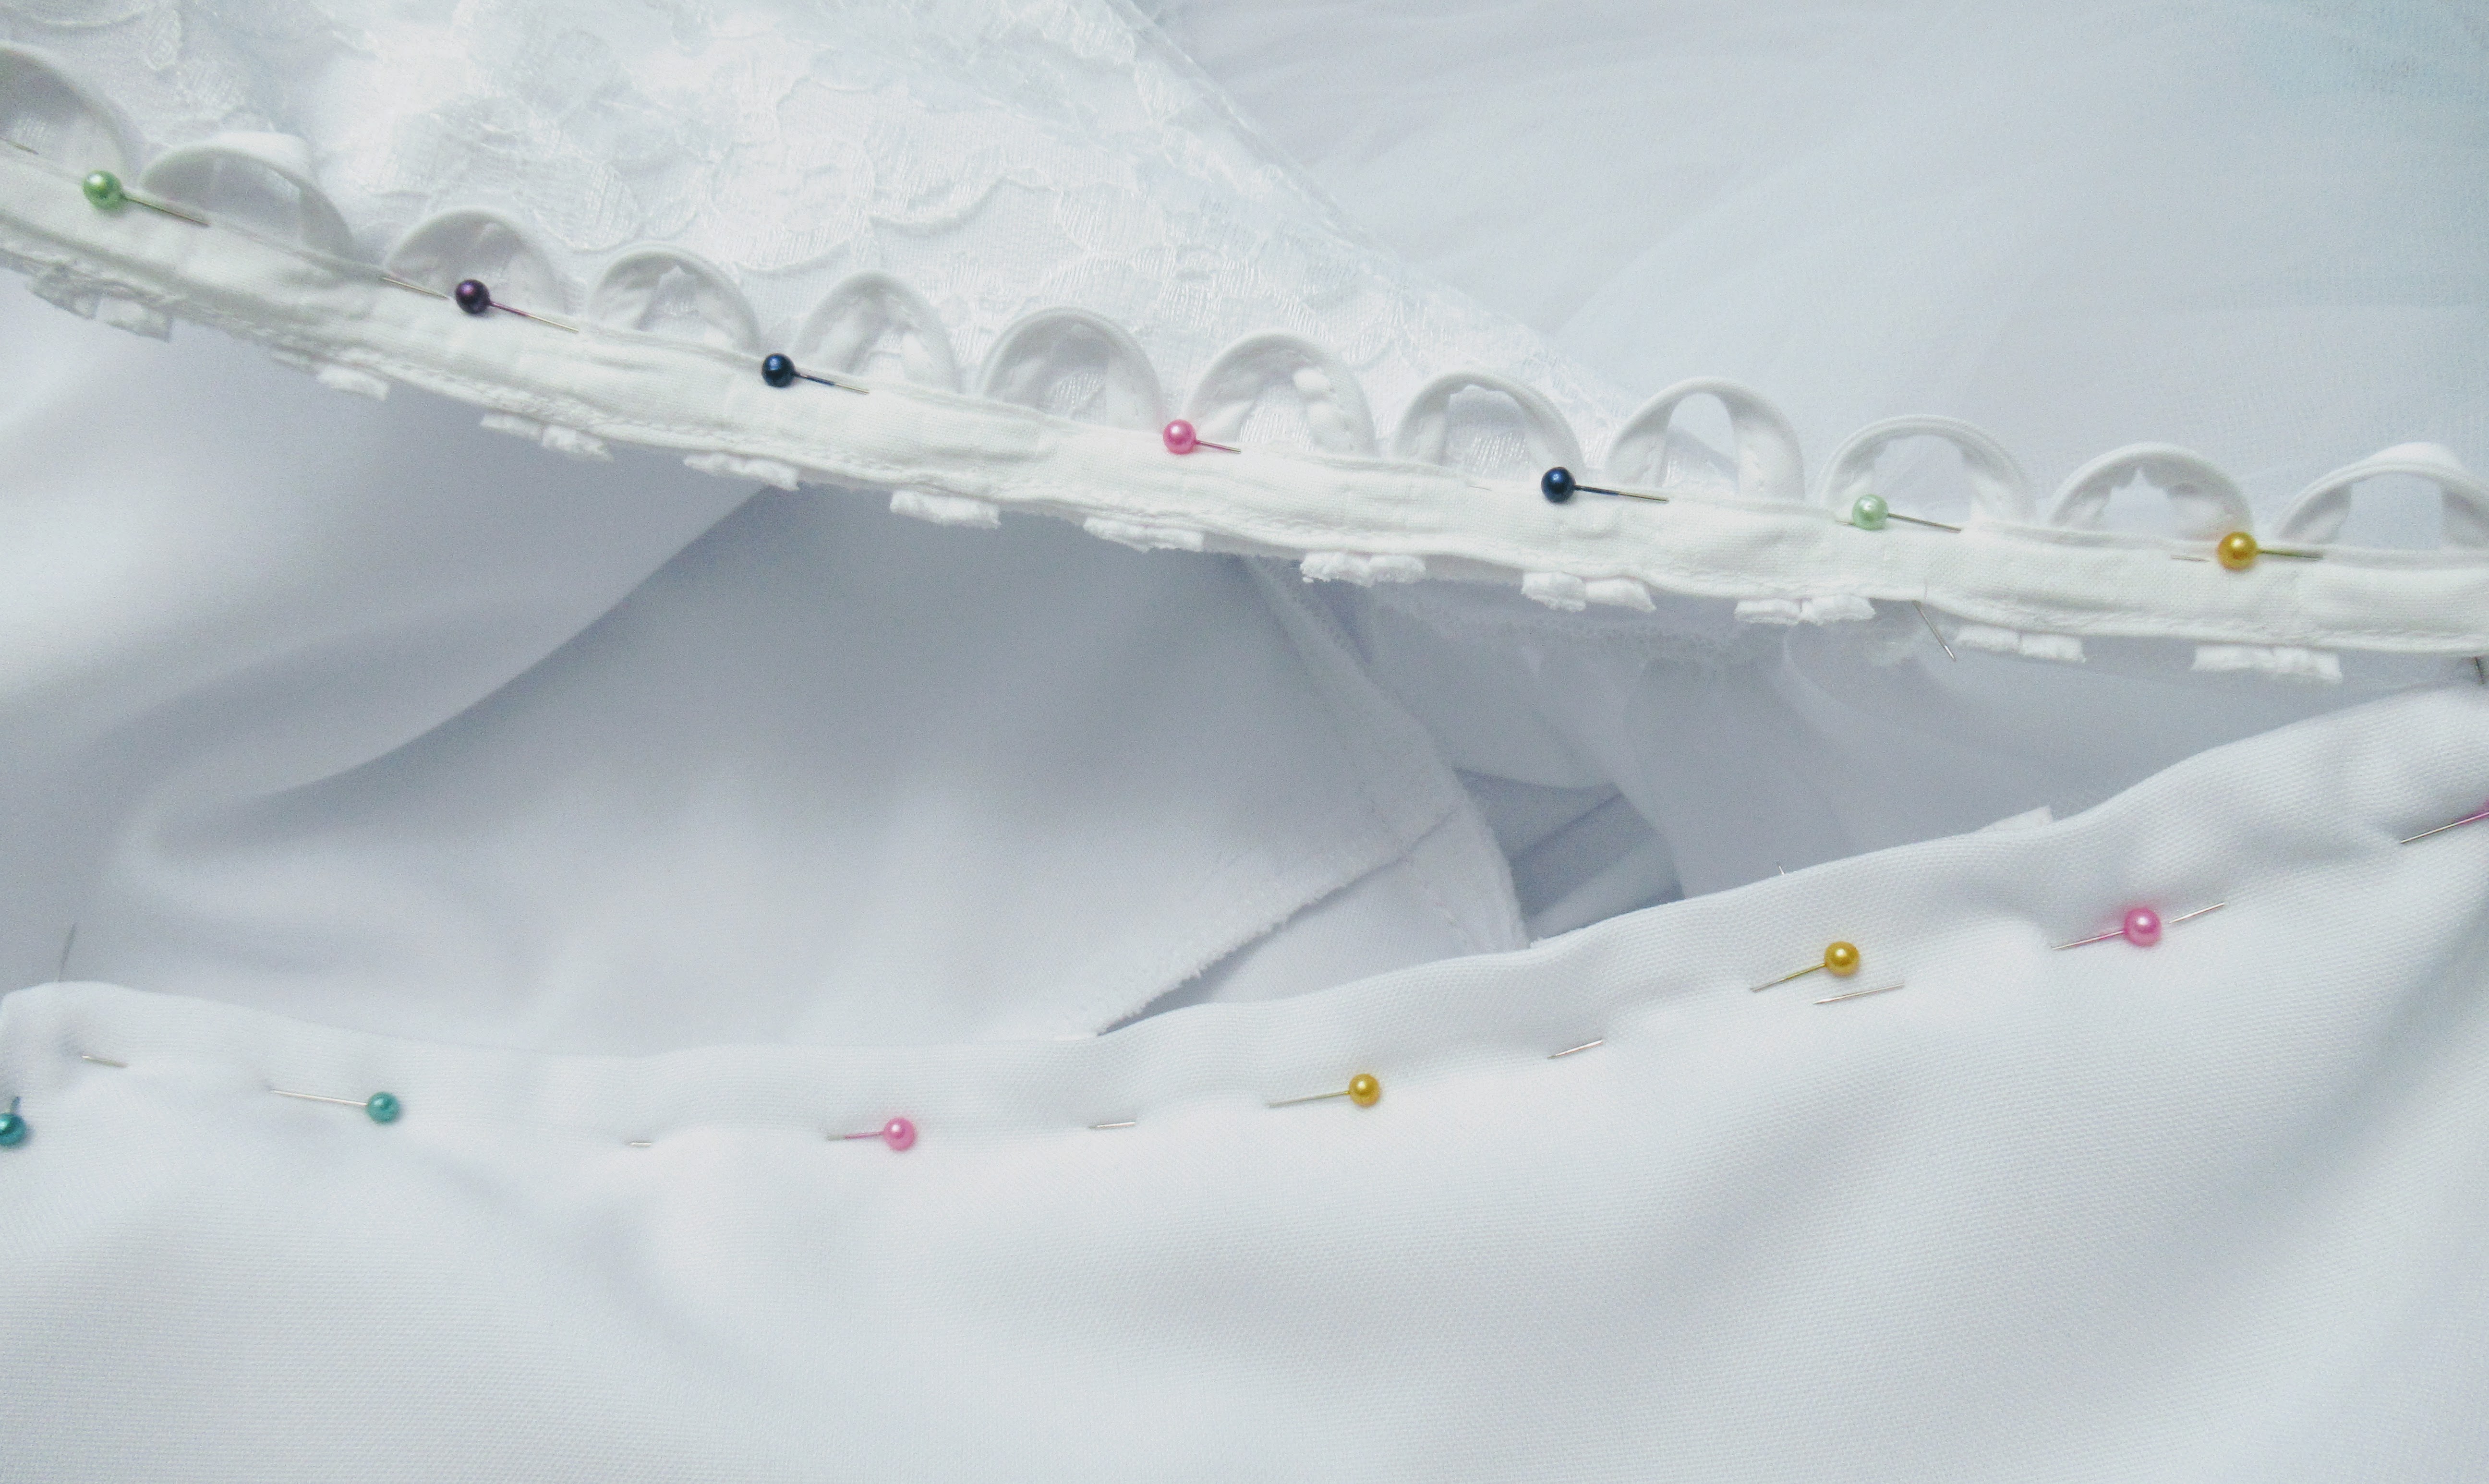
***Be sure to loop the right side opposite of the left side***
I wasn’t thinking and completely missed this. I had to unpin one whole side and redo it. You want your left boning loops to face your right boning loops. This is also when you want to make sure all the loops line up.
Next you will attach the left side of the boning to your bodice. You will want to hide the boning by sandwiching it between the bodice lining and the bodice main fabric like so.
Pin and take the right-side boning and pin it directly to both bodice main and lining pieces.
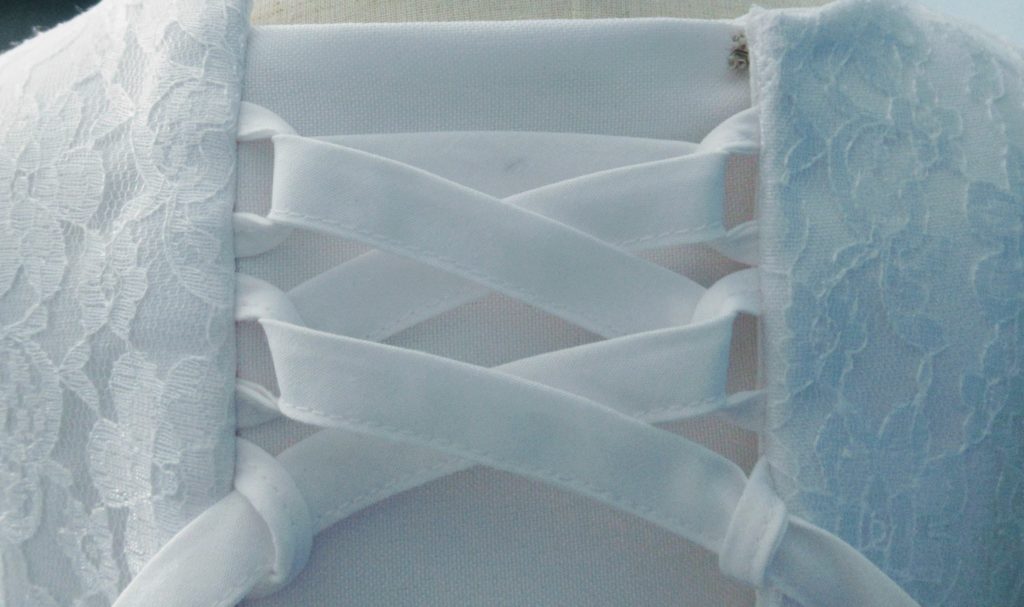
Here’s a different view.
Once both sides were stitched, I added a hook and eye to the top. This is optional. Your modesty panel will stay in place once the laces are strung. I used the remainder of the double fold bias tape as my tie, but you can use really anything.
There it is. A DIY corset back. What do you think? Comment Below!