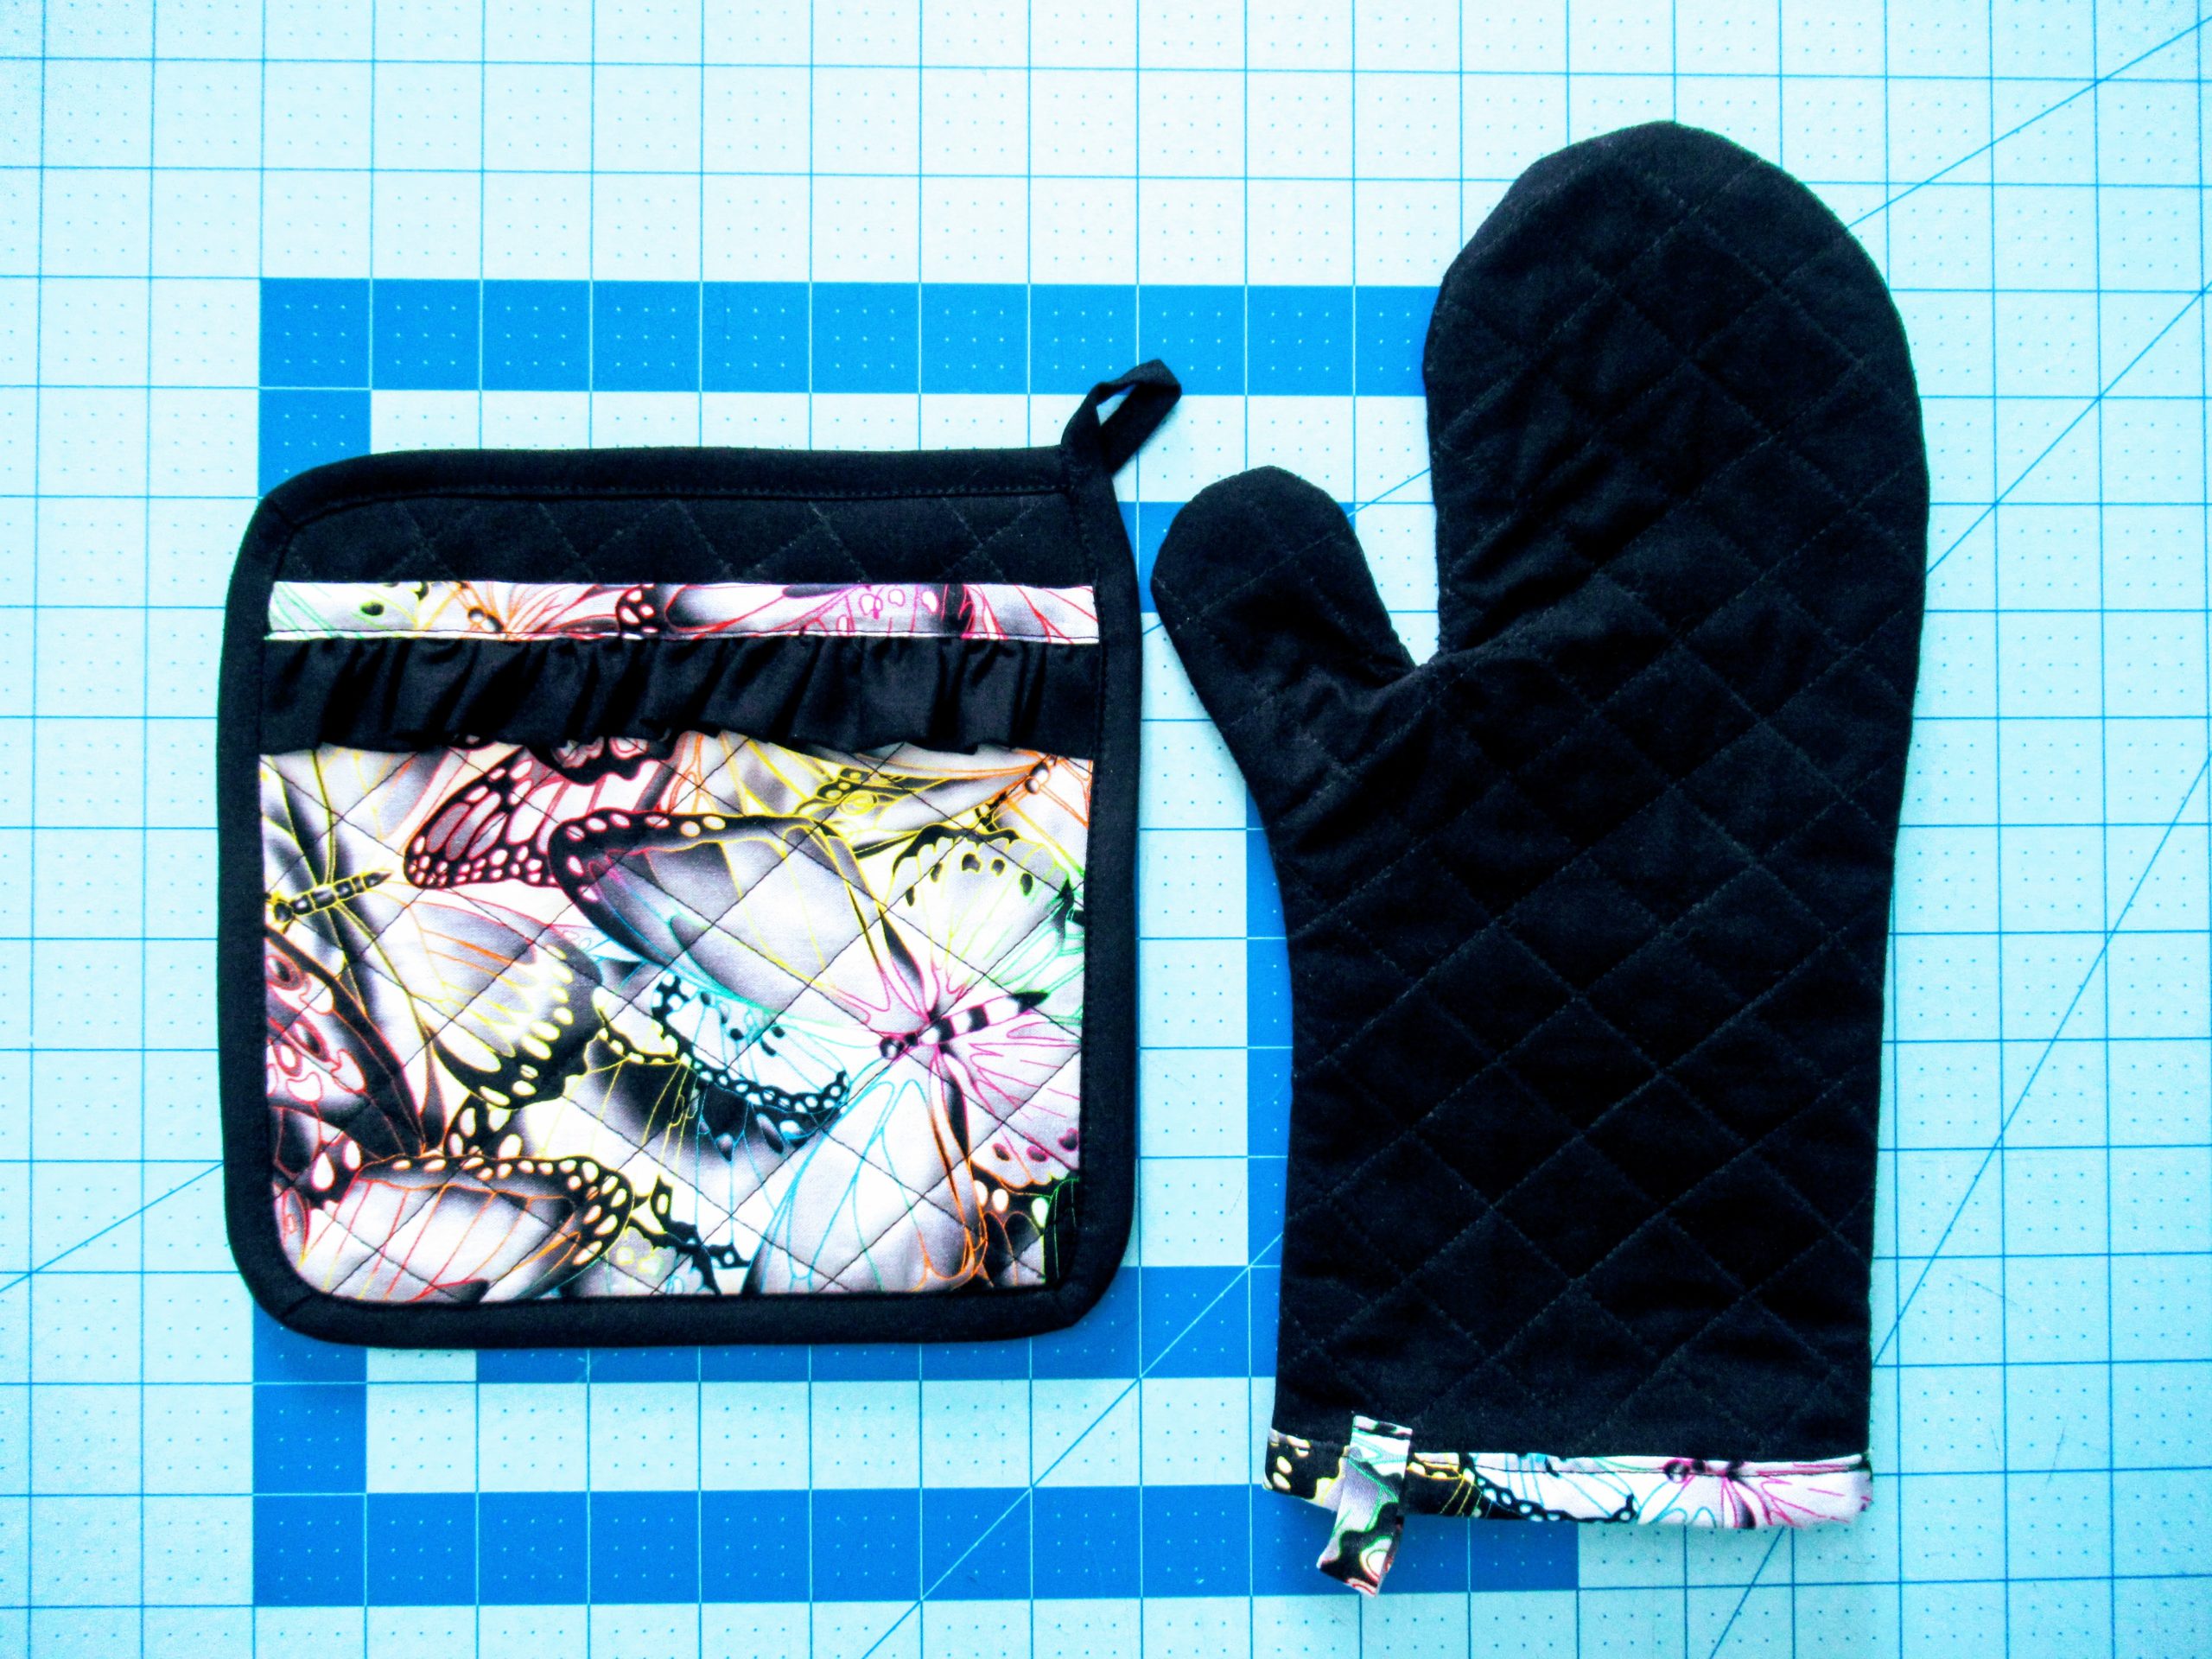
My oldest daughter’s birthday is coming up and because her heart lies with baking, her birthday party will be a bake-off competition. I made her a personalized apron and figured what better use of the left-over fabric then to make a matching mitten and potholder!!!
Materials Needed:
- 2 pieces of Cotton Fabric 8×8”
- 2 pieces of Cotton Fabric 8×6.5”
- 1 piece of Cotton Fabric 3×18” for ruffle (optional)
- 1 piece of Cotton Fabric for binding around the potholder 2.5×35”
- 1 piece of Cotton Fabric for the binding above the ruffle 2×8”
- 1 piece of Cotton Fabric for binding of the mitten 2×12”
- 2 pieces of Fabric for Mitten
- Heat Resistant Batting or InsulBright
***I made both of these at the same time, so my content and pics will be a mix of both.***
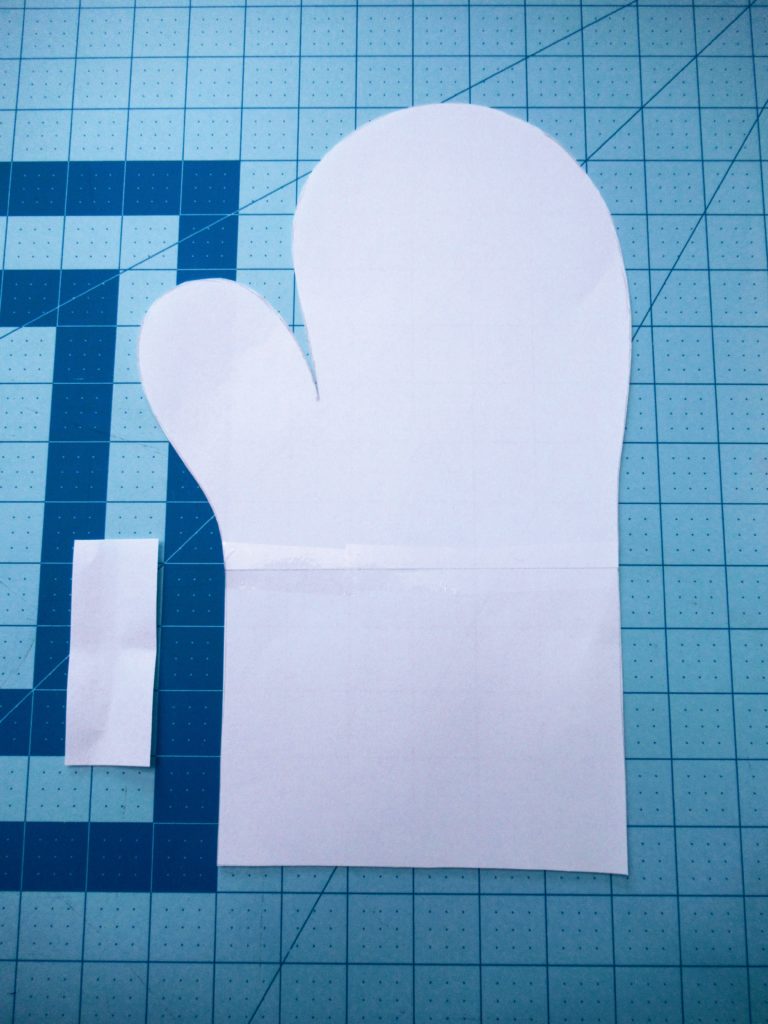
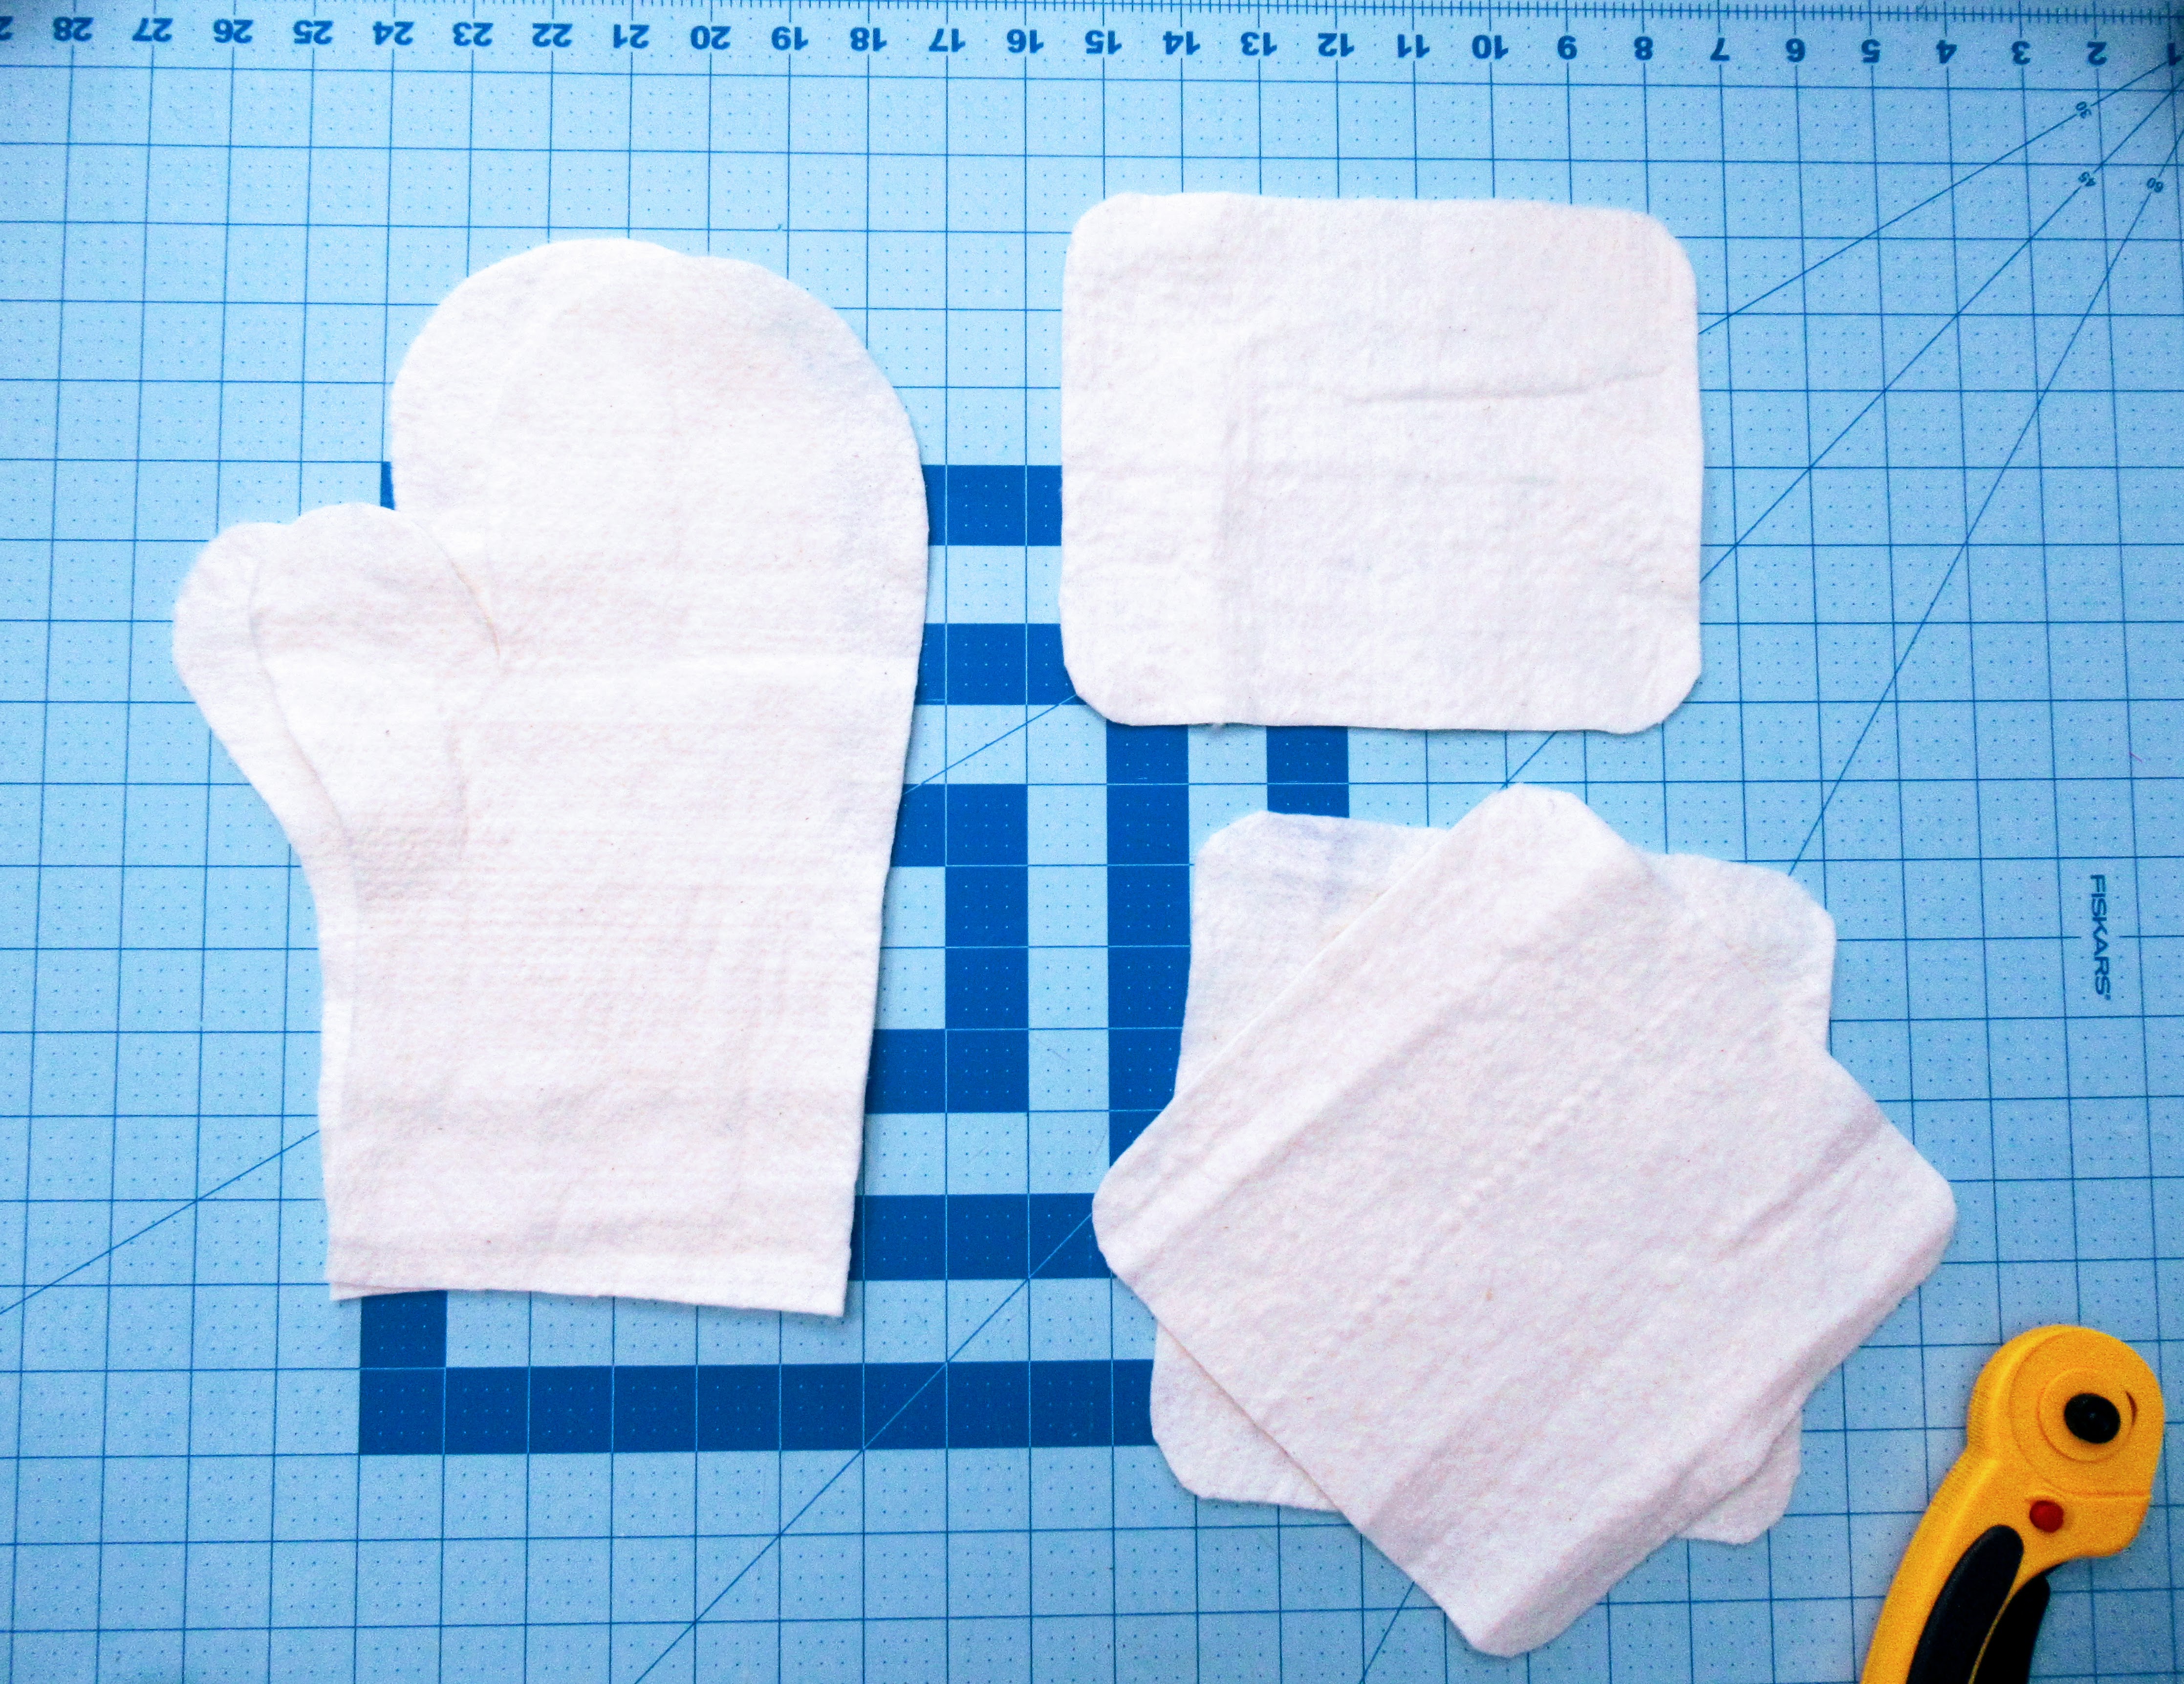
Start off by making your pattern for the mitten or you can print one out. Since this is for a teenager, the mitten will be slightly smaller, but the premise is the same. You’ll want to trace around your hand making sure there is plenty of room left.
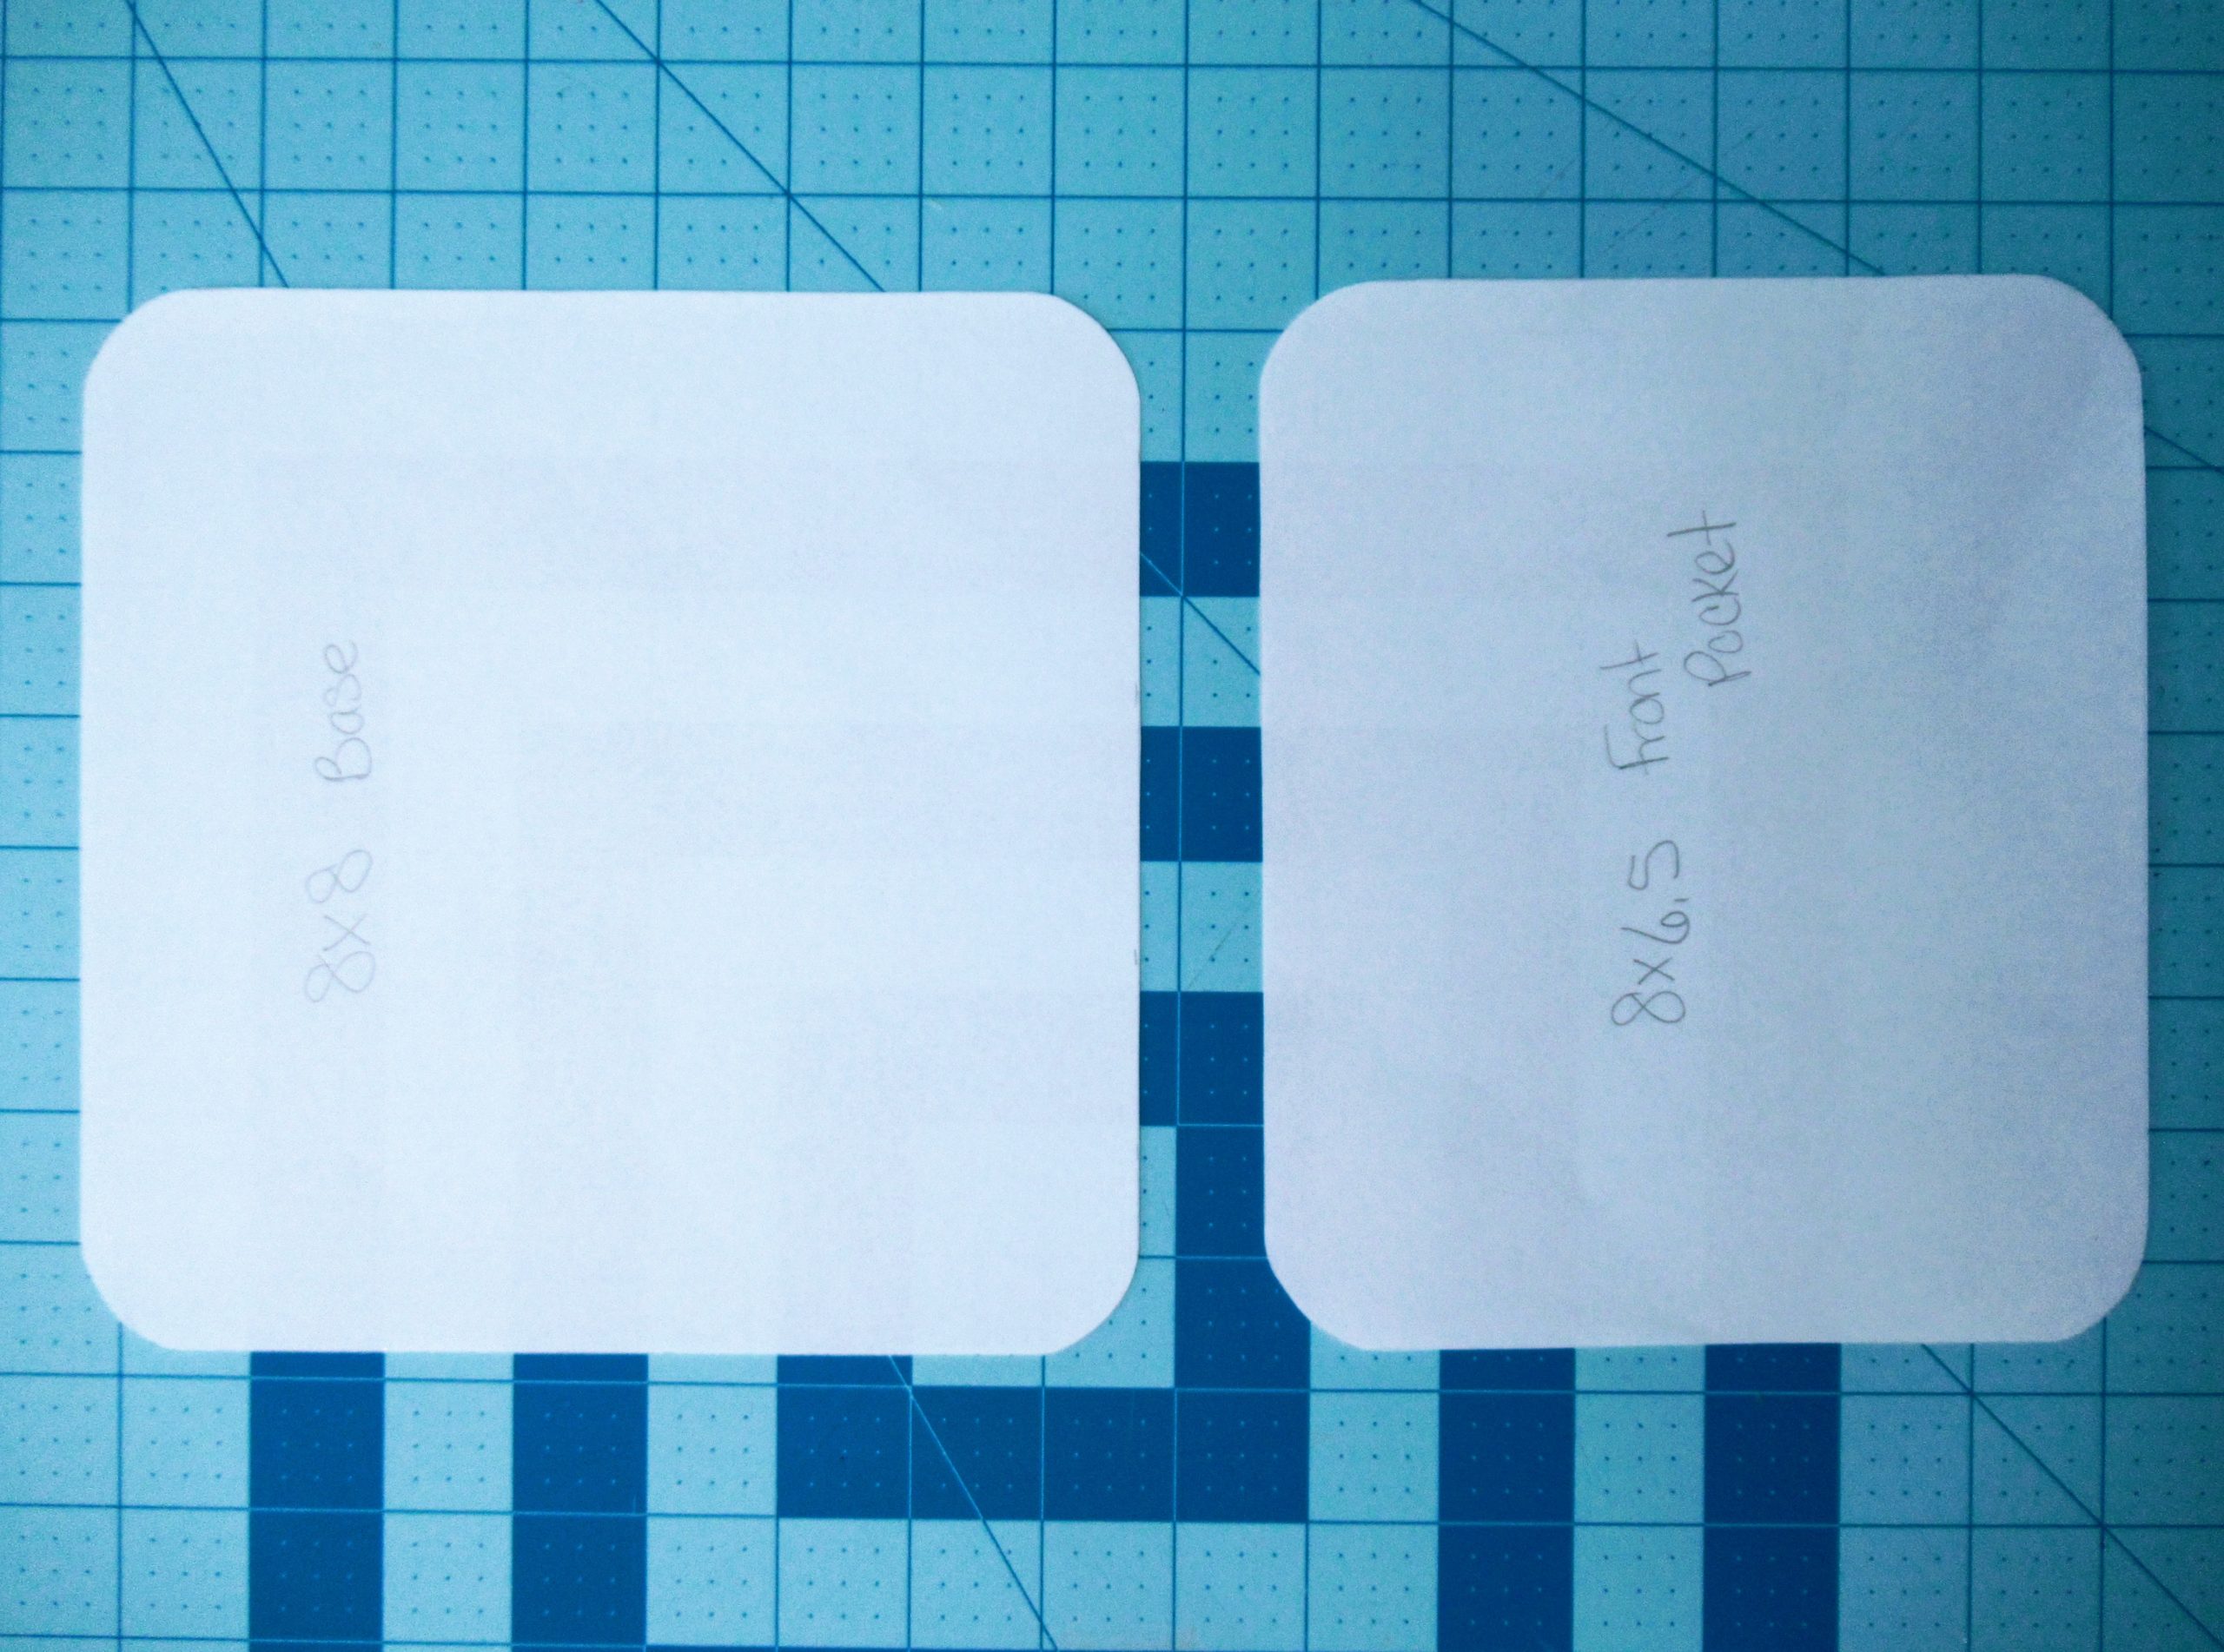
Next, you’ll need a pattern piece for the potholder. I made 2 squares. One was 8×8 the other was slightly smaller 8×6.5. If you don’t want a pocket piece like I have, omit the second square. To get the round curves even, I used the curve of a scotch tape dispenser. It worked perfectly.

Using the pattern pieces, cut out the fabric pieces for the mitten first. Remember to flip the pattern before cutting the second mitten. Then cut the bias pieces. If you want your mitten to have a loop, you will have to cut a strip of fabric for that also.
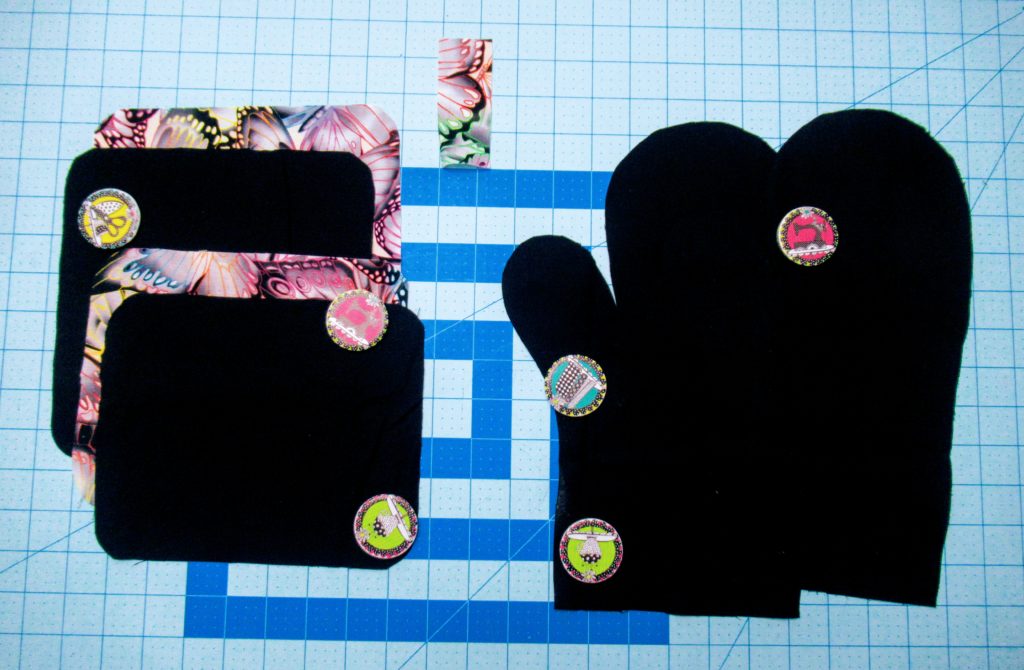
Repeat the same for the batting omitting the bias.
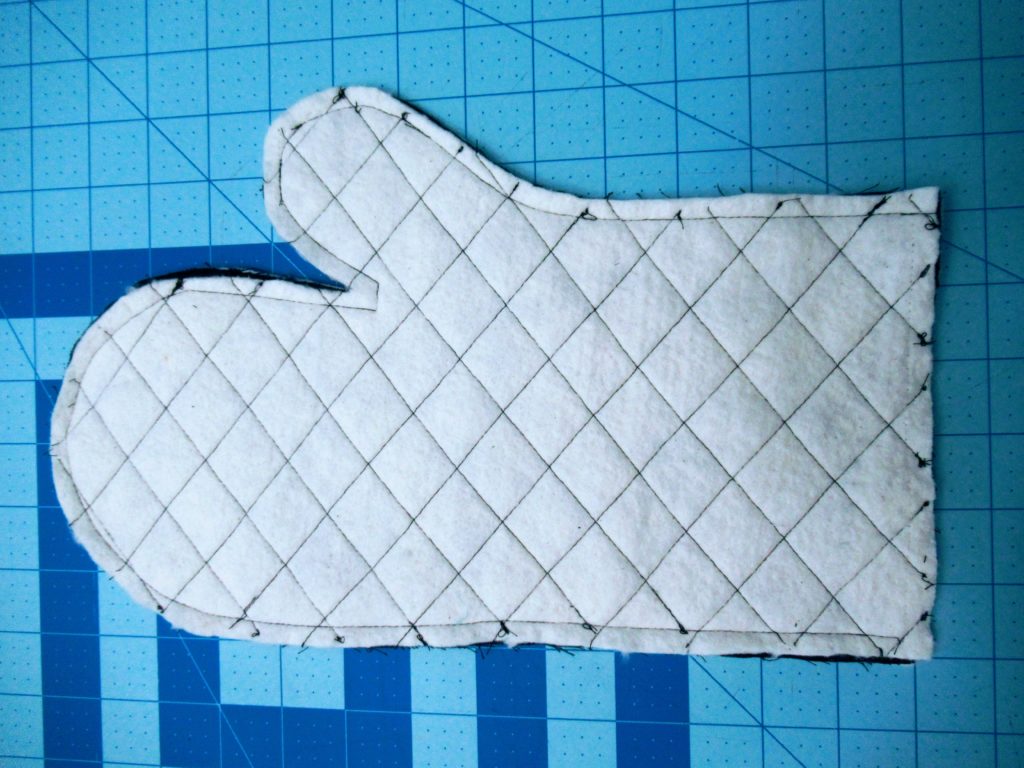
If your mitten and potholder will be quilted, you will need to do that first. Take a deep breath, it looks more complicated than it is. Quilting the pieces will be the most time-consuming part of this whole project. Begin by creating diagonal lines in opposite directions onto your fabric. (Mine are 1 inch apart) Next pin the pieces to the batting as pictured.

You will then sew over these lines creating the quilted look. Try to get as close to straight as possible, because it may be noticeable in your finished product.
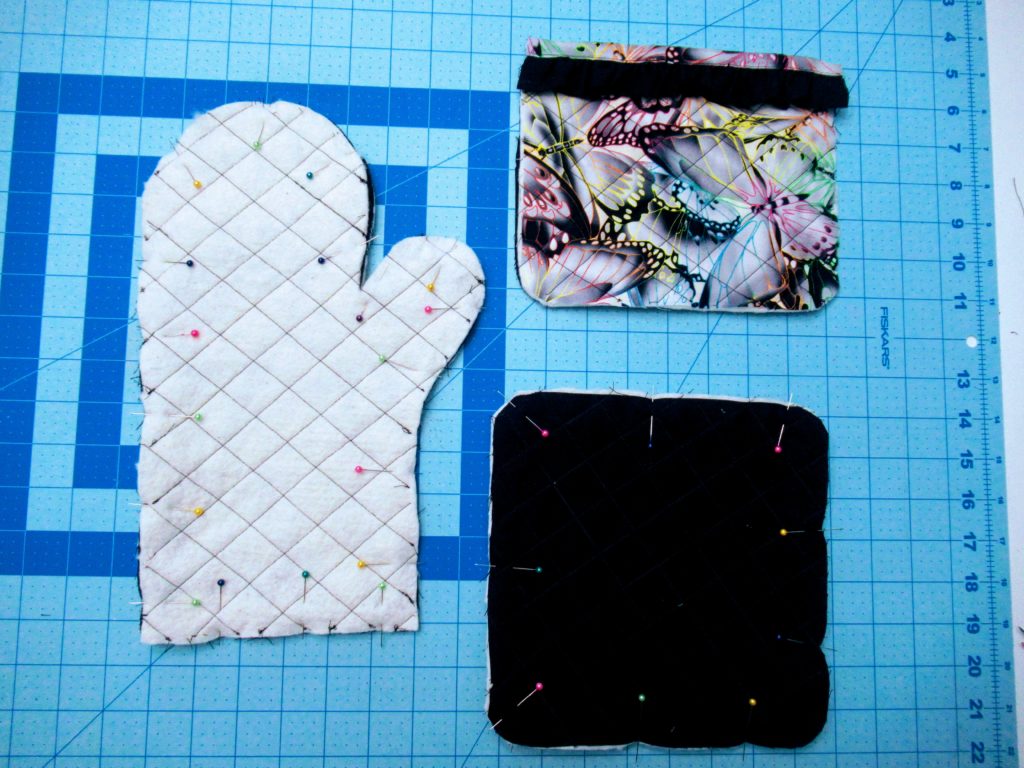
The mitten is the easier of the 2 to make so start with it. You will put right sides together and pin. I used a ¼ seam allowance for this part. Keep in mind the larger your seam allowance is, the skinner your final mitten will be.
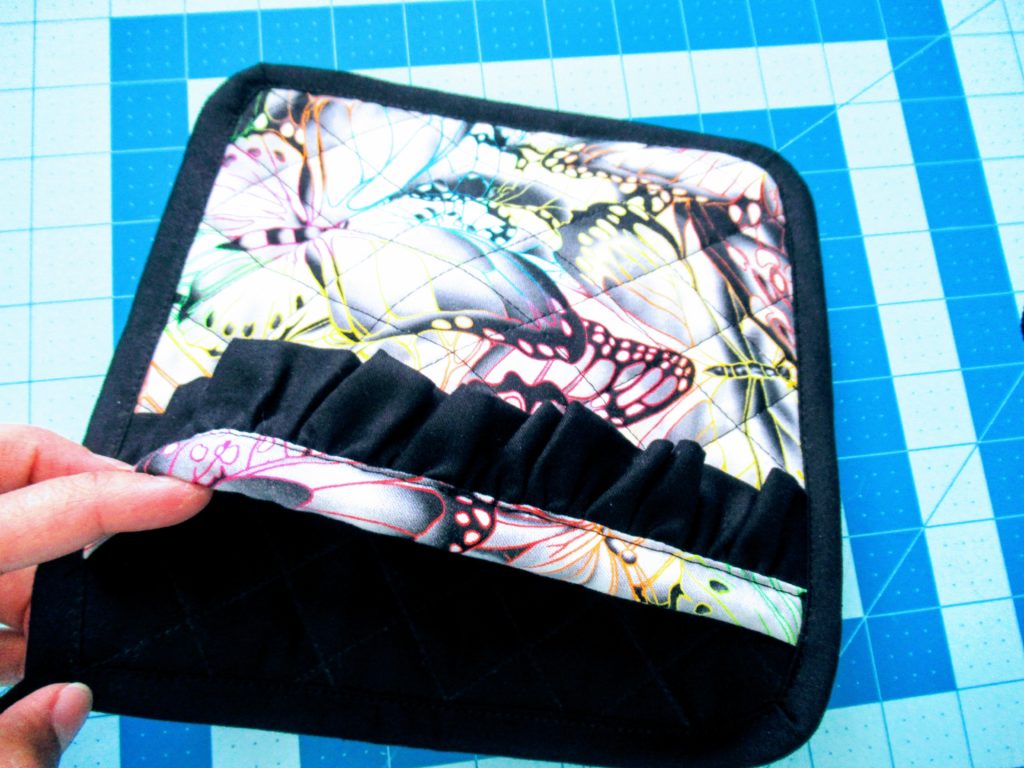
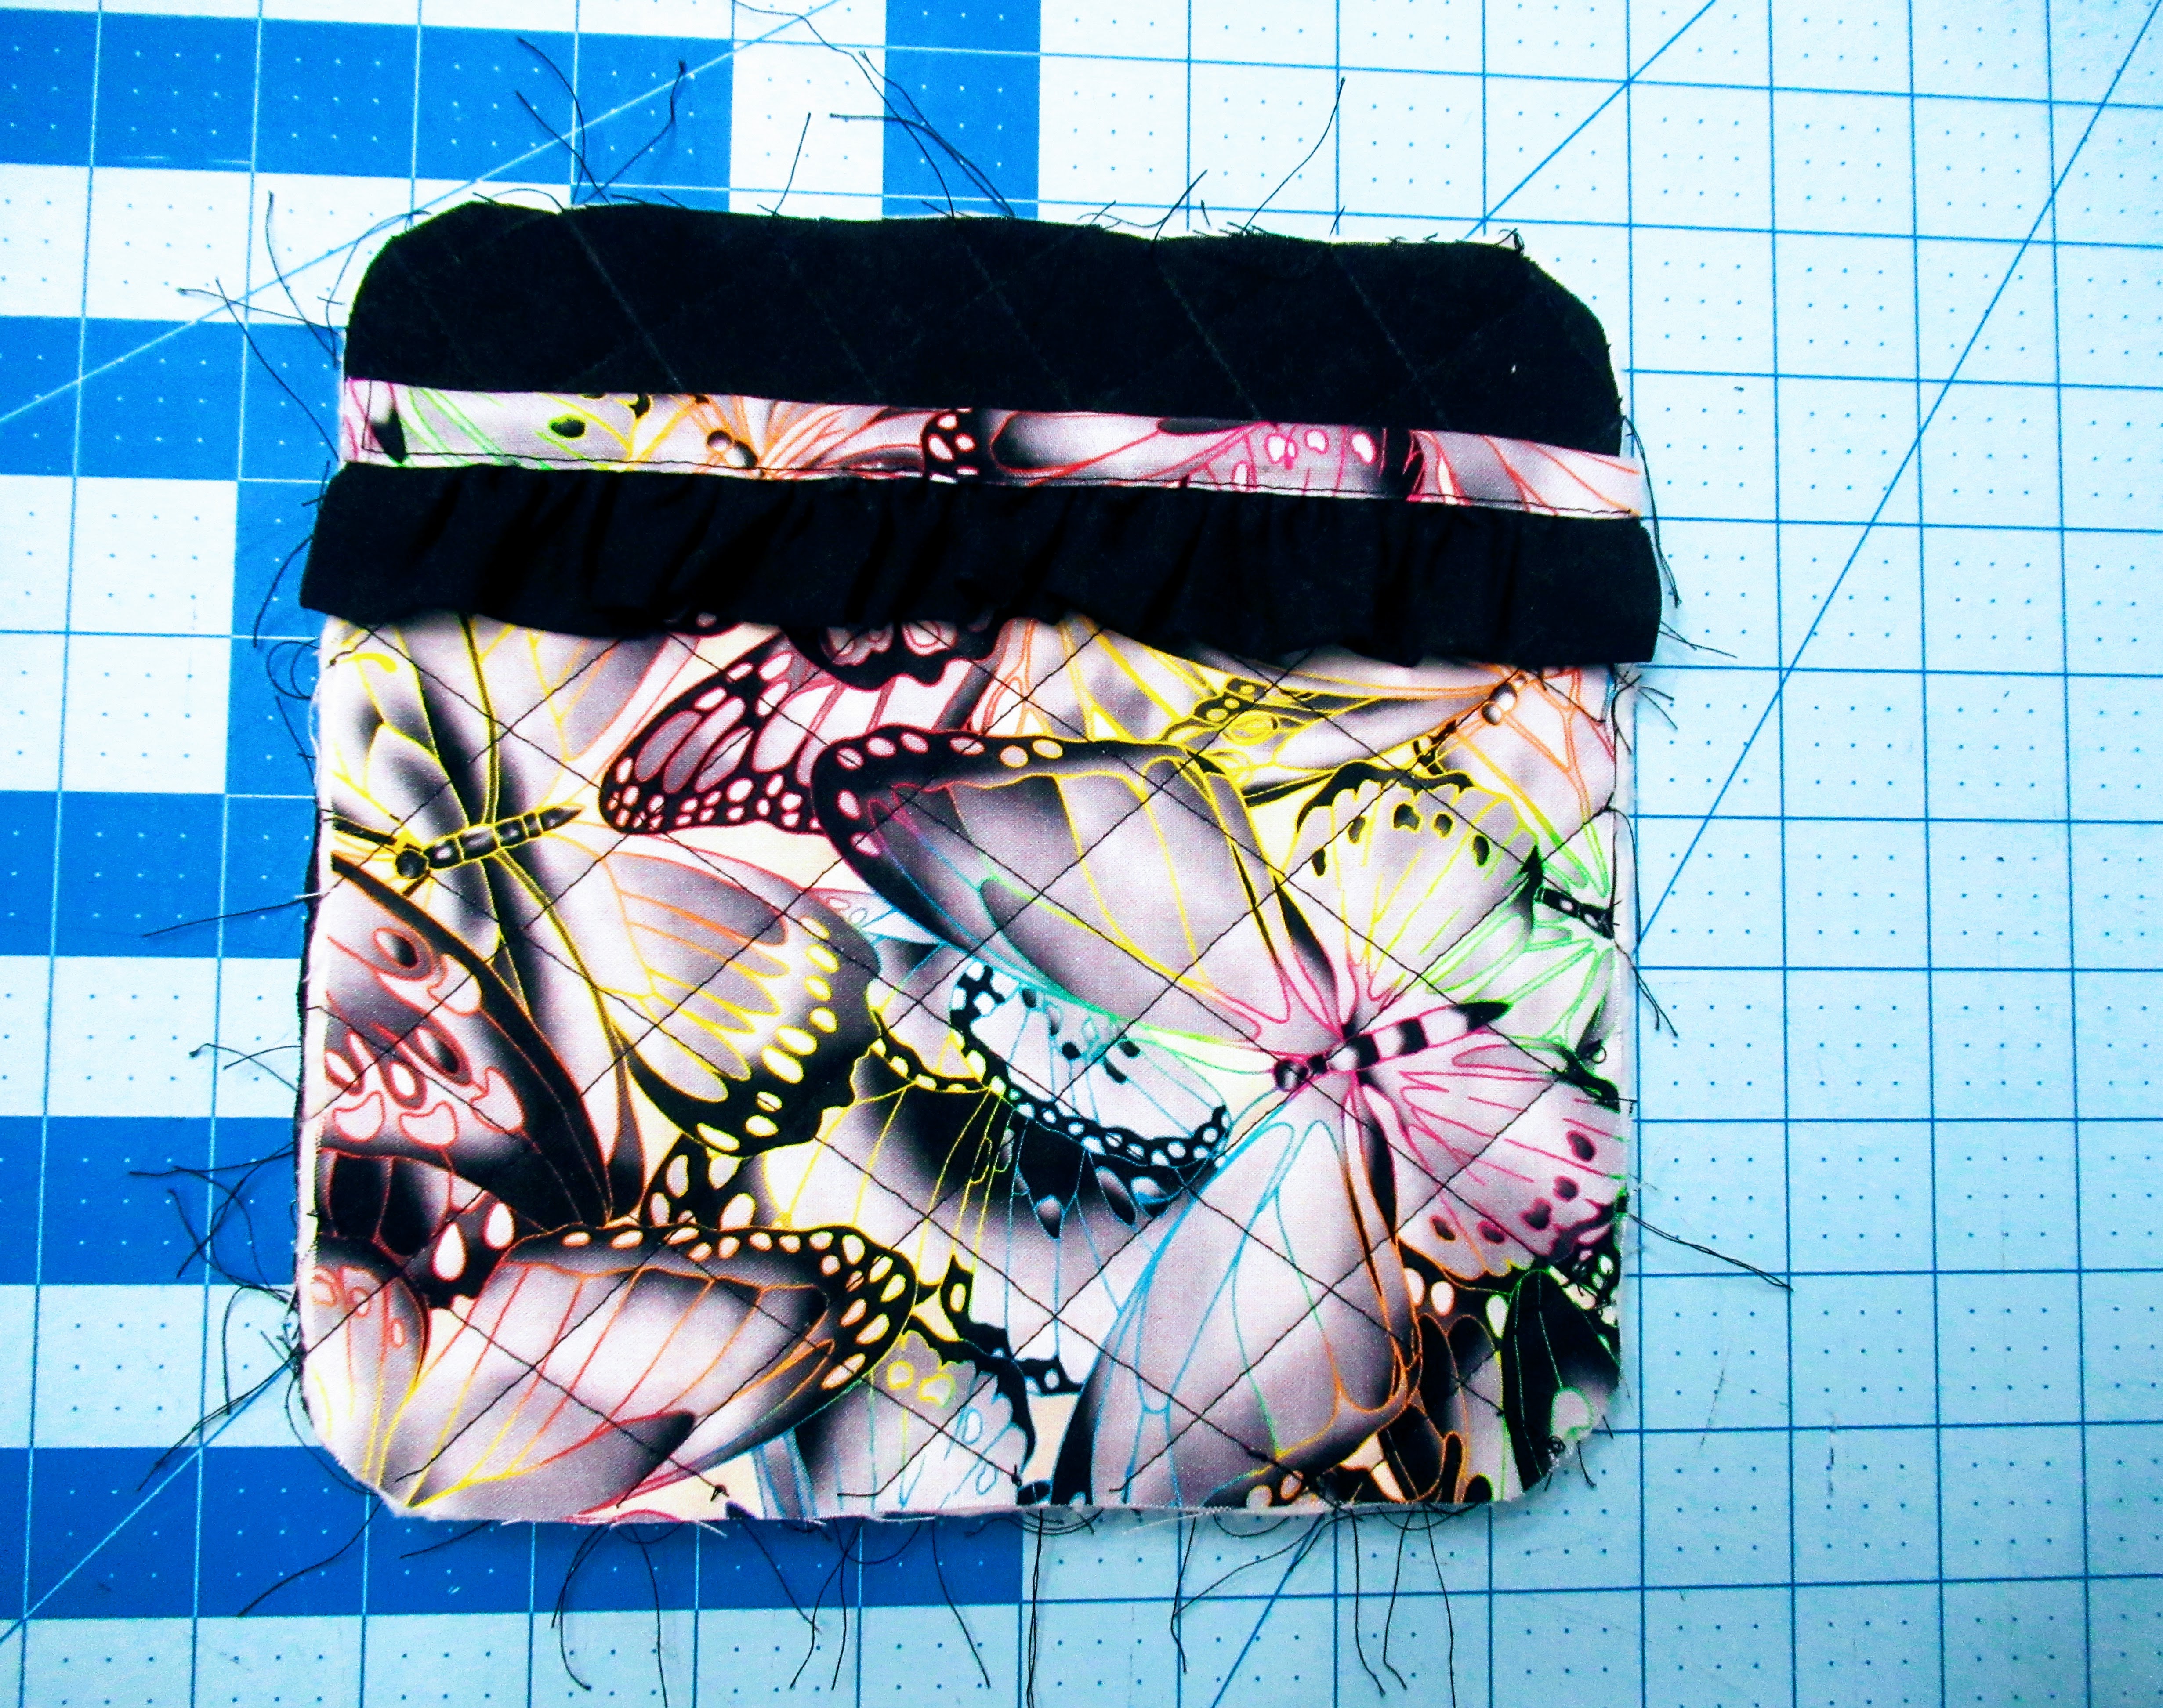
Next fold the ruffle piece in half and make a gather stitch at the top. Gather until it is 8 inches wide. Line it to the top of the 8×6.5 piece. The ruffle will be sandwiched in between the potholder and the bias you created earlier. Sew getting as close to the edge as possible.
Turn your mittens right side out and sew the bias down at the bottom. If you have a loop for hanging you will sew it on after the bias has been sewn.
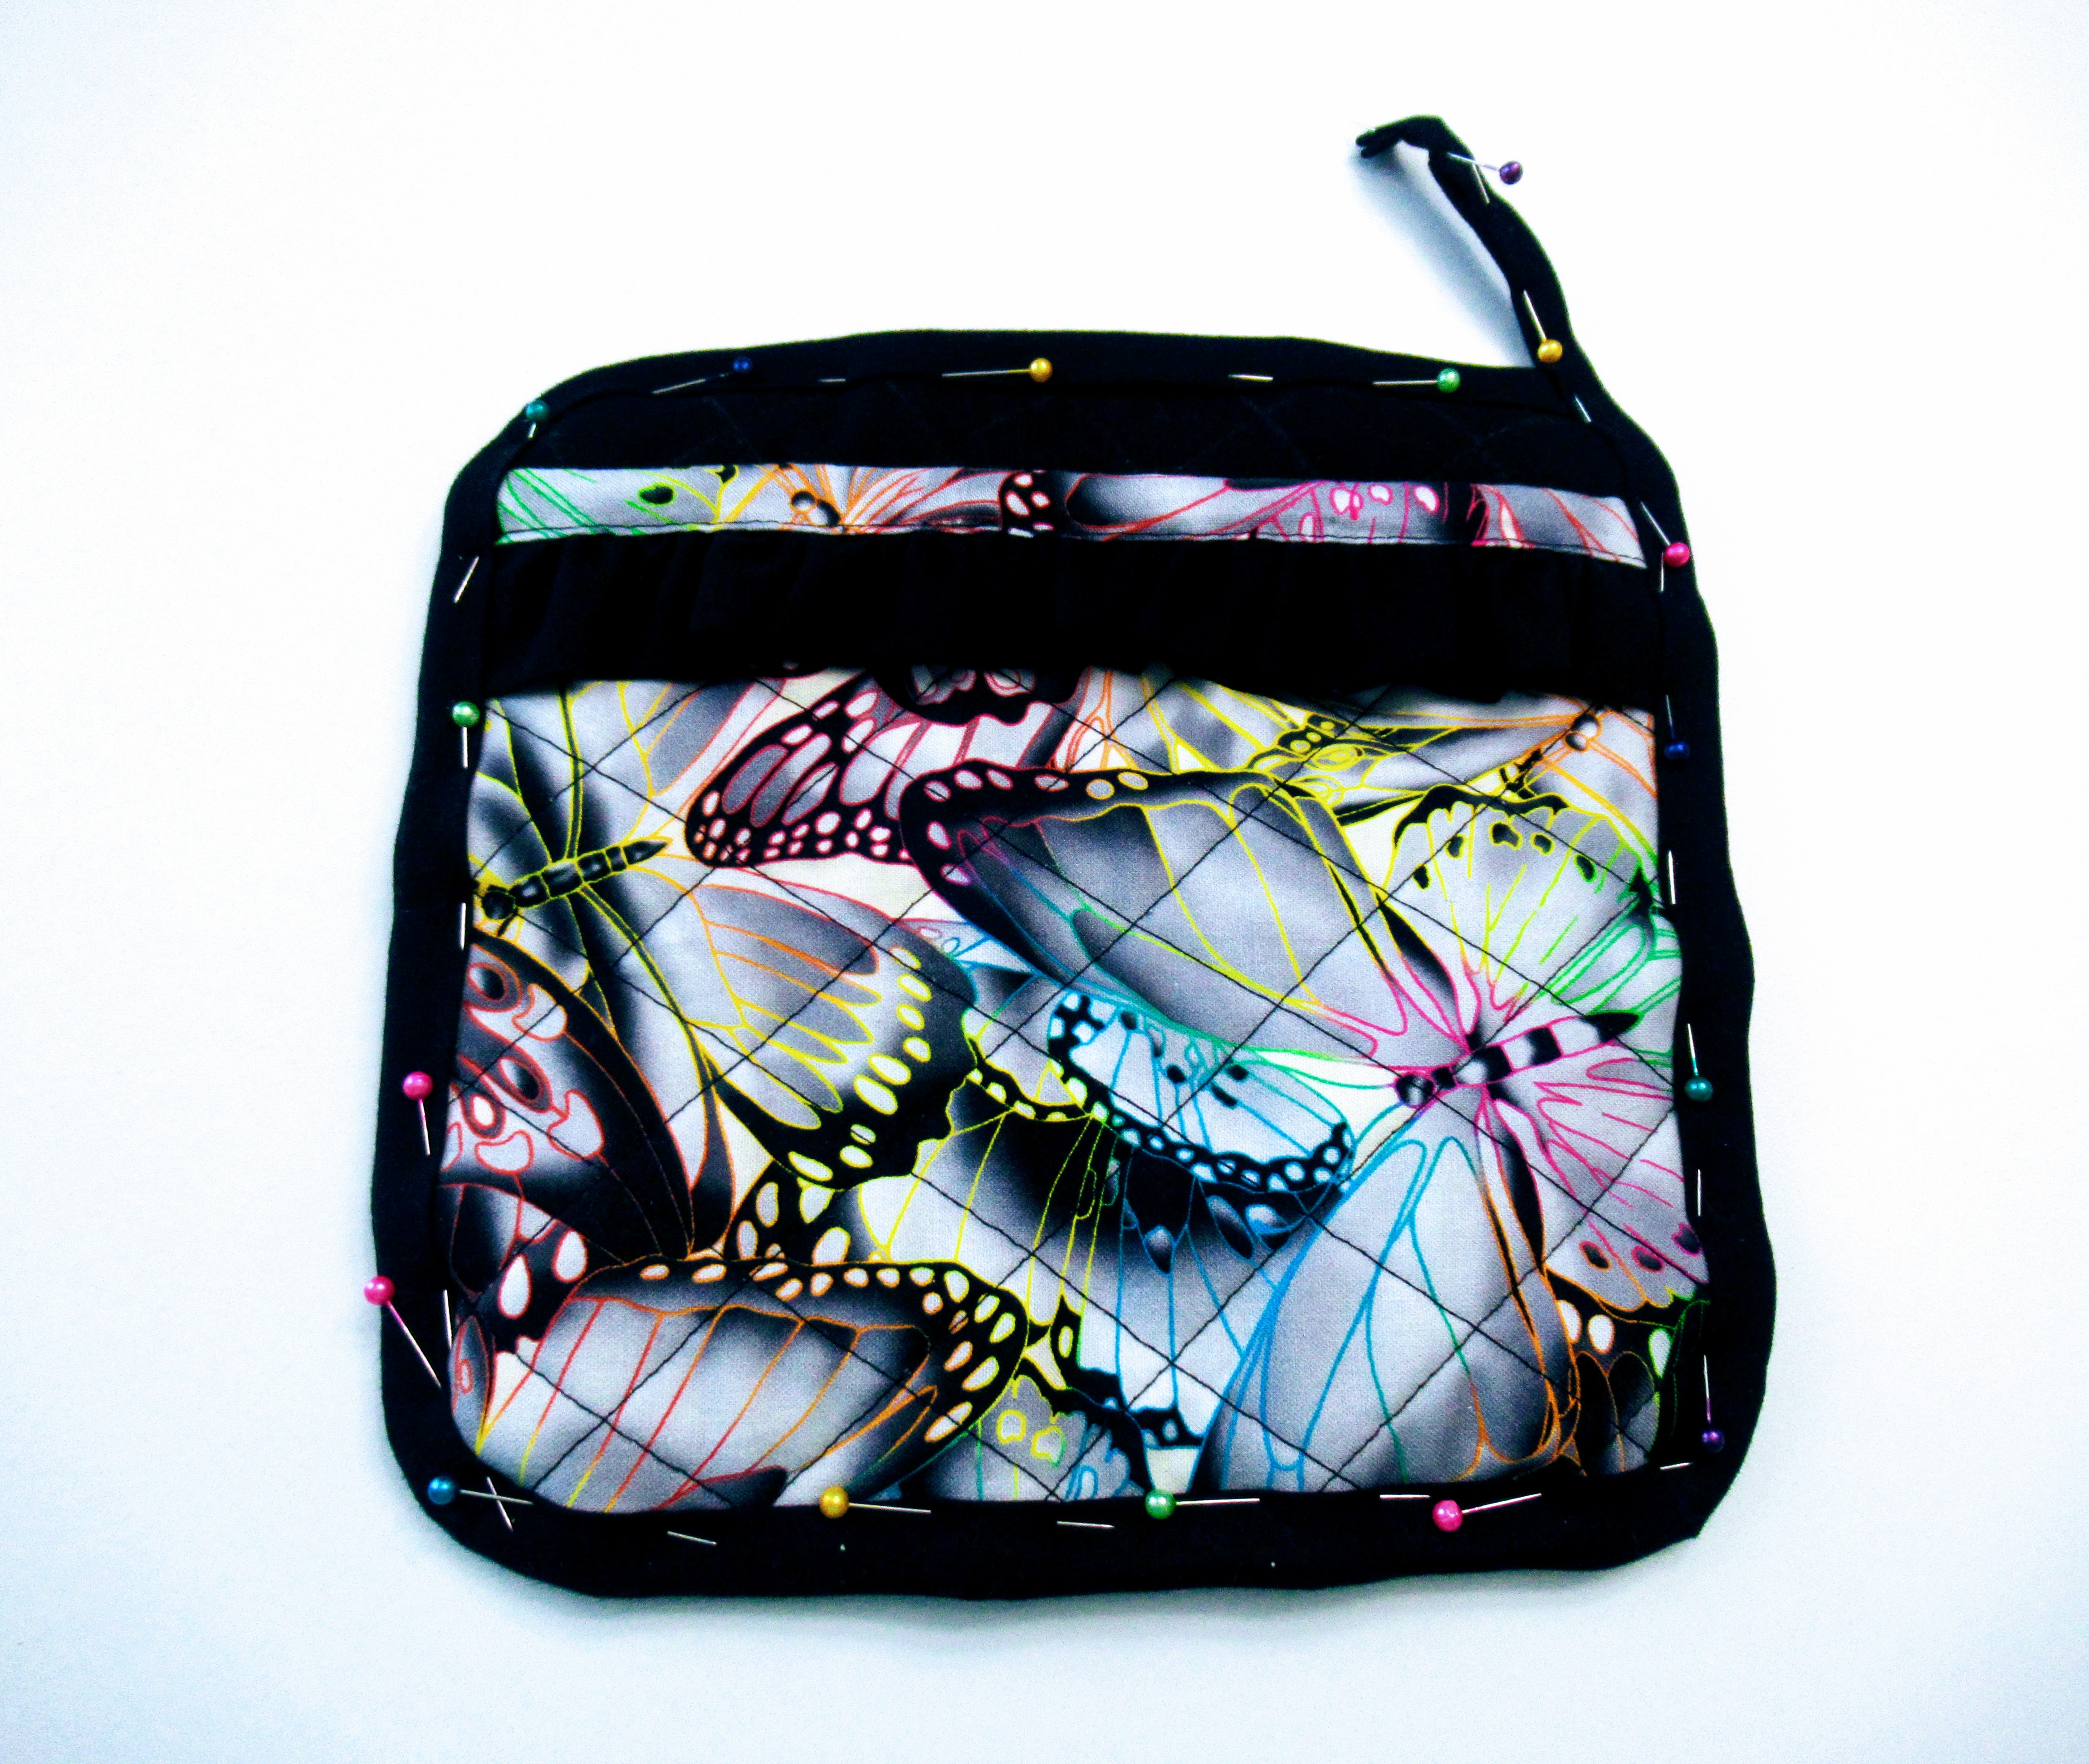
Take the smaller potholder piece and place it on top of the bigger piece. Stay stitch the two pieces together.
Now you will want to pin and sew the bias on. I made my bias longer than I need because I will be using the leftover portion to create a loop.
There you have it! A cute little mitten and potholder set that’s both pretty and functional. Did I forget to mention the potholder’s front pocket is more than just a pocket? It can also be used to act as a mitten. Isn’t that handy?