Back to school has kept me busy and as a result my sewing took the back seat. Luckily today I was finally able to turn my sewing machine on and make something!!! Now it’s not as fancy or cool as making a dress or purse, but still enjoyable. So, if you’re looking for a beginner project or want a reason to use up your scrap fabric you should try these fun bean bags.
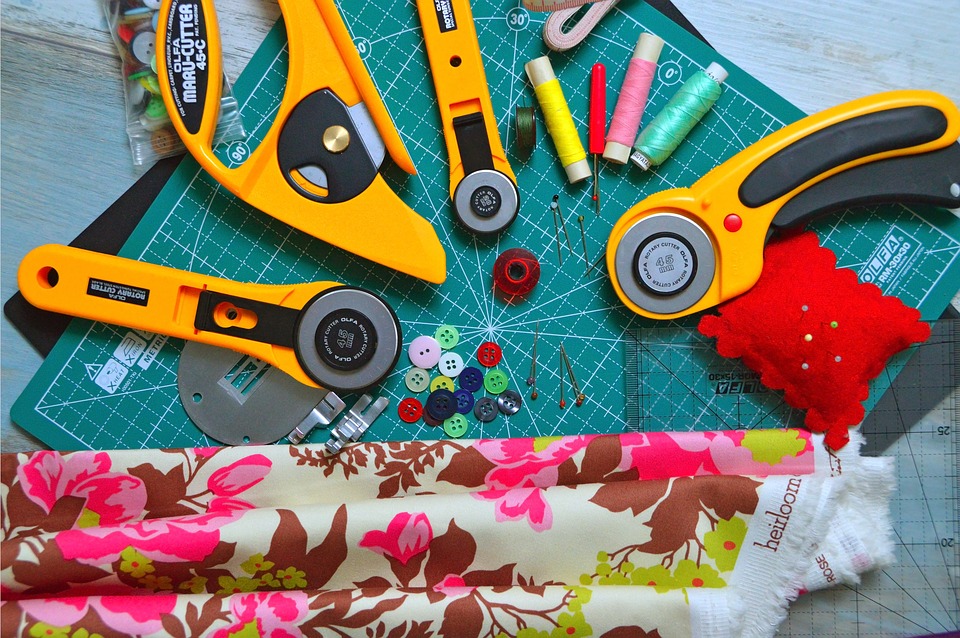
Supplies Needed:
- Fabric Scraps
- Matching Thread
- Cutting Tools (scissors or rotary cutter)
- Pins
- Ruler
- Dried beans (you can also use rice, sand, beads…etc.)
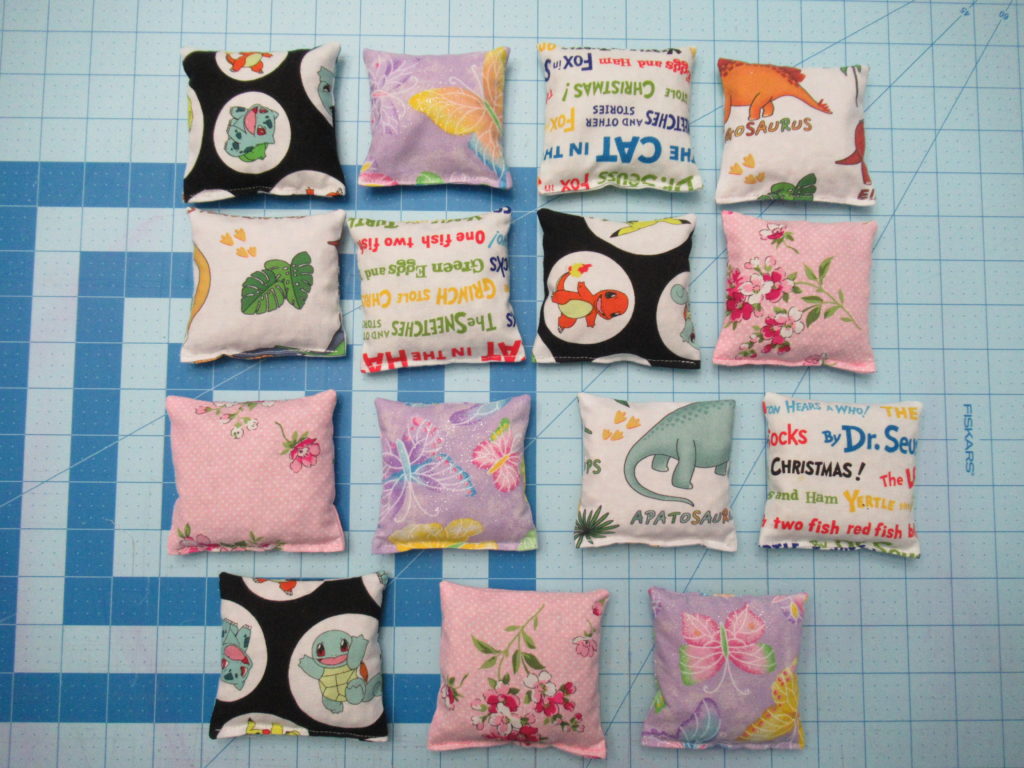
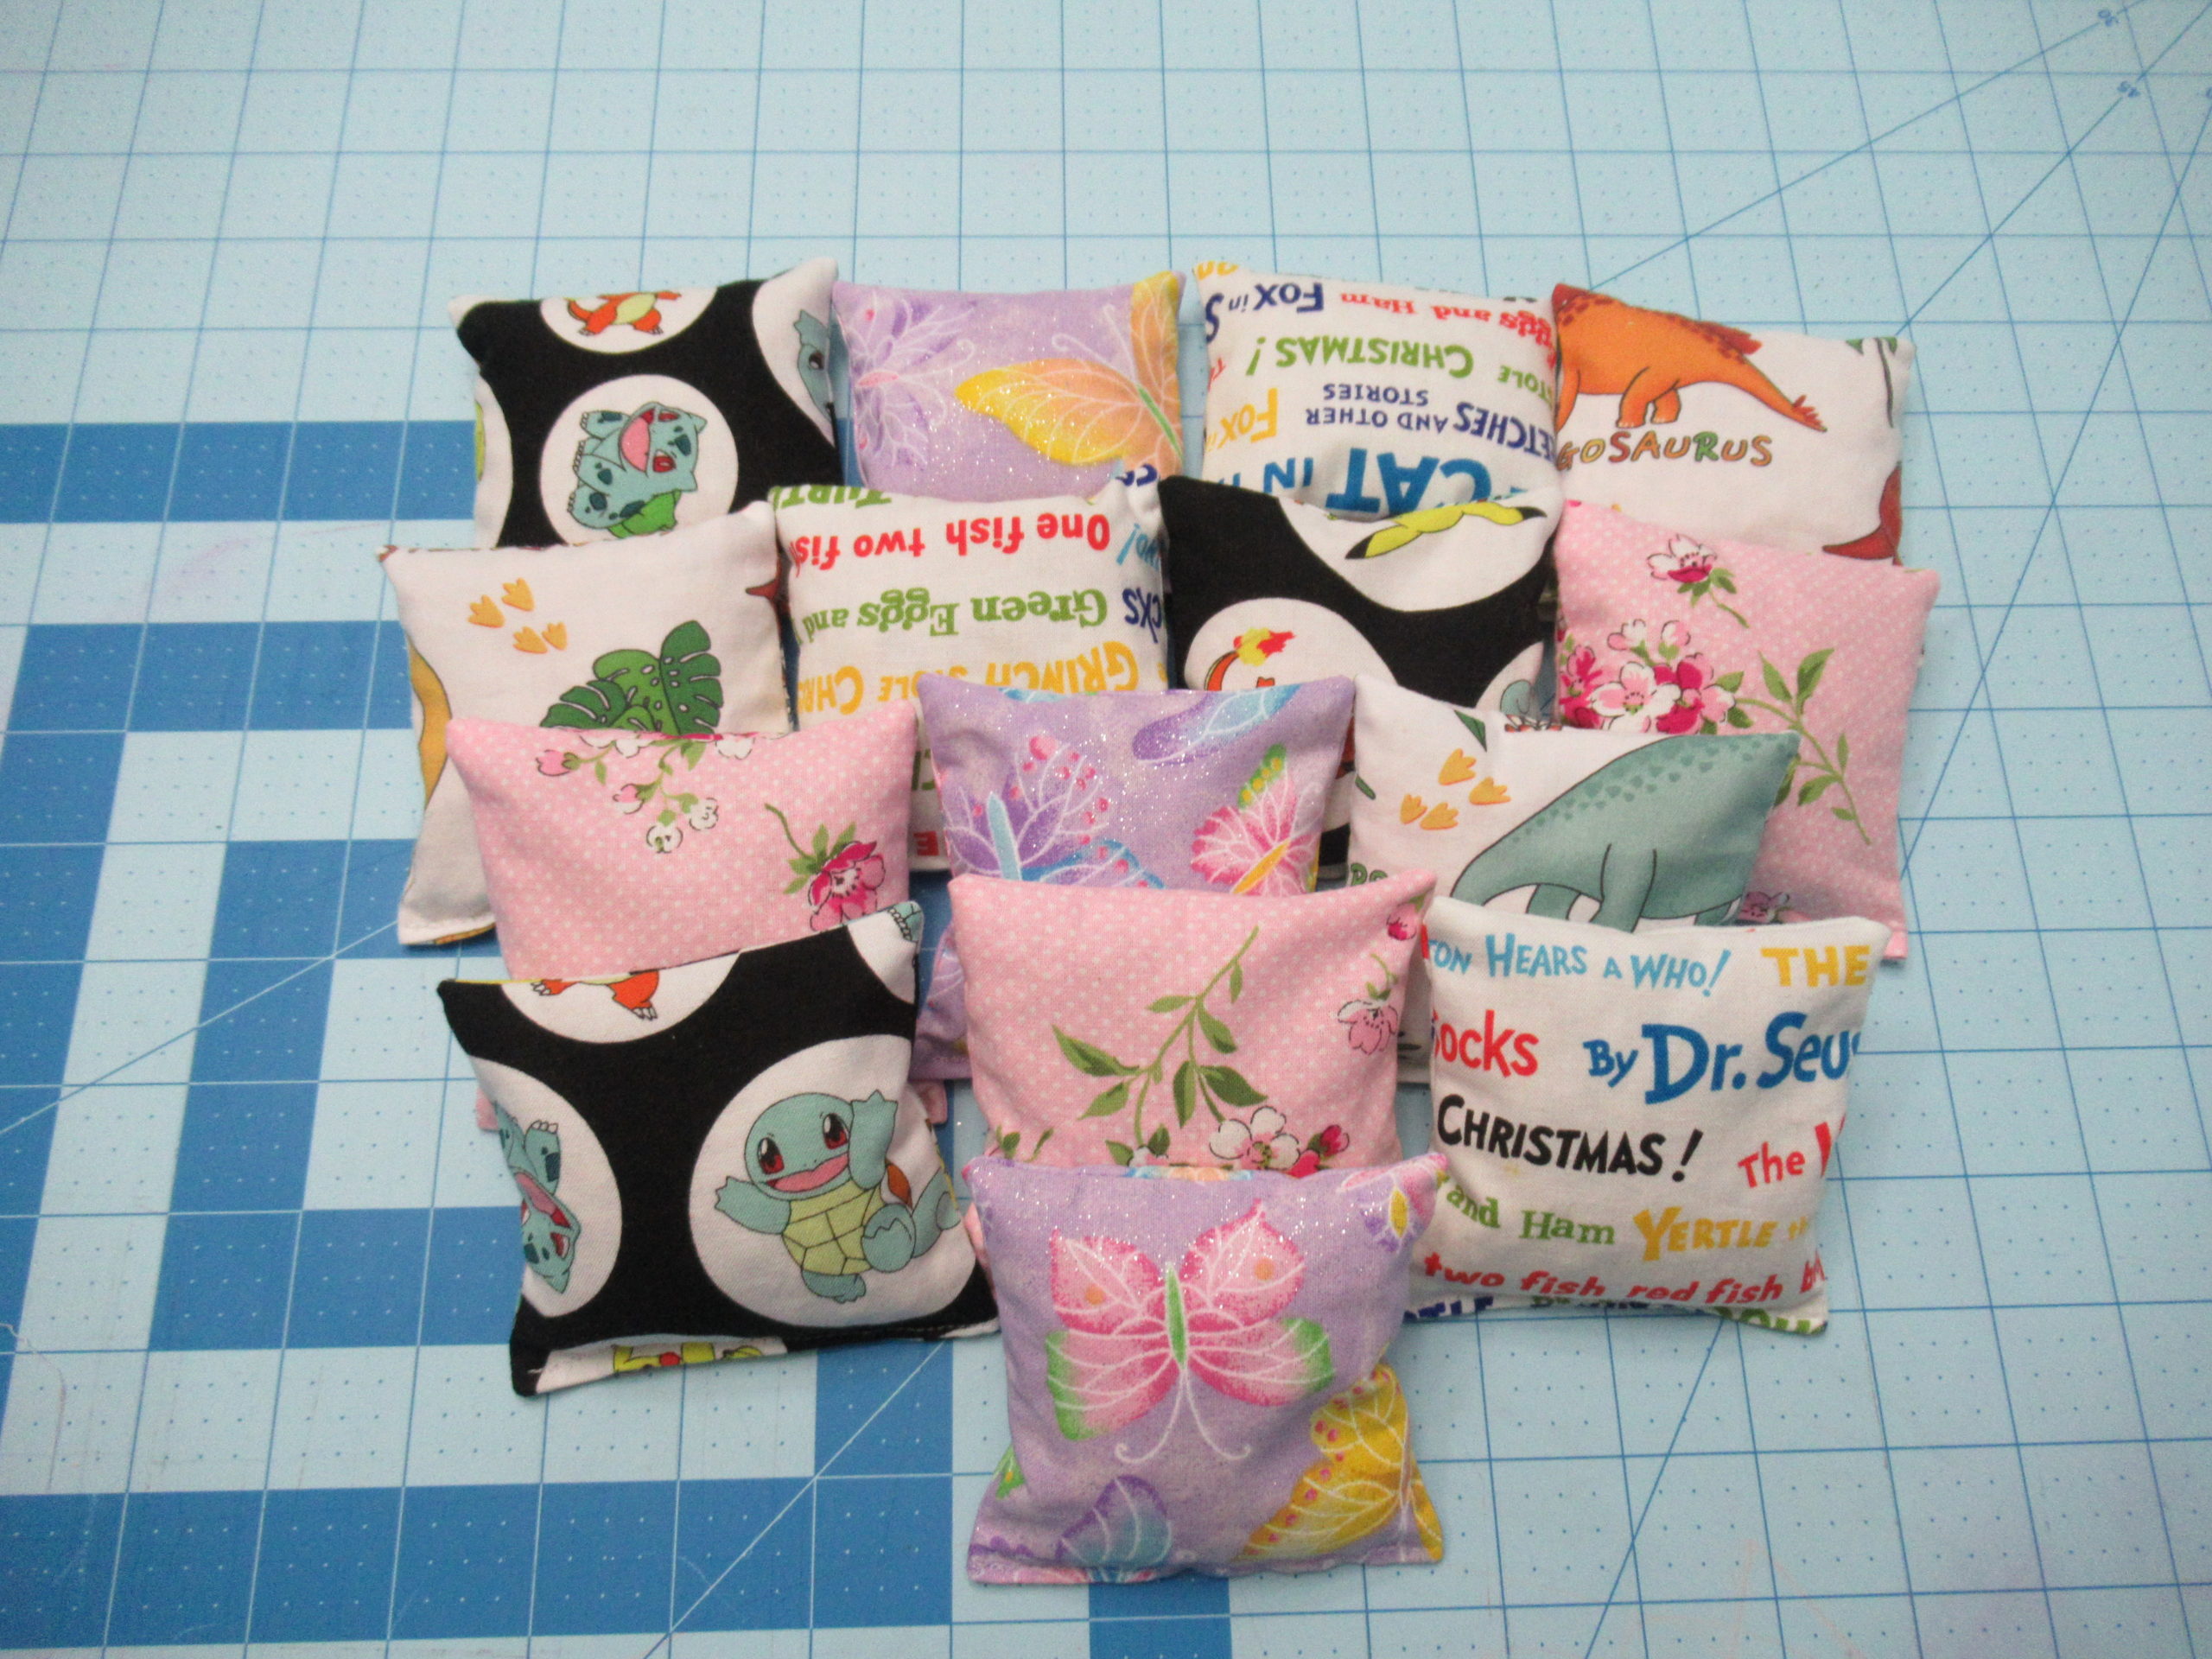
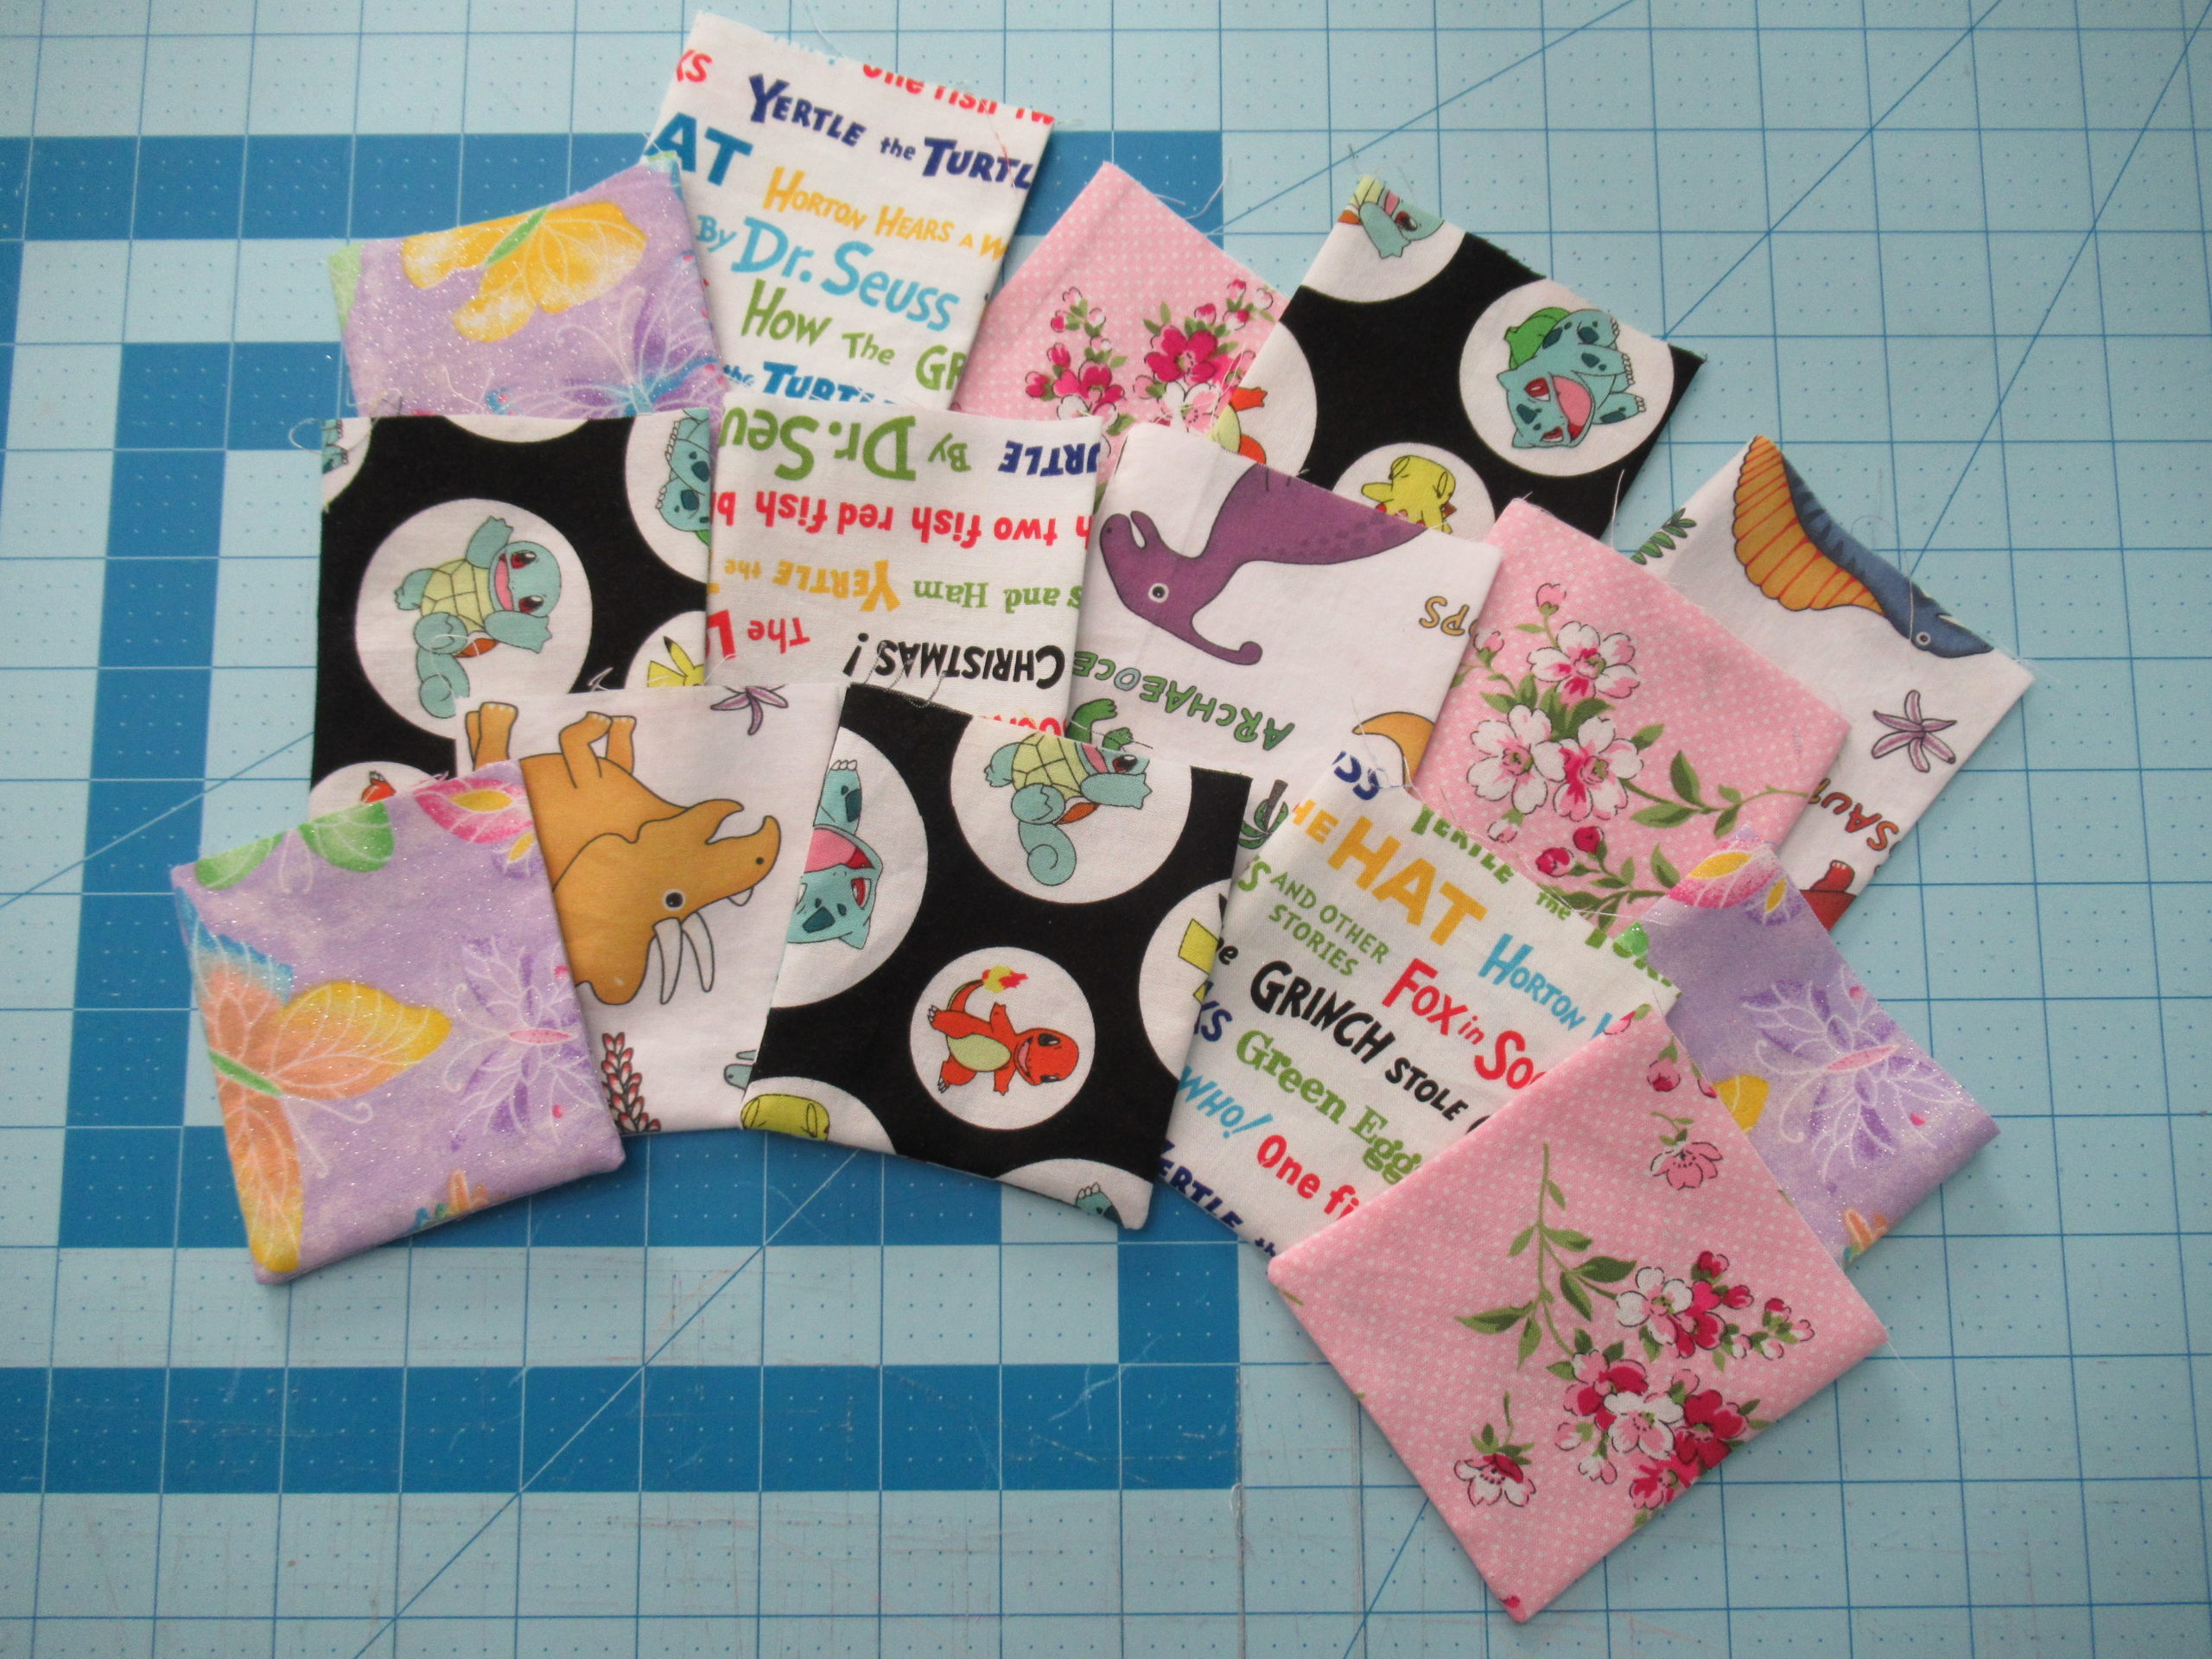
These 4×4 inch squared bean bags are perfect for little kids to play with, but feel free to make them any size you want. As for the stuffing, the main reason I chose to use navy beans was because we had plenty. If you don’t have any lying around you can use any dried bean or another material that will provide weight, without being too bulky or heavy.
To begin, take your fabric remnants and cut them into 4×4 squares. This means your final bean bag will measure slightly less than 4×4 when completed. Bear in mind, if you like to work with larger seam allowances you will need to add more to the width and length.

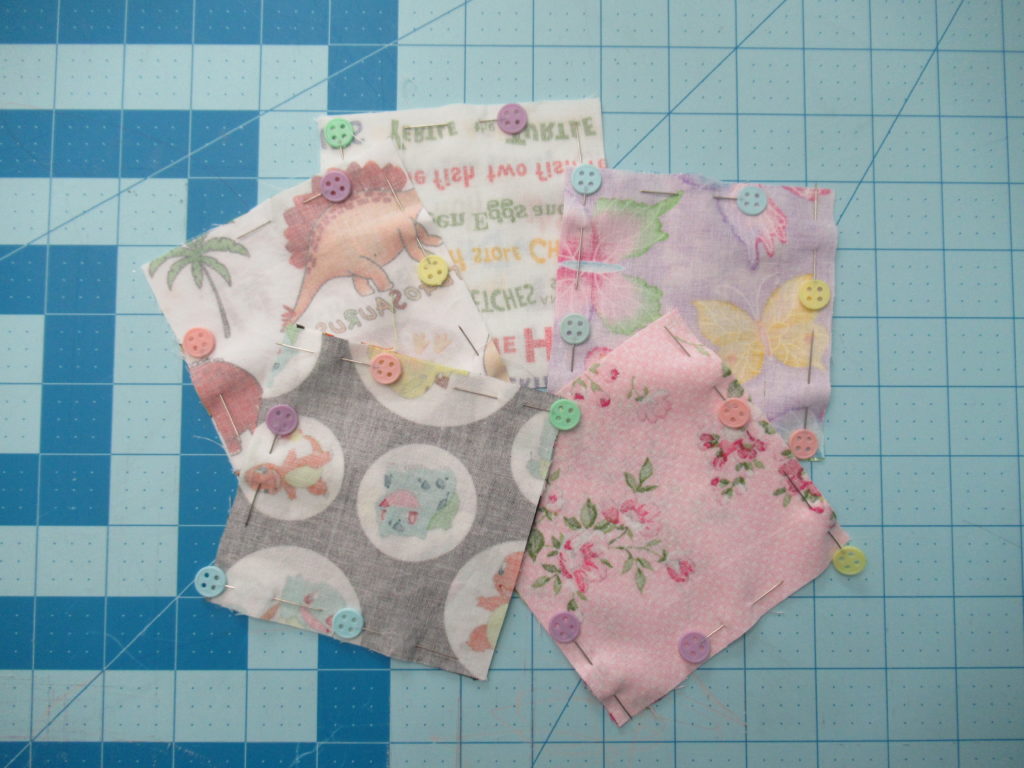
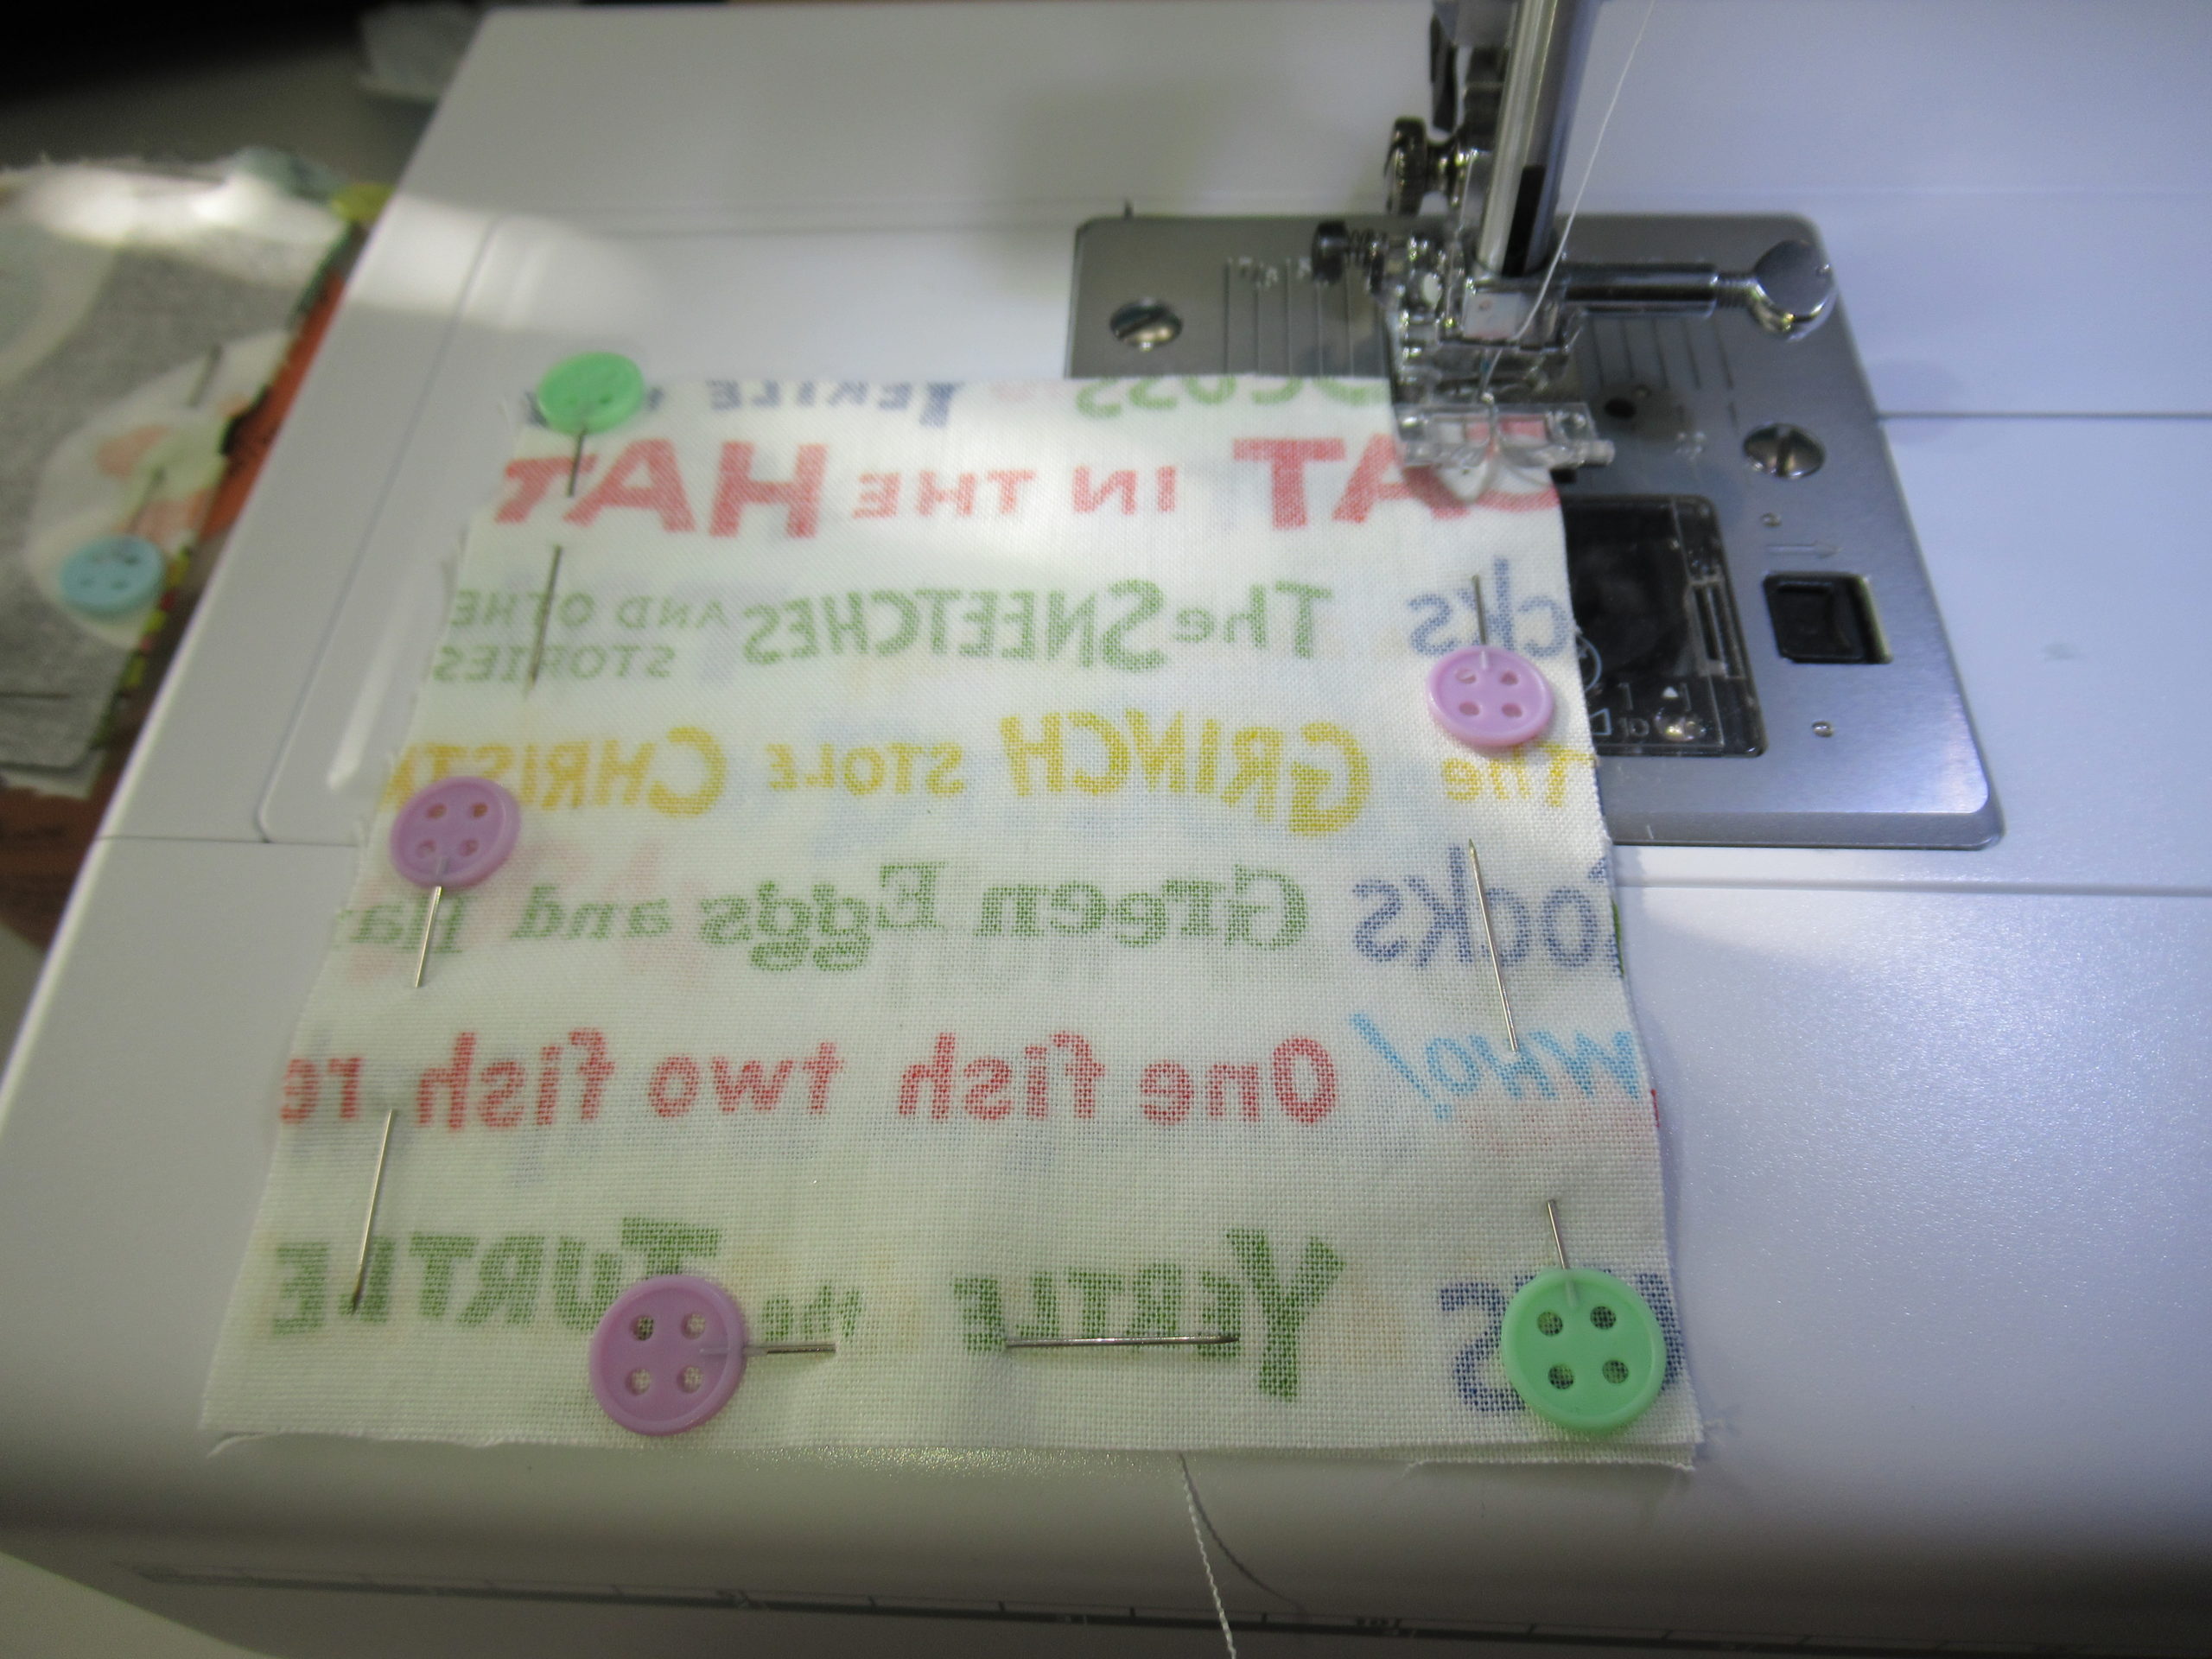
Next, pin your fabric right sides together. I knew I was going to make 15 small bean bags, so I went ahead and cut out all my squares and pinned them at the same time. Be sure to leave one end of the square open. We will close this opening after putting the beans in.
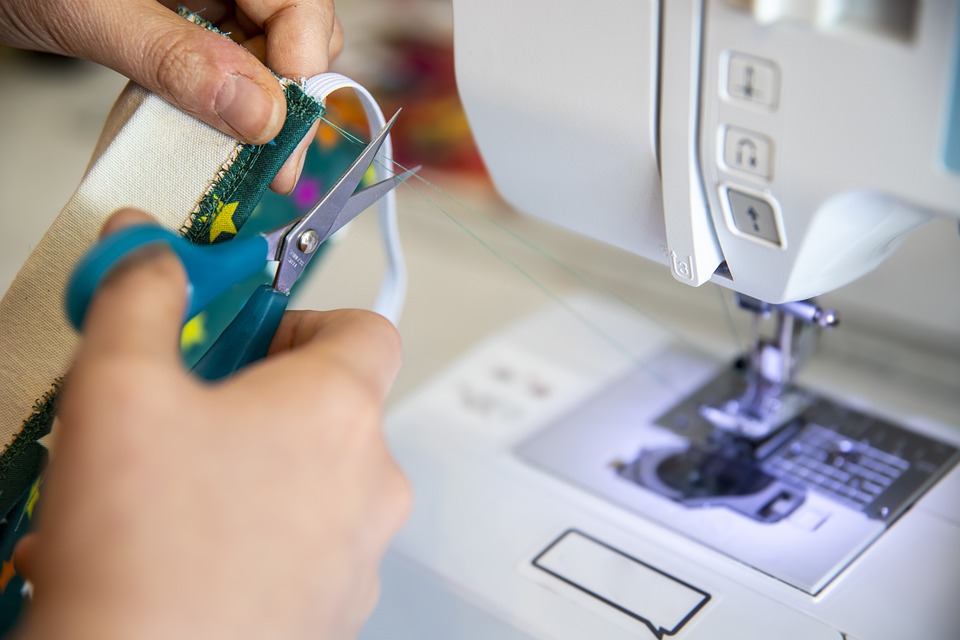
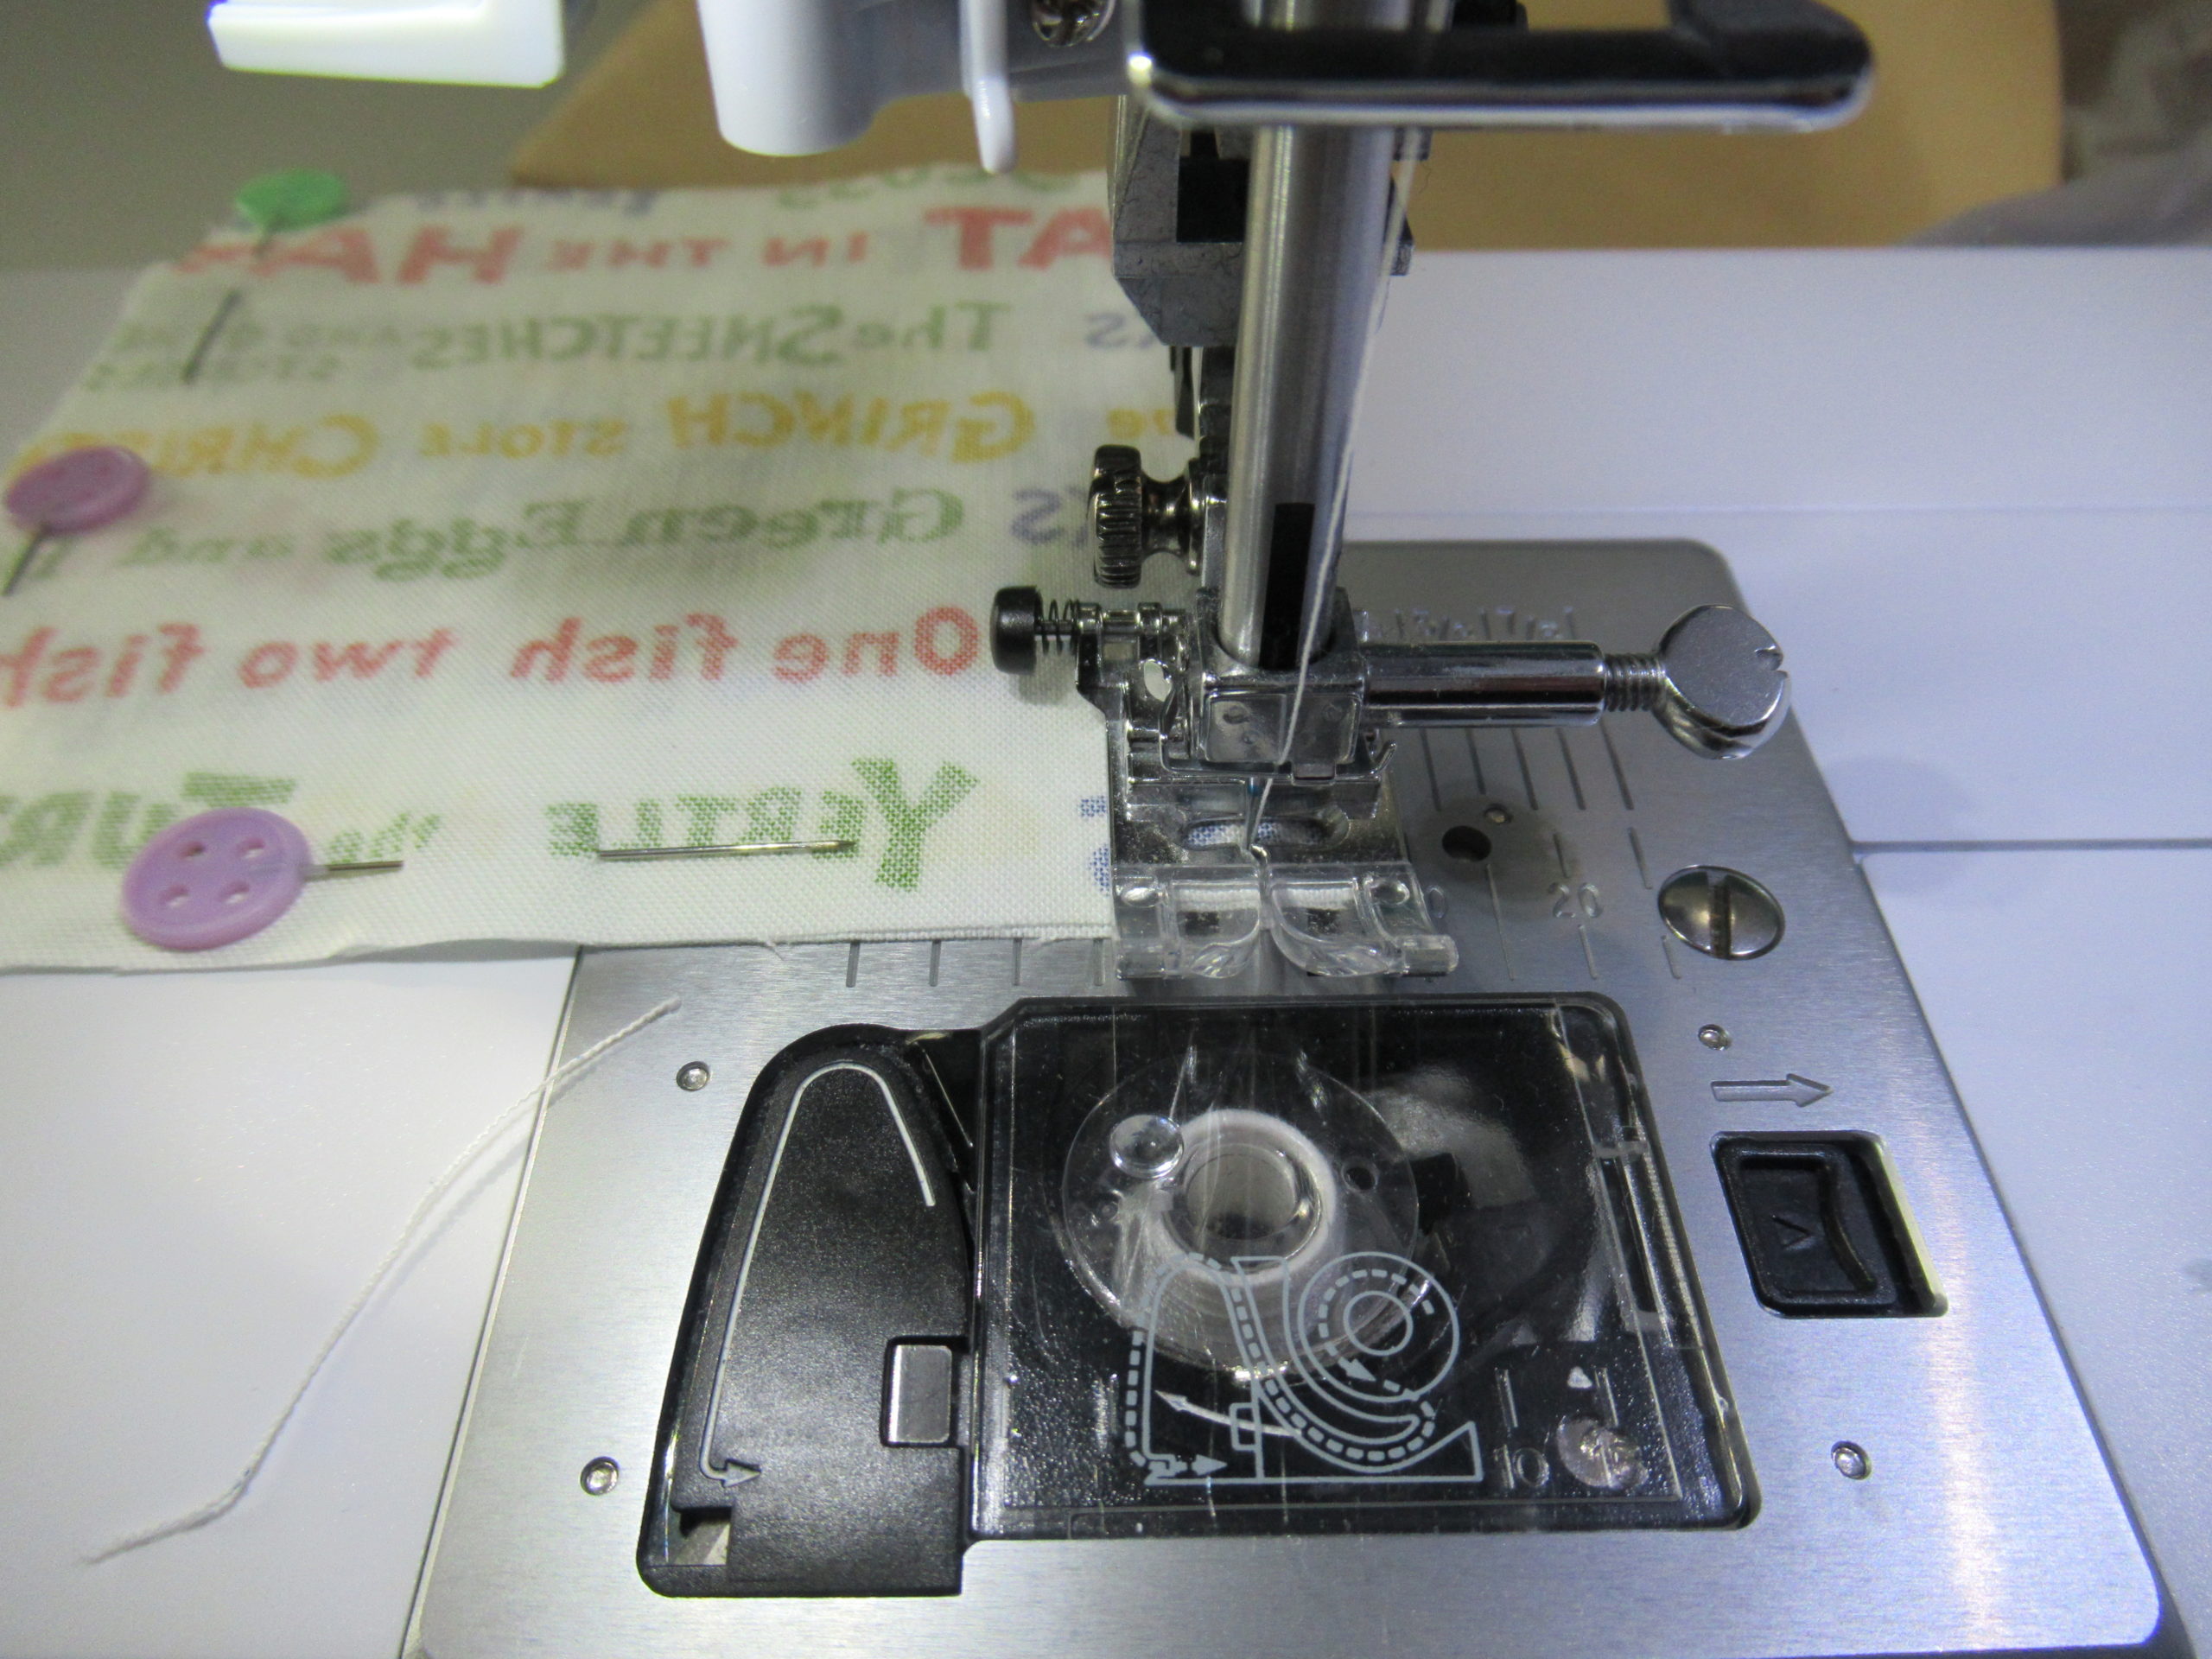
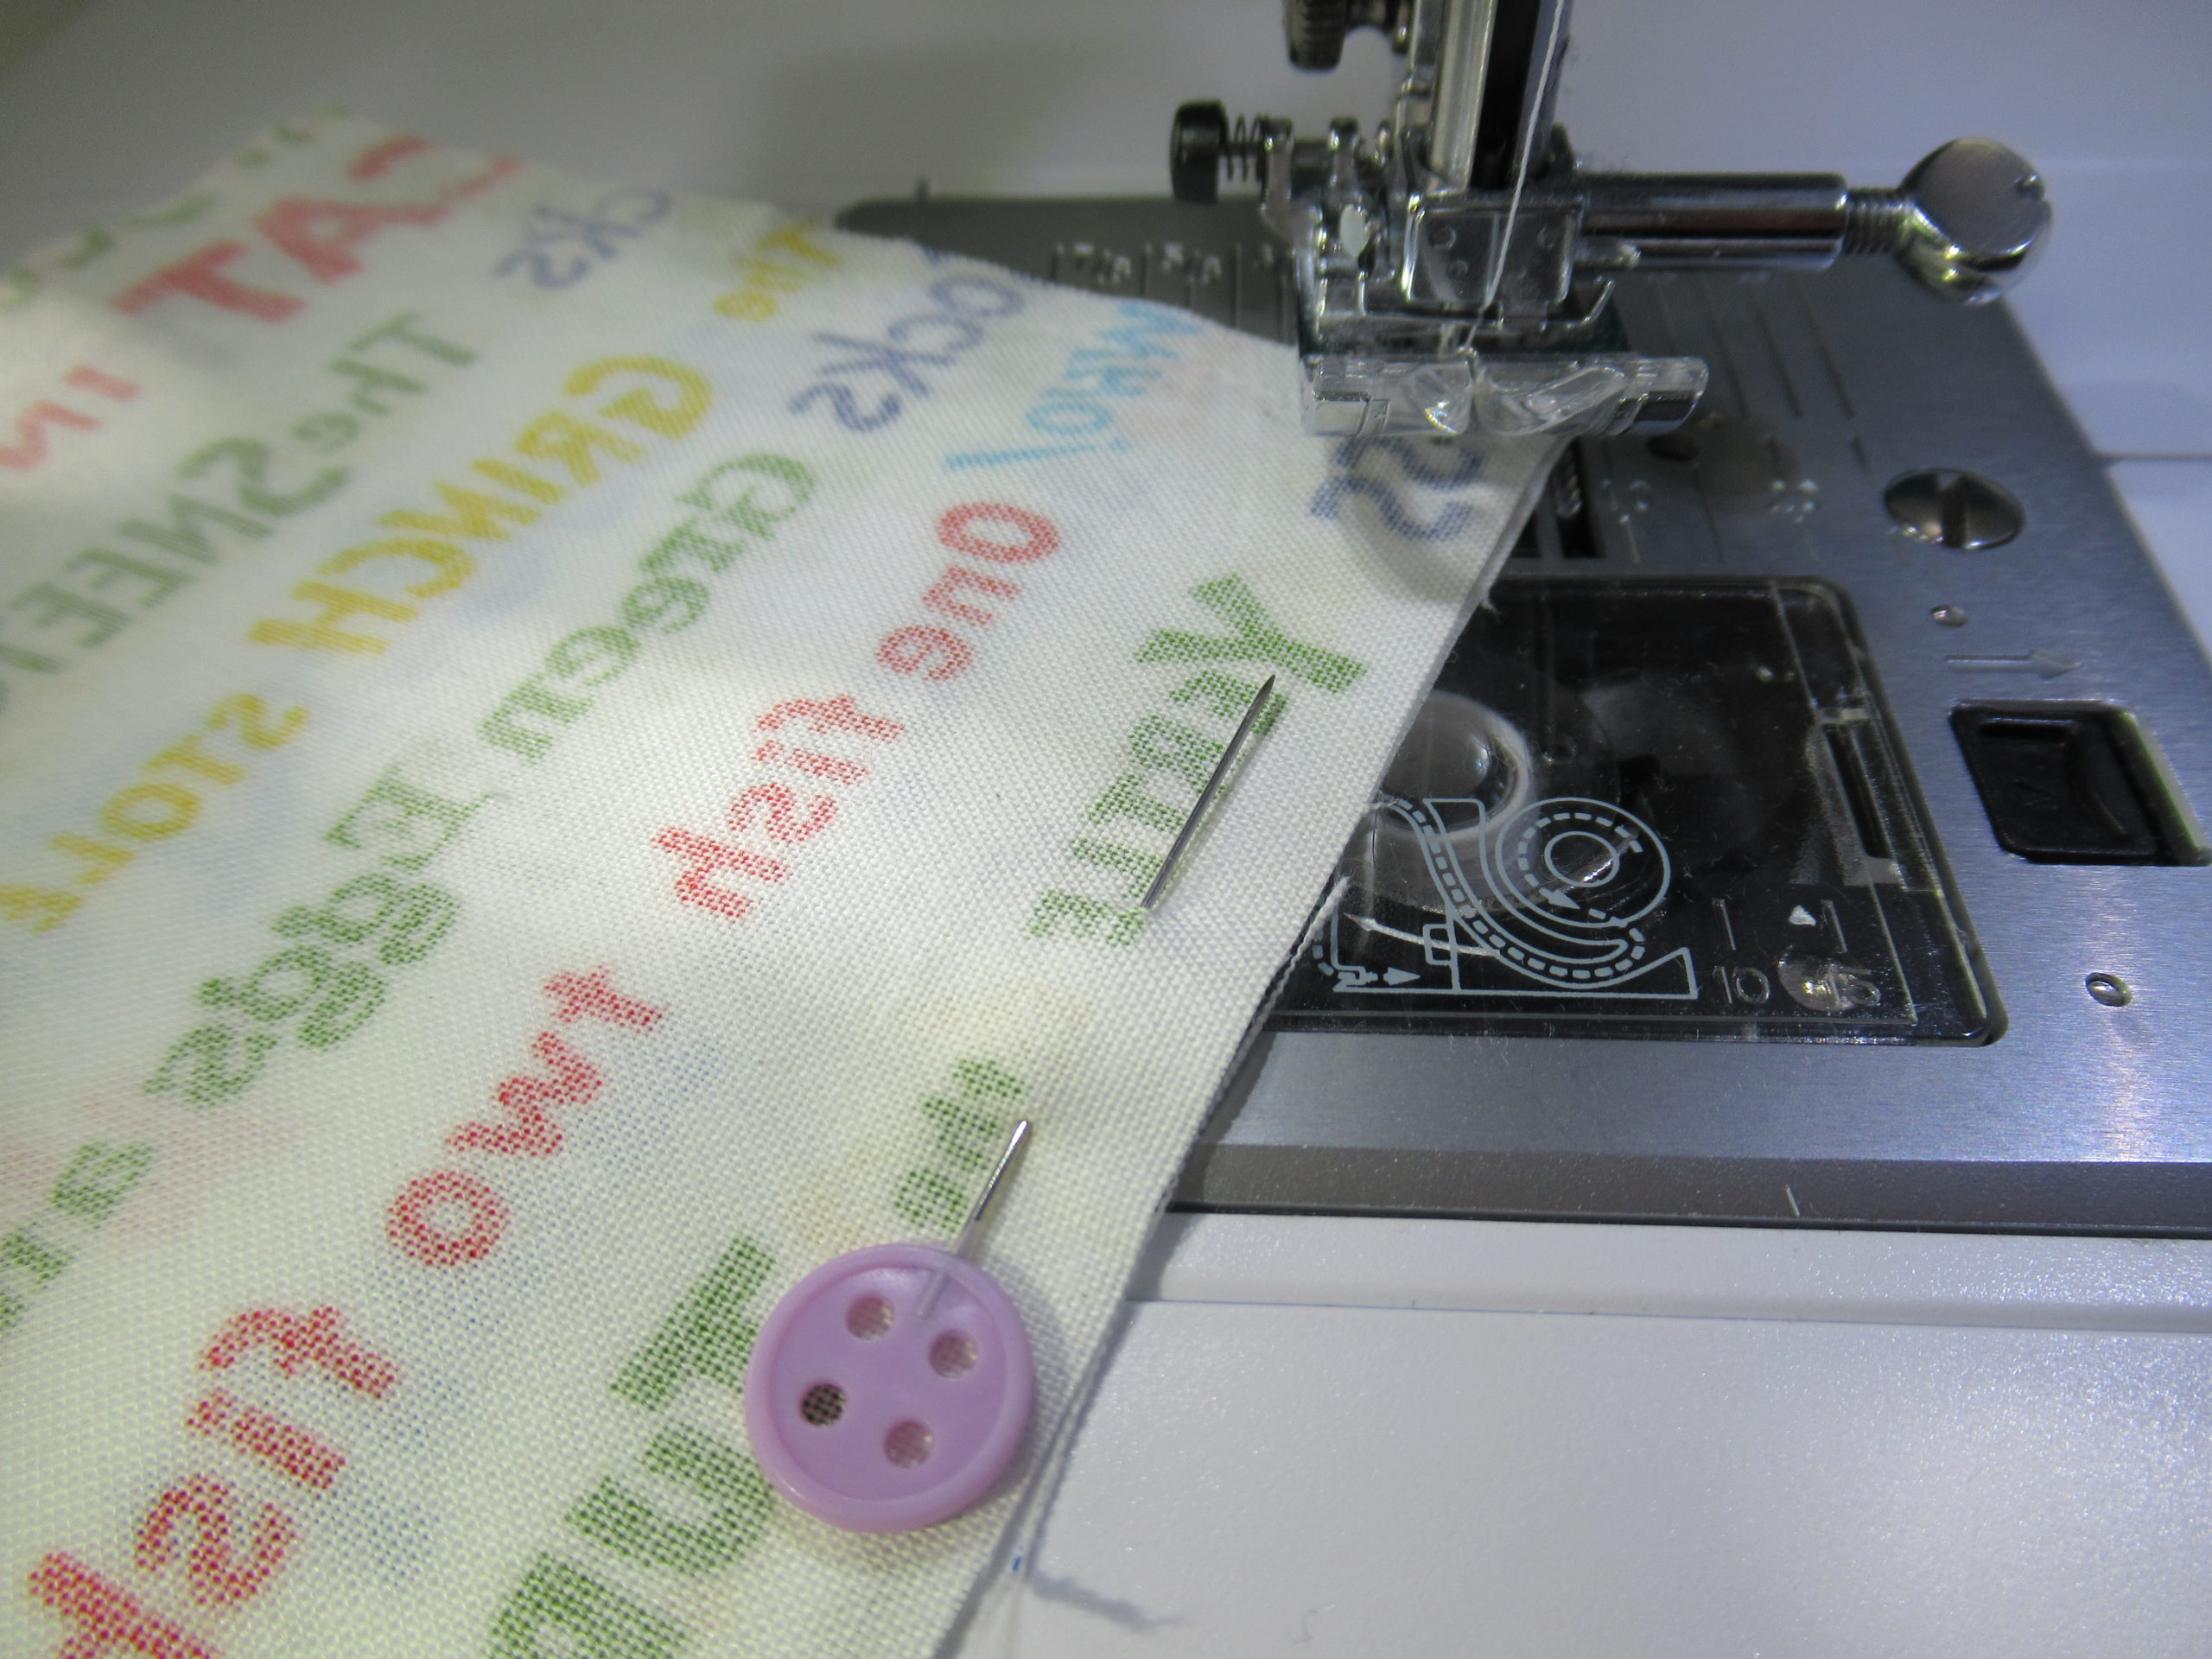
Now, sew along the edges of your squares. Be sure to backstitch your ends. This is important when stuffing so that your threads don’t come undone. When you reach a corner edge you will want to stop needle down. Lift your presser foot and then turn the fabric. Continue sewing until you reach the side with the opening.
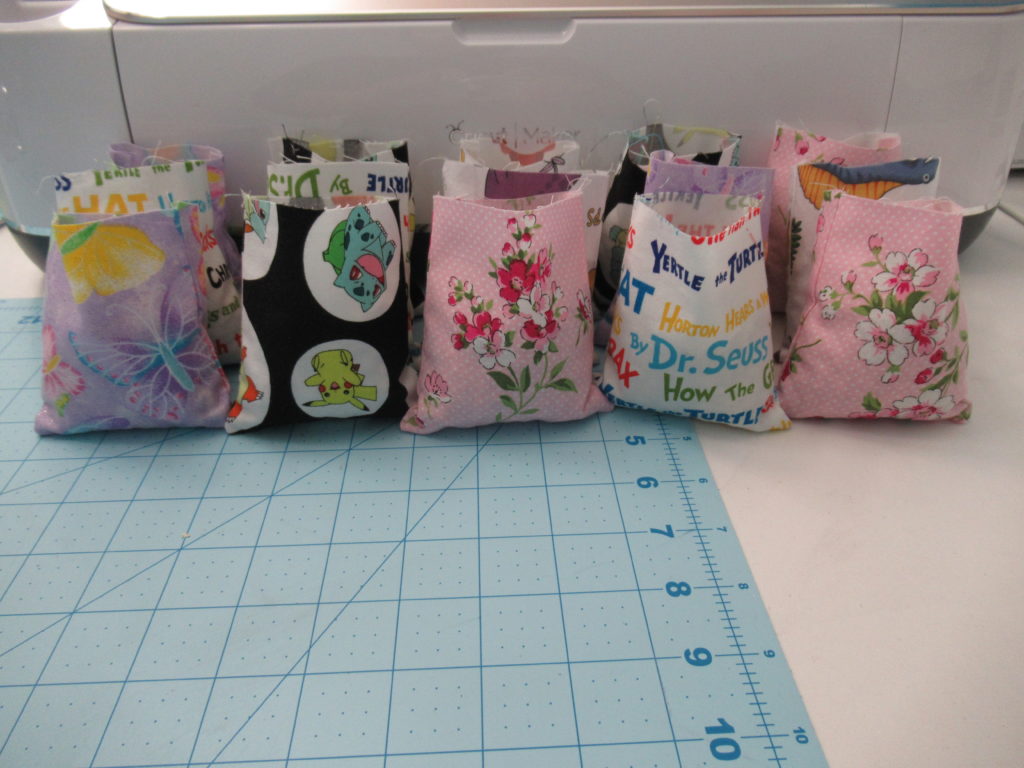
Once you have finished sewing 3 of the 4 sides, turn the squares right side out and iron. This will get all the wrinkles out and it will make your edges crisp. (An alternative to this would be sew all 4 sides leaving just a small hole to turn the bean bag out, then stuff and sew close with a slip knot.)
Next you will fill each bean bag. How full you want the bean bag to be will determine how much you will stuff inside. For me it was about 2/3 full. I feel this gave the right amount of weight and fullness, but it also made it easier when sewing the opening closed. If you overfill them, they will be hard to sew close.
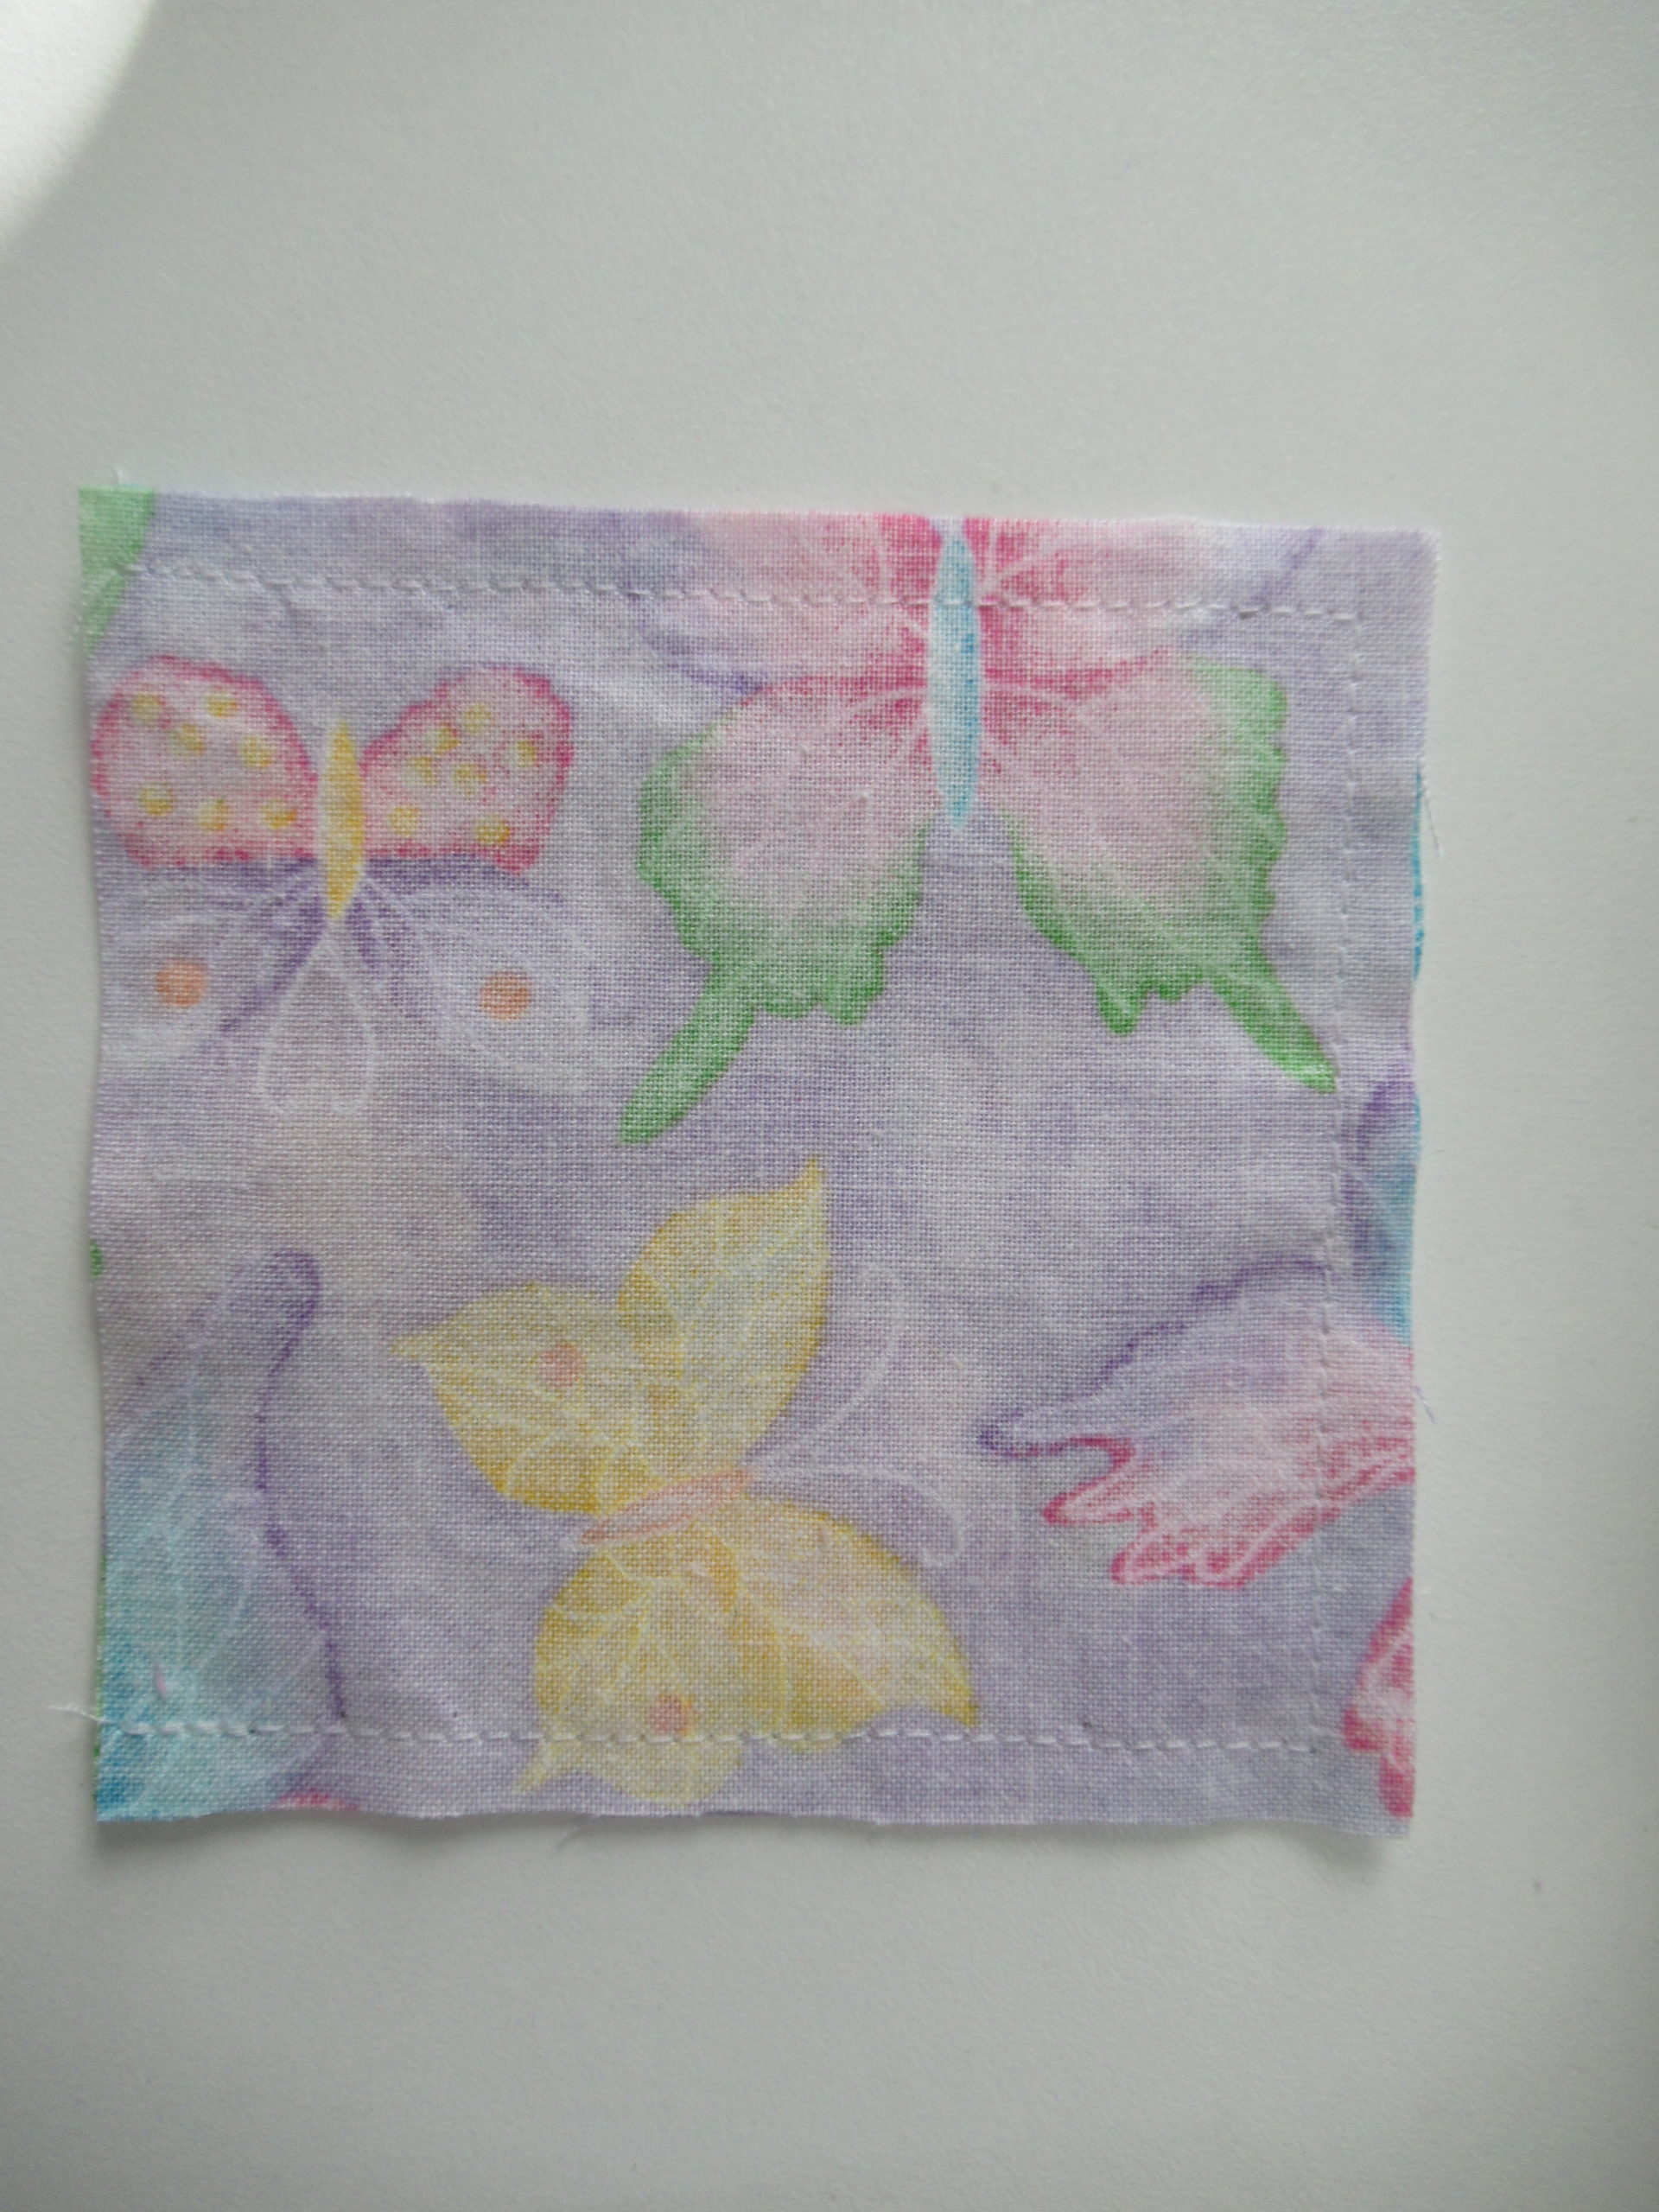
Lastly, you will turn the top edges inward and pin. This pin helps to keep the beans from falling out and it lines up the edges. Sew closed being sure to backstitch or secure the stitches at the beginning and the end.
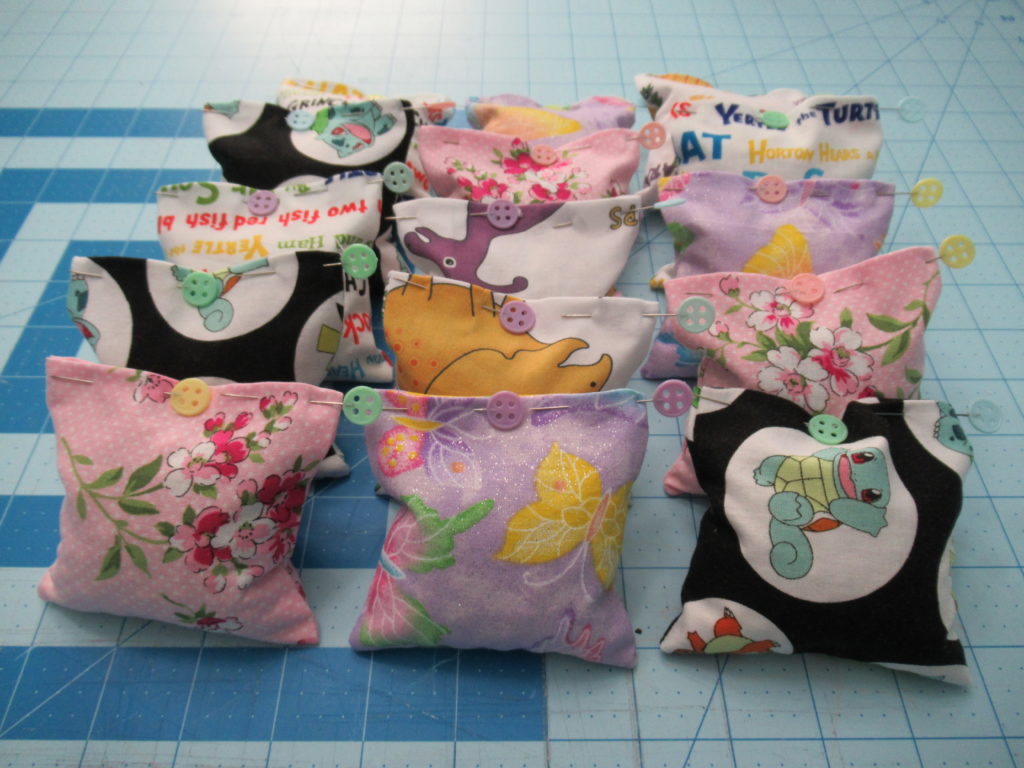
There you have it, a cute set of bean bags that can be used for your next came of toss, tic tac toe or cornhole.