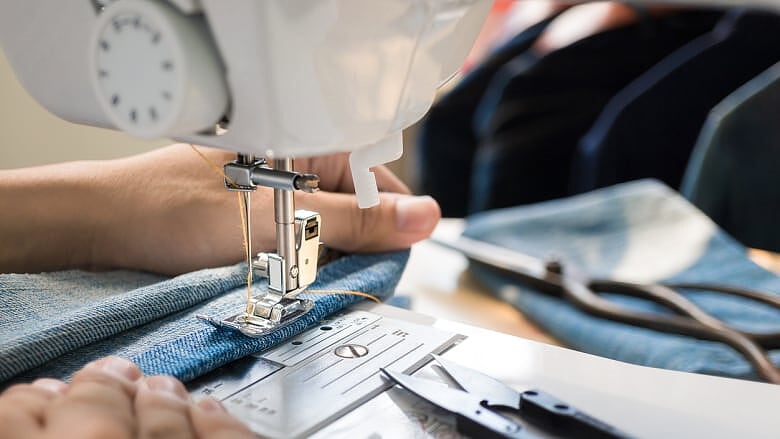
I’ve been wanting to make a new cover for my serger for a while now since the one it came with is so flimsy. However, the closest I ever got to making it was finding a pattern online. While reorganizing my sewing room today, I revisited the idea of sewing a cover for my serger. 1. it needed to be covered as it had been sitting uncovered for a while and 2. I felt like sewing. In fact, this is probably going to be the first of a few mini sewing projects. Next, I’ll make a cover for my coverstitch machine and will probably make a couple tailor’s hams.
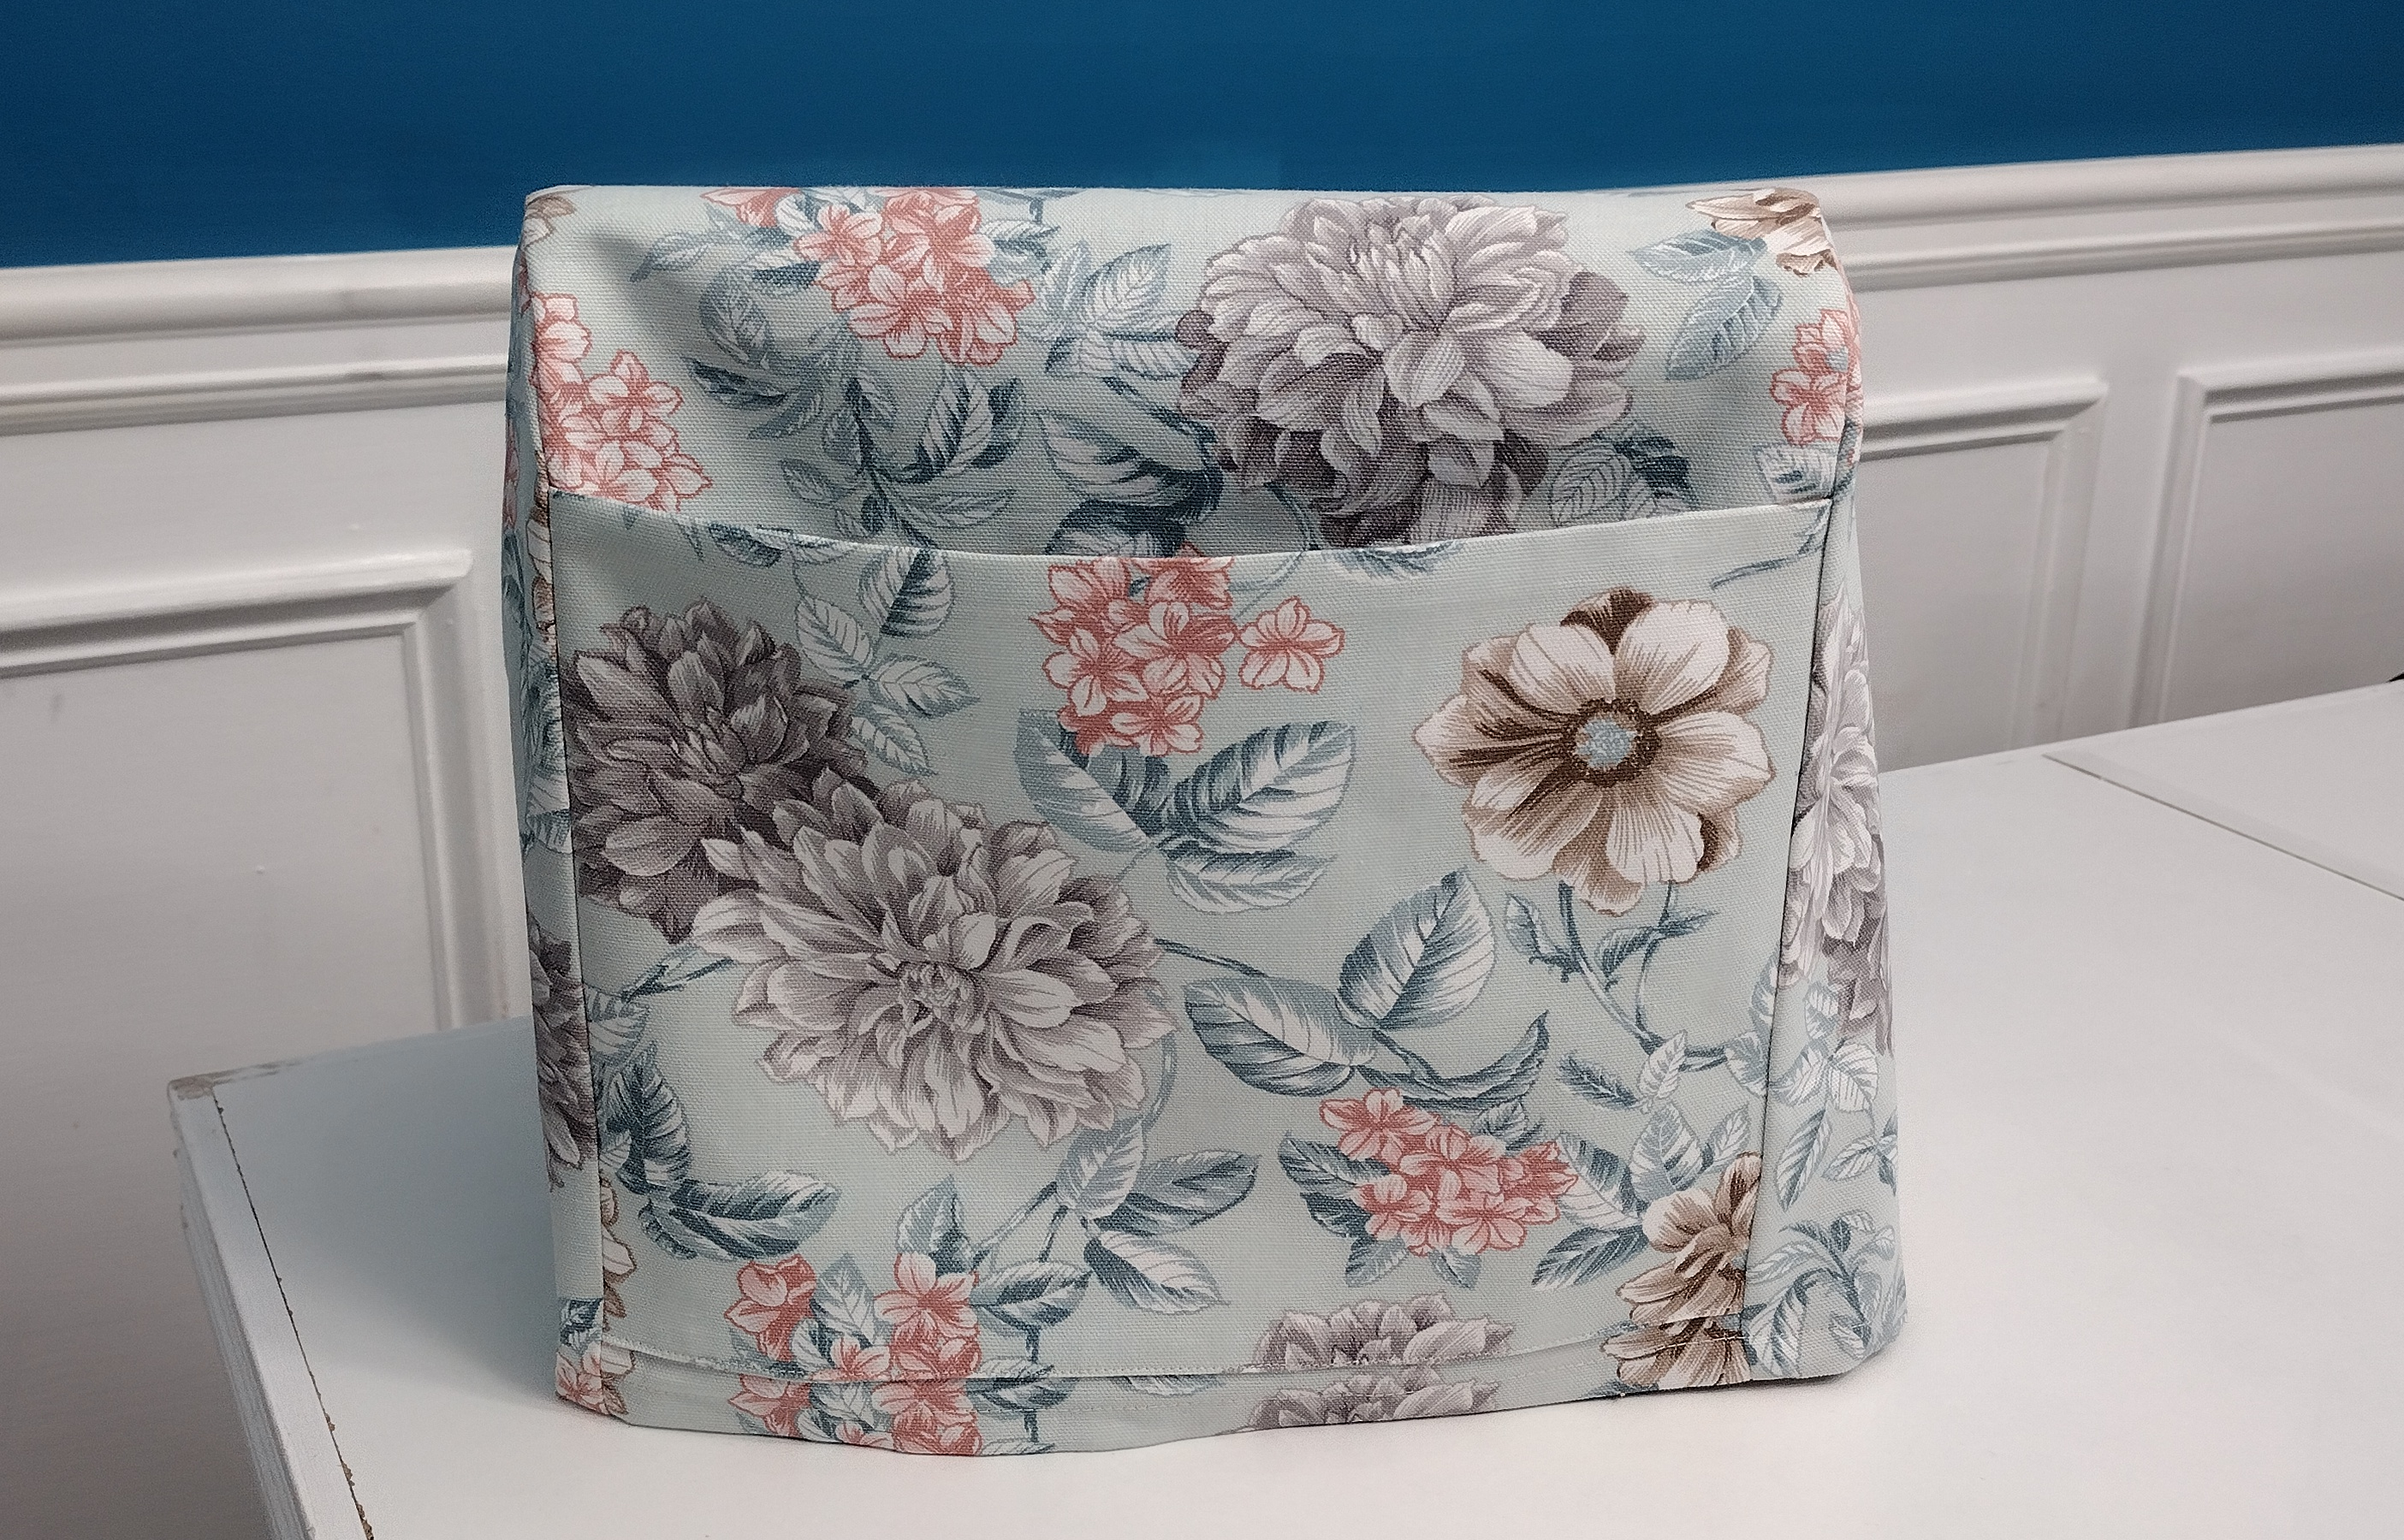
I didn’t want to spend time designing a pattern from scratch, so I searched online and found a free pattern from Closet Core Pattern and used it instead. It’s basic, but it leaves room to be customized to fit your machine. Please note, I ended up changing the curve for the sides and shortening it overall to fit my Brother 1034d. I also decided to add a back pocket in case I wanted to store the foot pedal and I left out the pipping.
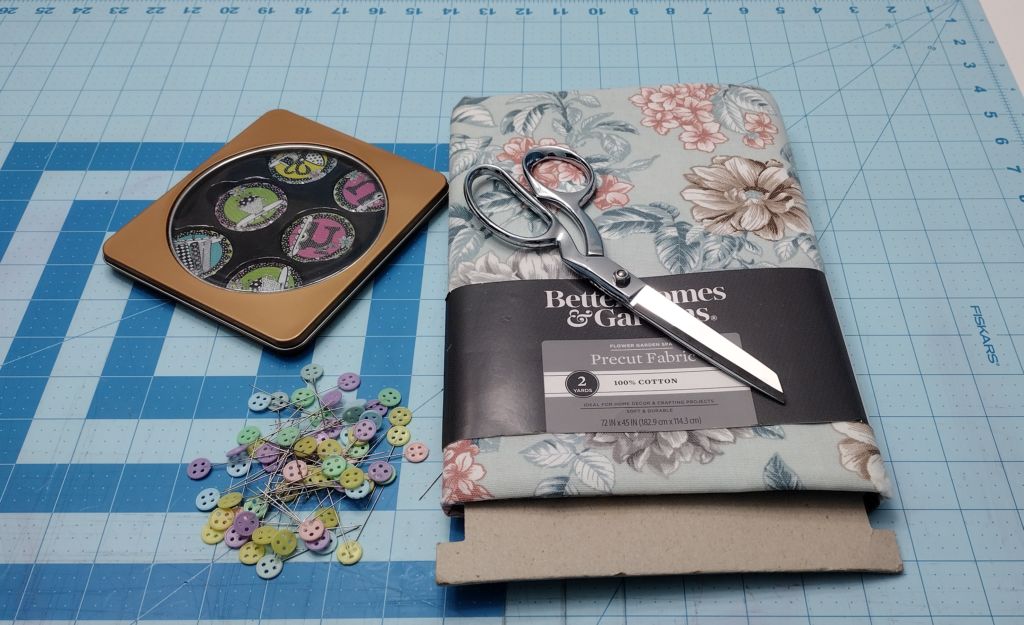
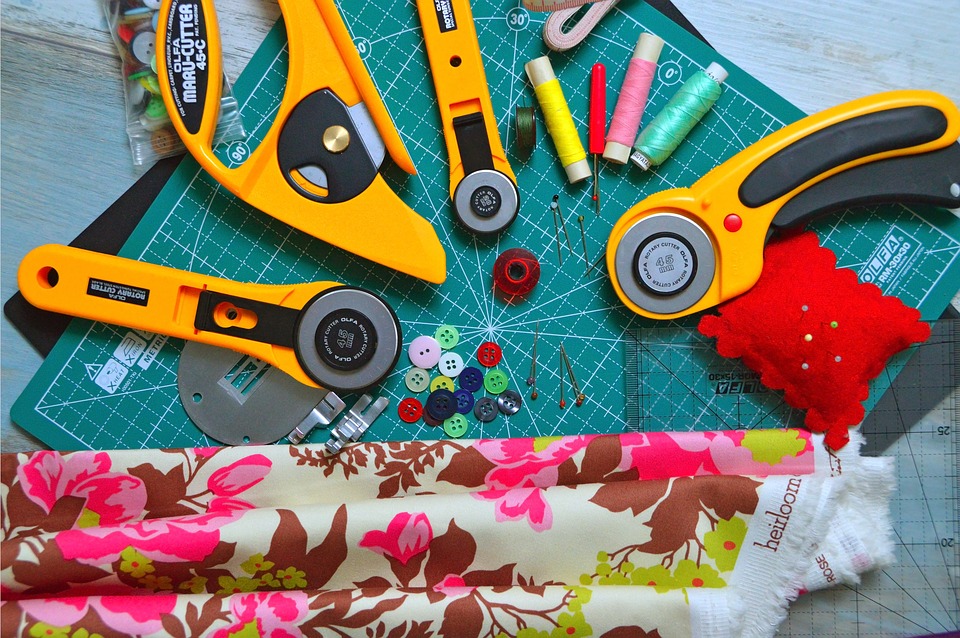
Supplies Needed:
- Serger Pattern
- Fabric (medium to heavy weight)
- Pins
- Scissors or Rotary Cutter
- Pattern weights (optional)
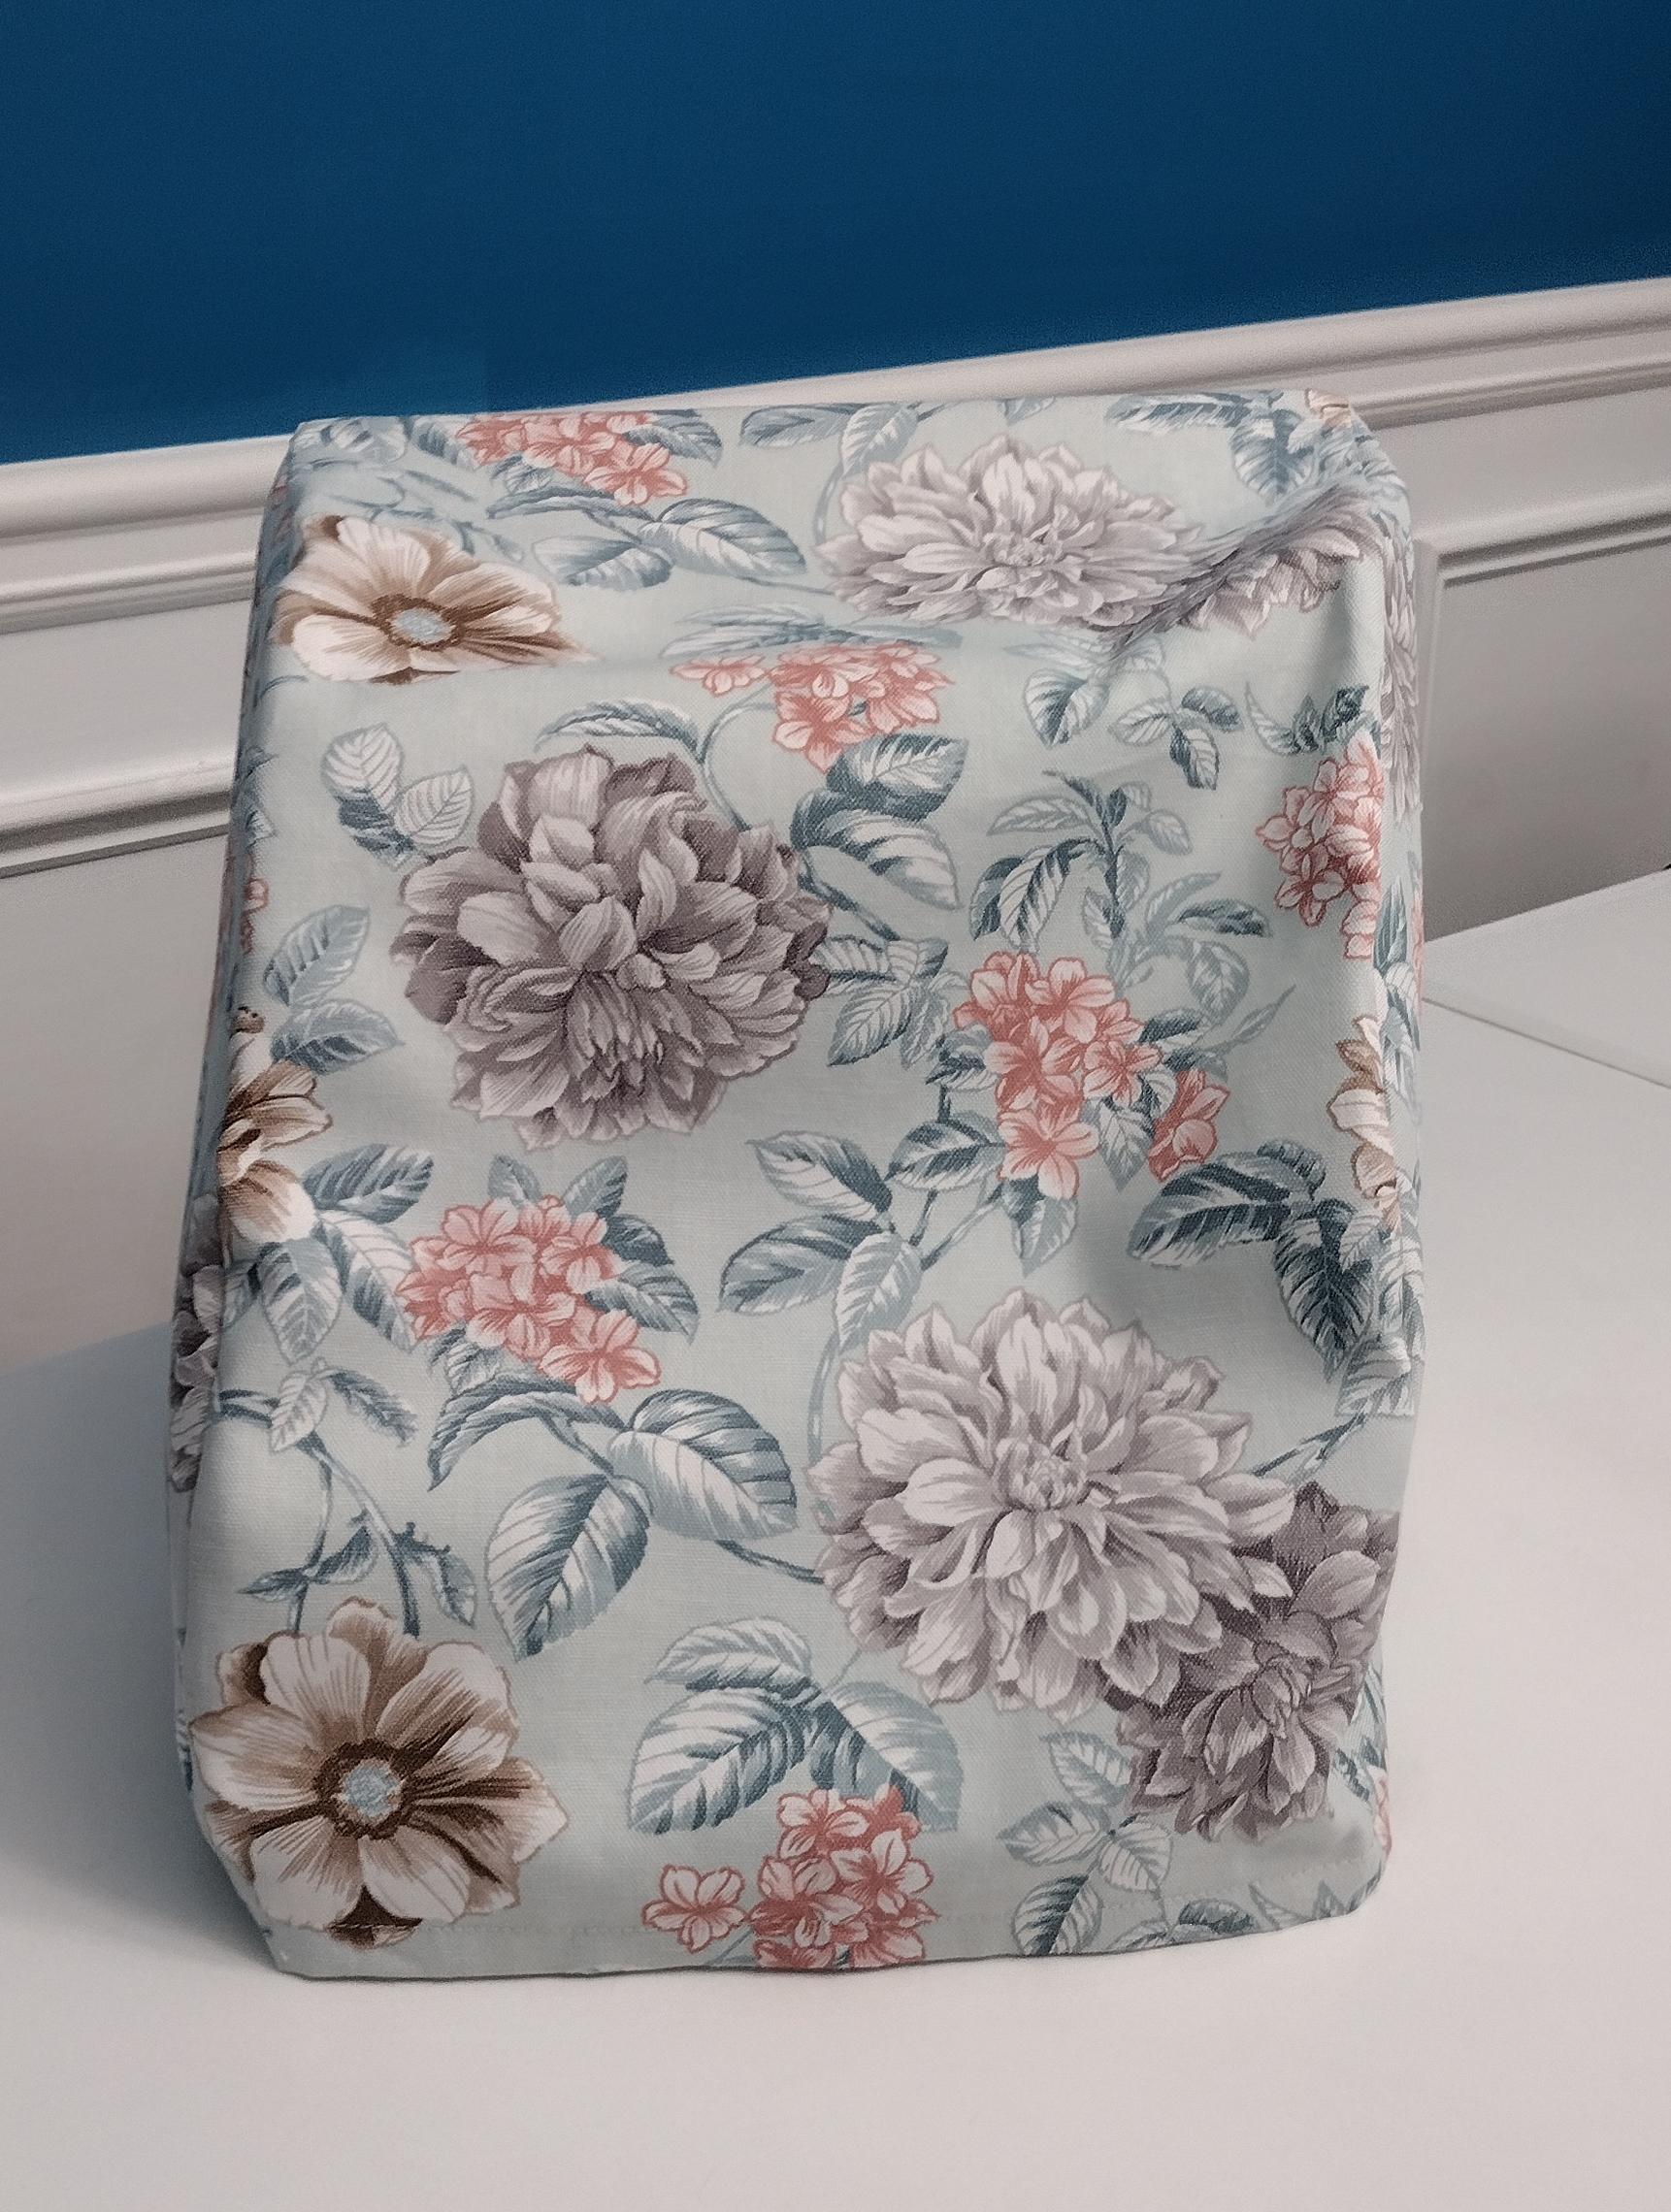
The fabric I chose for this cover is a heavy weight cotton that I got on clearance. Cotton is easy to care for and holds up with prolonged use. Moreover, using a heavier weight fabric will give your cover stability and shape.
After cutting the pattern, I suggest you put it to your machine to see if you want to make any changes with the height. This pattern has 2 pieces. You will cut one main body and 2 side pieces. ***Be sure to cut right sides together or you will have 1 side piece going in the wrong direction. *** If you are opting to make a pocket on the back, use the width of the pattern and make the height 9 inches. (You will have to cut 2 pocket pieces).

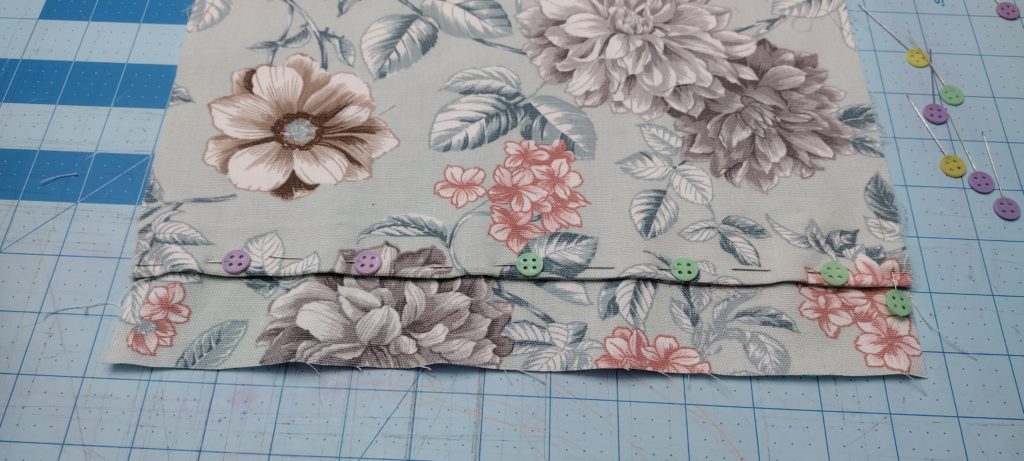
If you are making a pocket, you will pin the topside together and sew. Turn fabric right side out and crease with an iron. Next you will turn the bottom of the pocket inward ½ an inch and iron. Line the pocket to the bottom of the main pattern piece. Be sure to leave room to hem the edge of the cover when it’s done. Pin in place and sew.
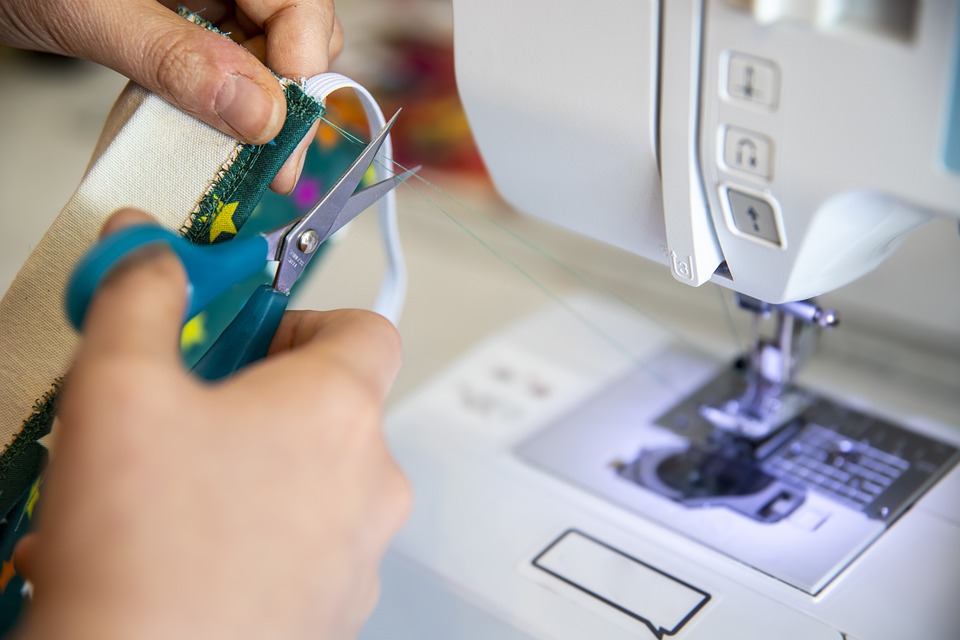
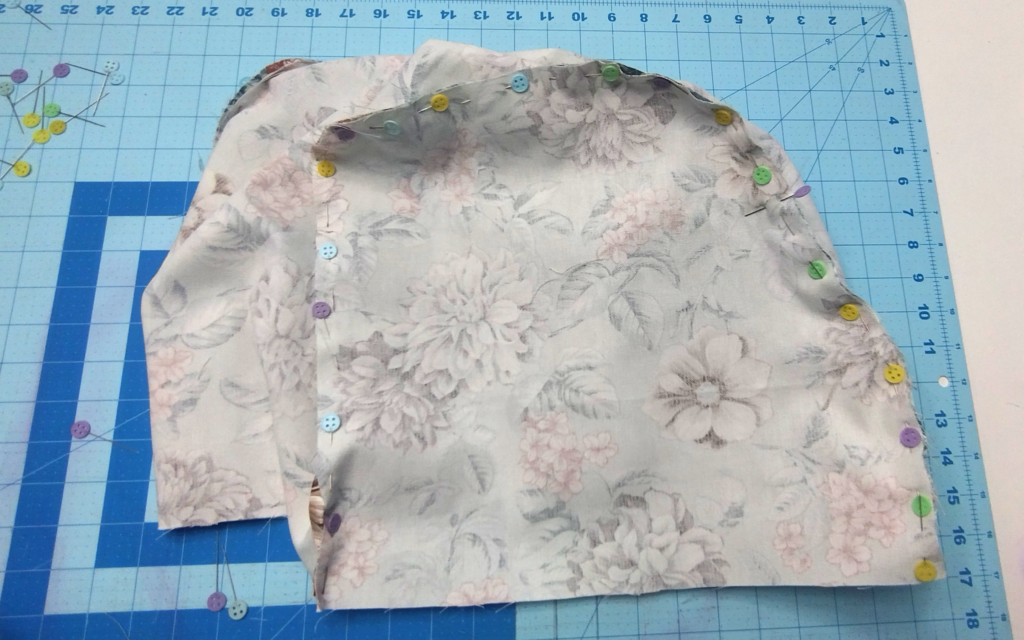
Next you will pin the 2 side pieces to the main piece. Be sure to line up your pieces so that your back pocket is incased into the side seams. Sew all the way around taking special care on the curves. Serge your seams for a nicer look on the inside.
Last step is to hem the bottom of the cover. Before doing so, test the cover for it. Make any changes necessary to get the fit and look you are going for. Turn hem under, then turn in again for a professional looking finish.