One of the most common alterations I get asked to make is closing a split. For whatever reason my clients have this awesome dress or skirt they want to wear, but it has a split that just doesn’t meet their fancy. If you find yourself in this predicament continue reading as I explain what to do… This alteration is pretty straight forward but can be tricky if you’ve never done it before.
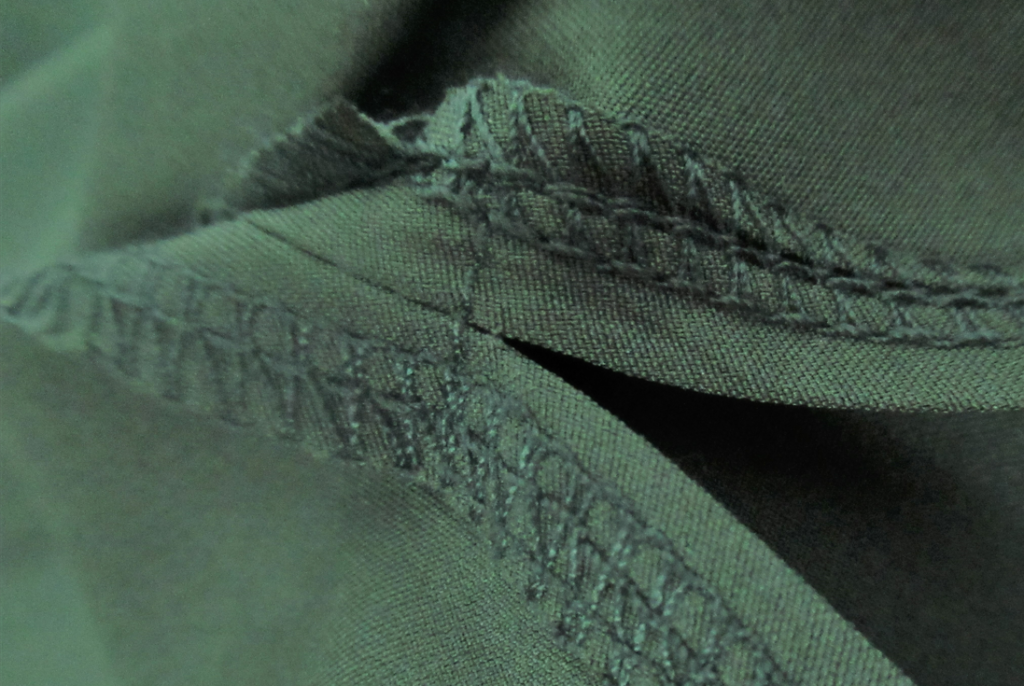
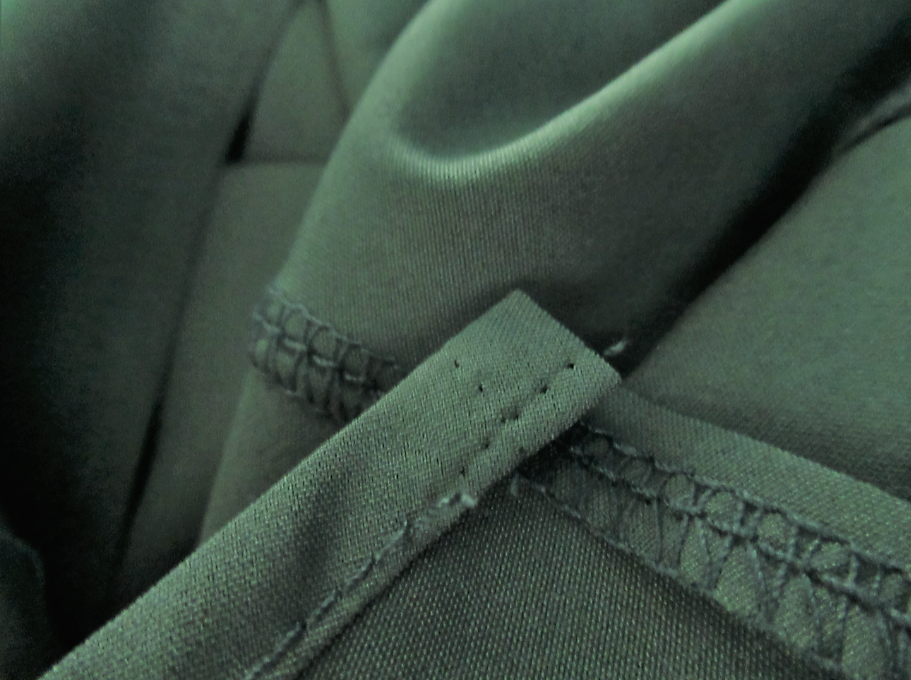
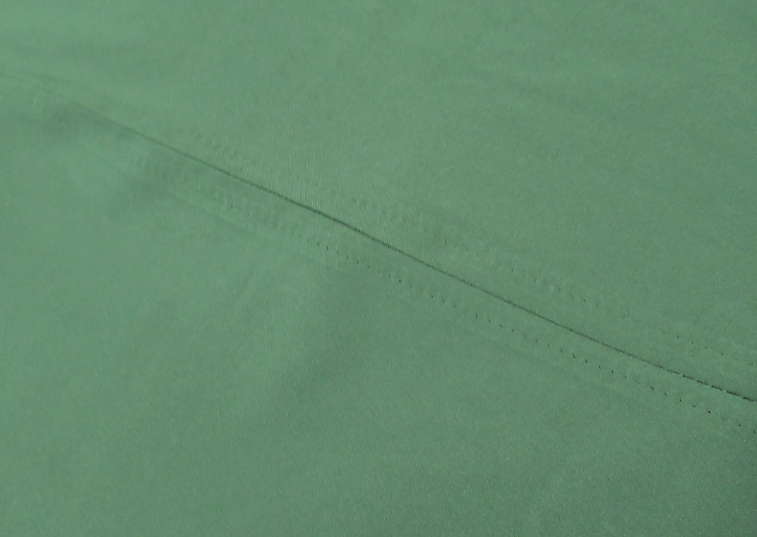
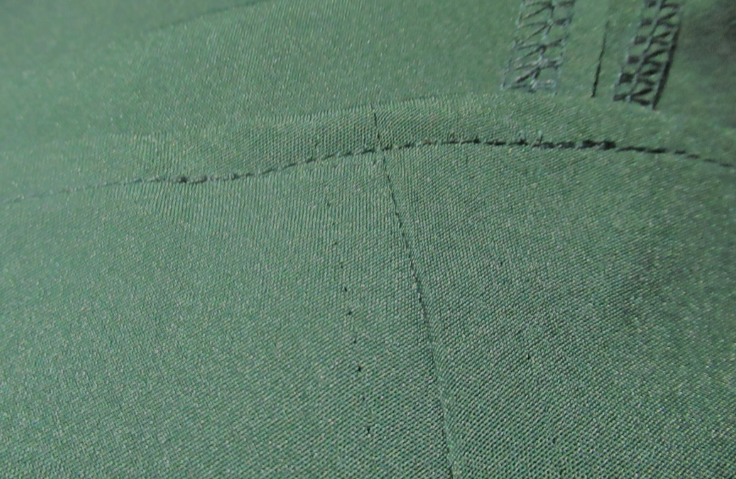
First things first. You always want to inspect the garment to see how it’s stitched and decide if you should undo the stitching on the right side of the fabric or the wrong side. For this skirt I am going to undo the right side. The main reason for this is because it is challenging to visually separate the topstitching from the serger stitching and you don’t want to undo the serged end.
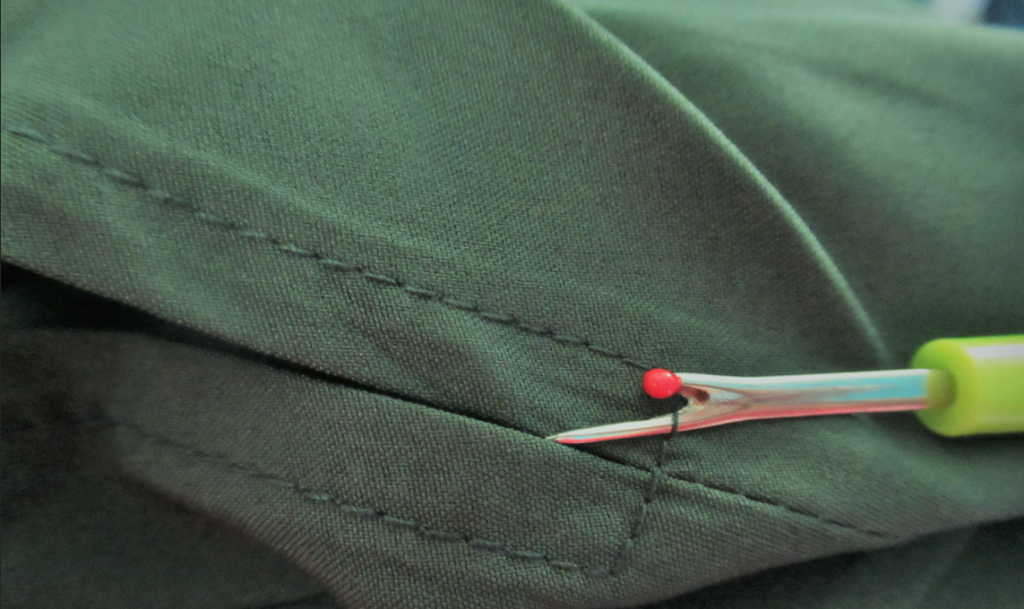
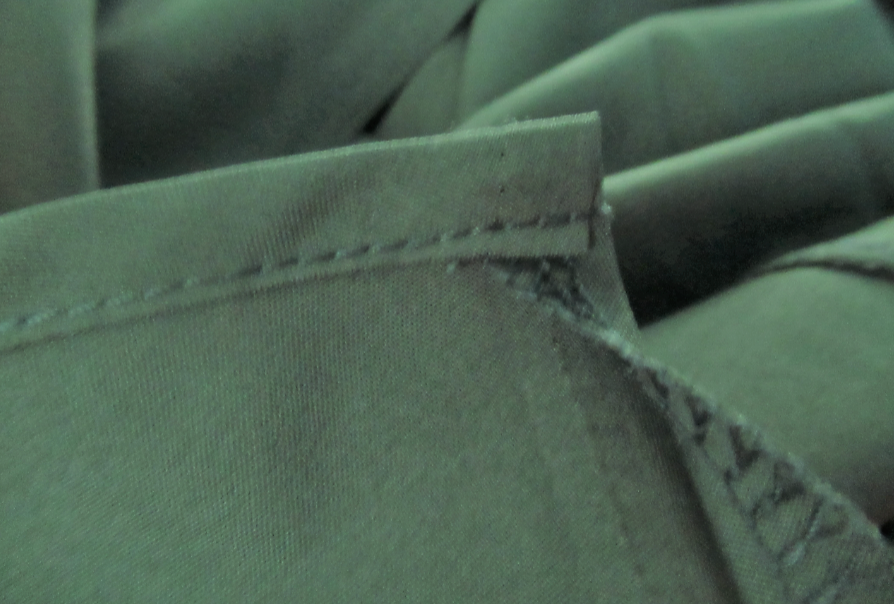
I also like to start from the middle and work my way down one side then do the other side. This is merely personal preference. Once I’ve ripped out the threads on both sides, I am going to undo a couple from the bottom. The reason for this is so that when I sew the two pieces together, I will be able to hem up the bottom as well. (When done correctly this will hide any evidence of an alteration being done.)

I should add that every skirt is different and won’t necessarily call for this step. I usually find with knits you can undo the top stitches and sew the pieces together without having to hem the bottom. This skirt won’t allow you to continue to sew straight down without having to undo some of its original hem.
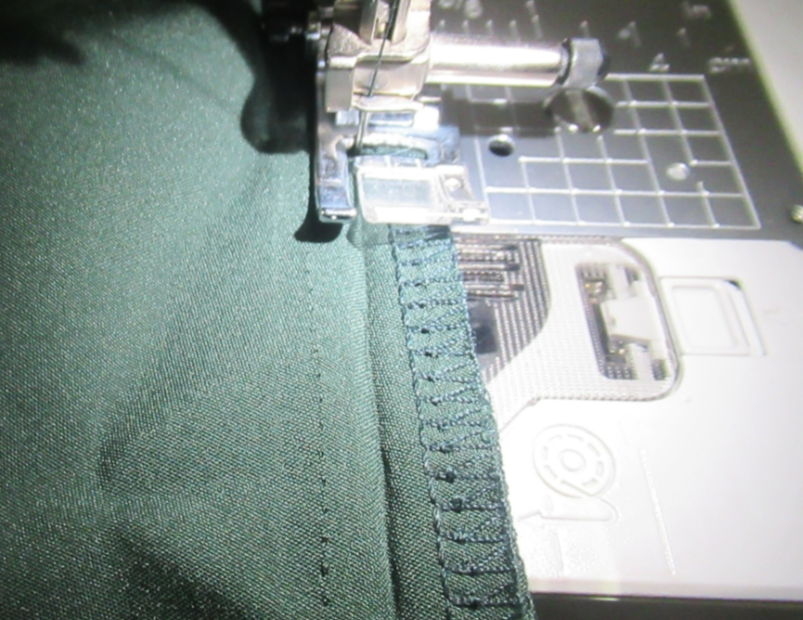
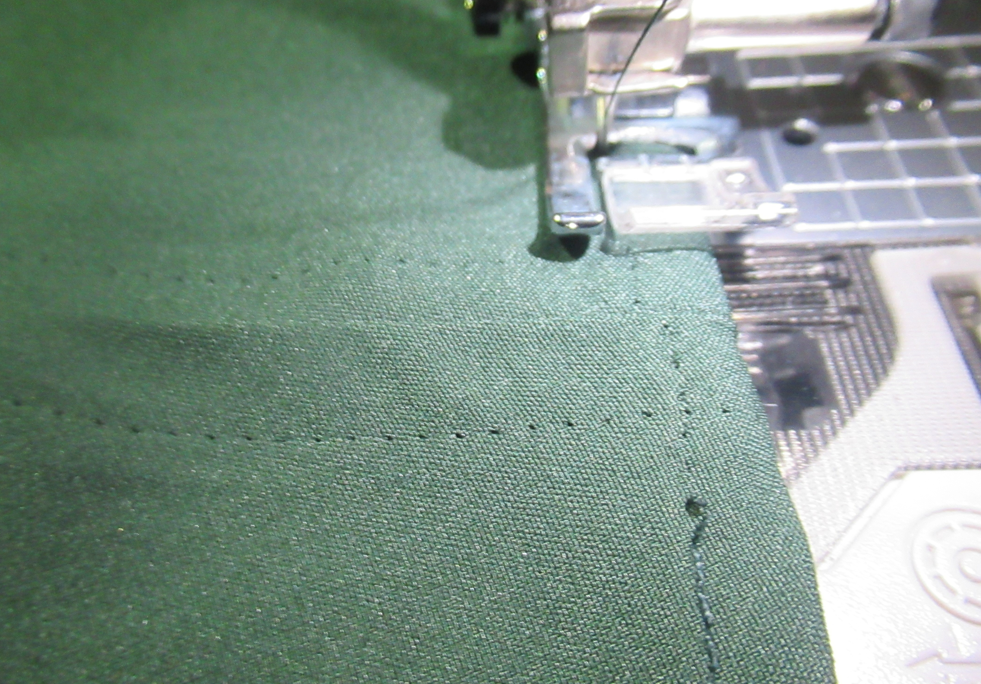
Once both seams are undone, pin the pieces together and begin sewing at your first ripped stitch. Remember to backstitch to lock the stitches in place then come forward and continue sewing. Once you reached the end, you’ll want to backstitch again. When you’re done, you will want to replace the hem and sew it closed.
The last step of this alteration is to iron the seam. This is an important step as it creates a nice, finished look. I have skipped this step before and that is mainly because of the type of fabric I was working with. (I didn’t want to risk burning it)
***Tip*** If you notice after unstitching your seam there are tiny holes in your fabric, you can usually run your hand over them lightly brushing them and it will blend back in. (I didn’t get a final photo showing this)