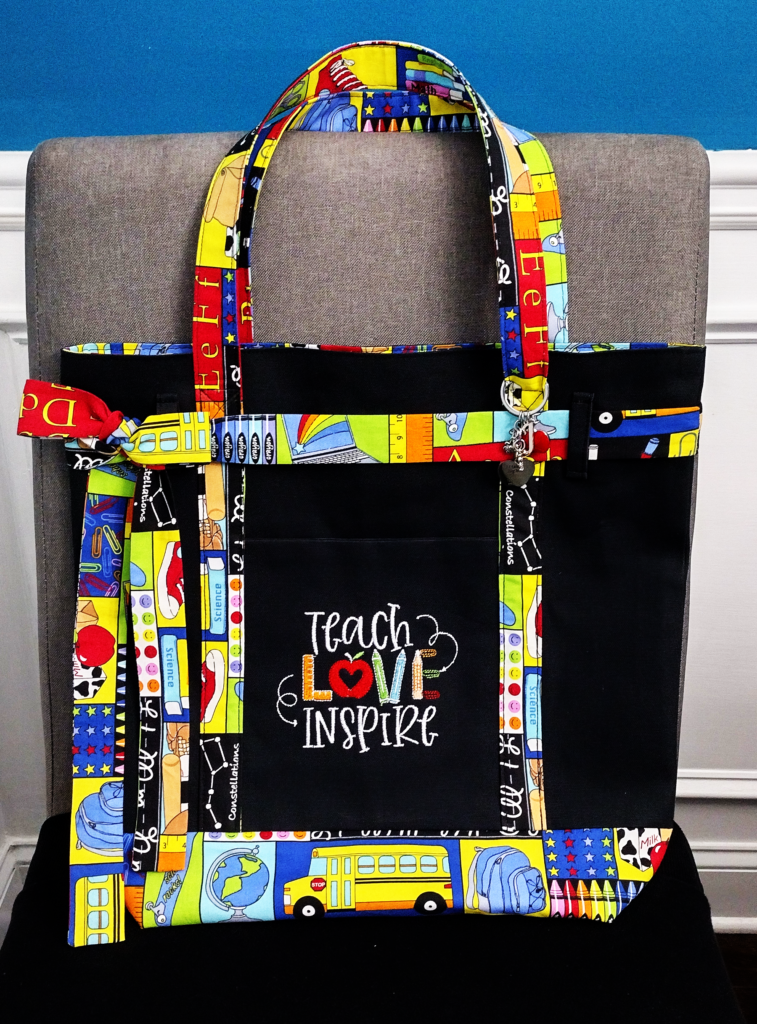
Throughout the year I like to give back to my children’s teachers. This can be in the form of help, supplies, snacks, or appreciation gifts. I often see teachers putting a lot of time and effort into teaching kids, but rarely get recognition for it. Yes, there are a few bad seeds out there, but if you get a good one, be sure to water it so she/he continues to grow.
Without further ado, if you want to see how to make this tote for your teacher, or yourself keep reading. Forewarning, I did not take pictures of every step because there are plenty of tote tutorials online and most are the same.
Supplies Needed:
- Main Fabric ½ yard (medium to heavyweight cotton)
- Lining Fabric 1 yard
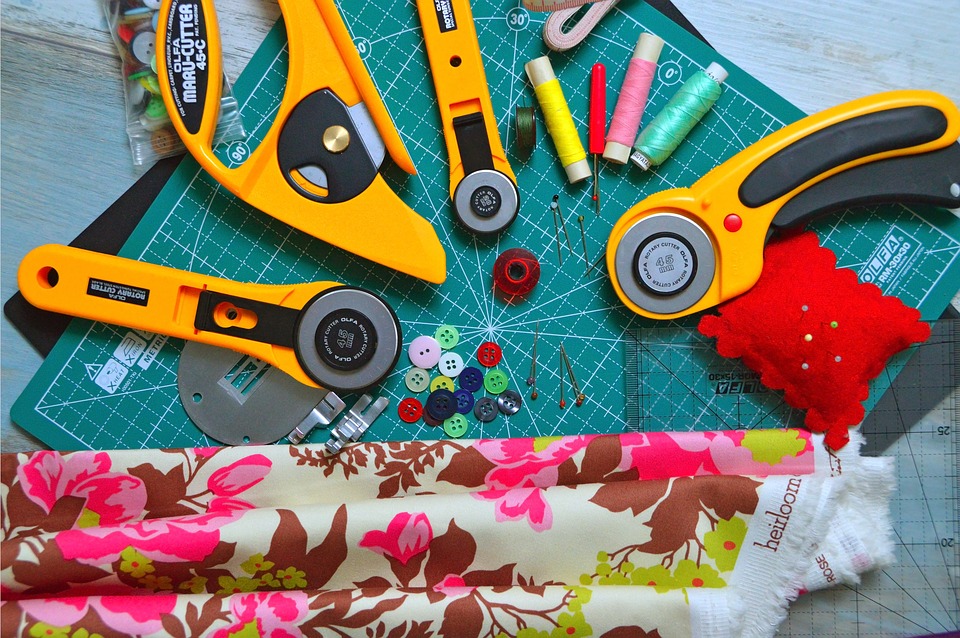
- Tape Measurer/ Ruler
- Scissors or Rotary Cutter
- Marking Tools
- Pins or Clips
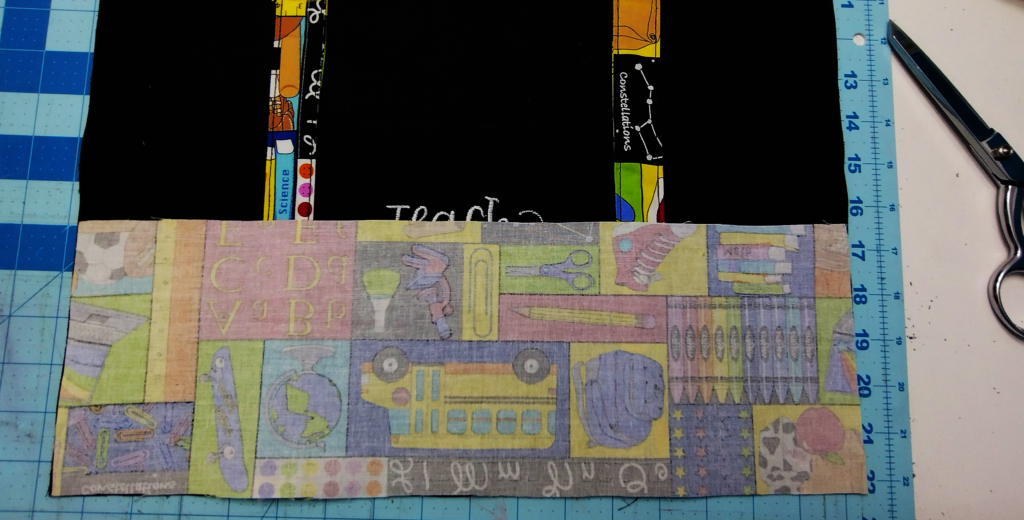
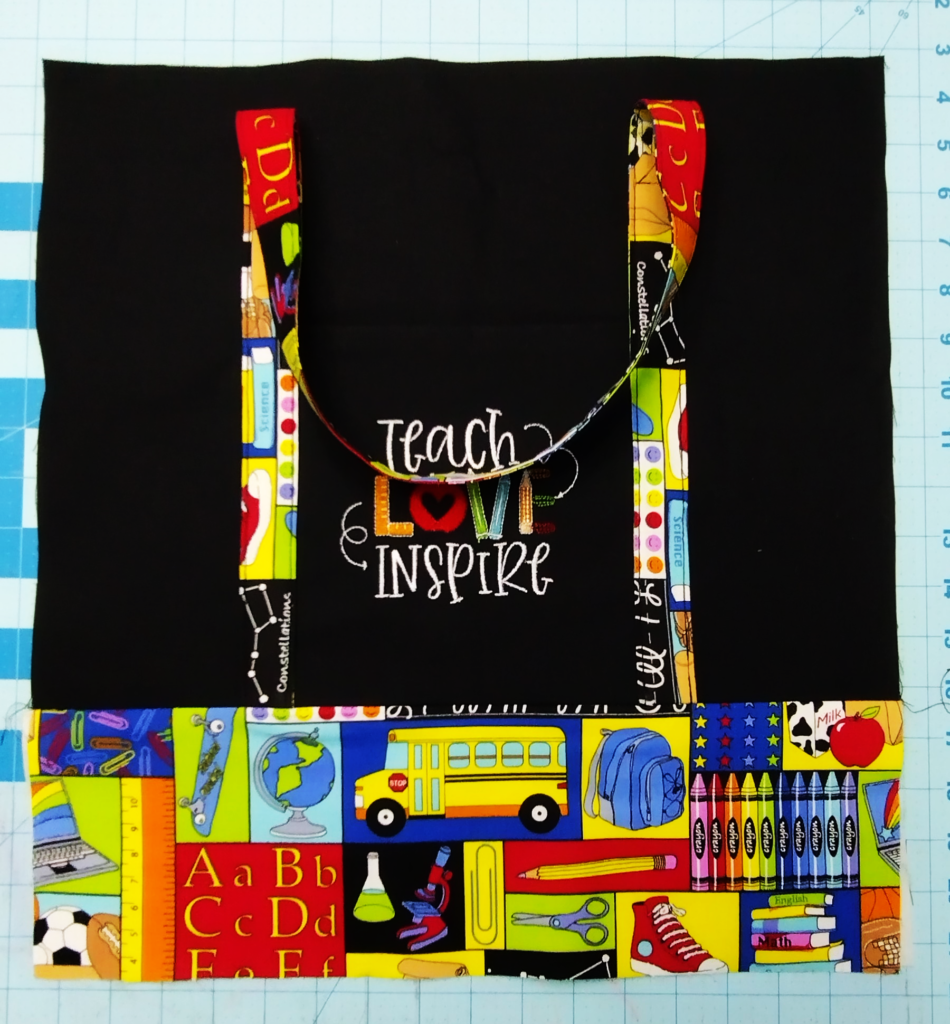
Start by cutting out the main body pieces. The top piece is 17 x 13 ½ inches and the bottom piece is 17 x 5 ¾ inches. Note: If you choose a lighter fabric for your bottom pieces, I recommend adding stabilizer. This adds support and will give your bag more shape.
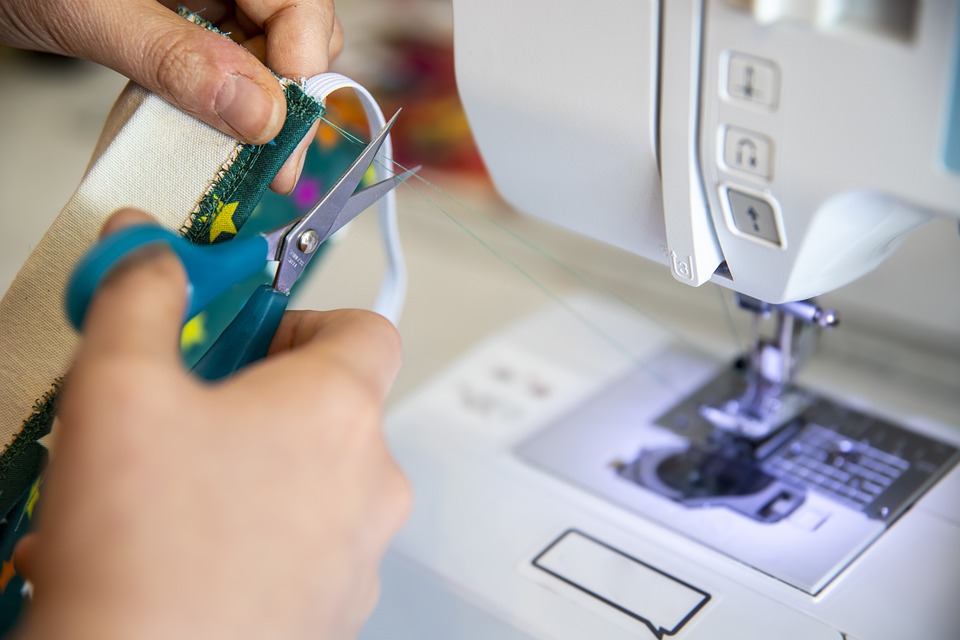
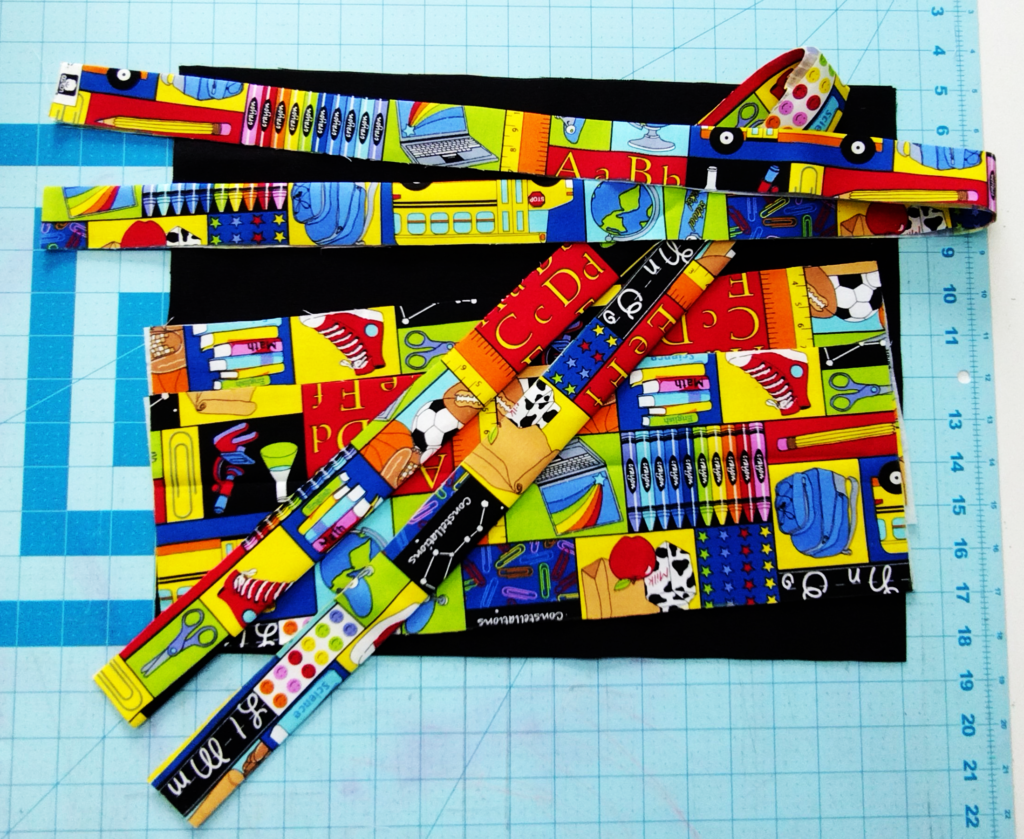
Before you sew the top piece to the bottom, you will need to make your straps. Cut out two strips of fabric 3 x 46 inches. The easiest way to make straps is to fold one piece like a hot dog and iron. Then take the edges and fold them in ¼ inch. Be sure the sides line up and sew. Don’t worry about the ends as they will be encased by the top and bottom pieces.
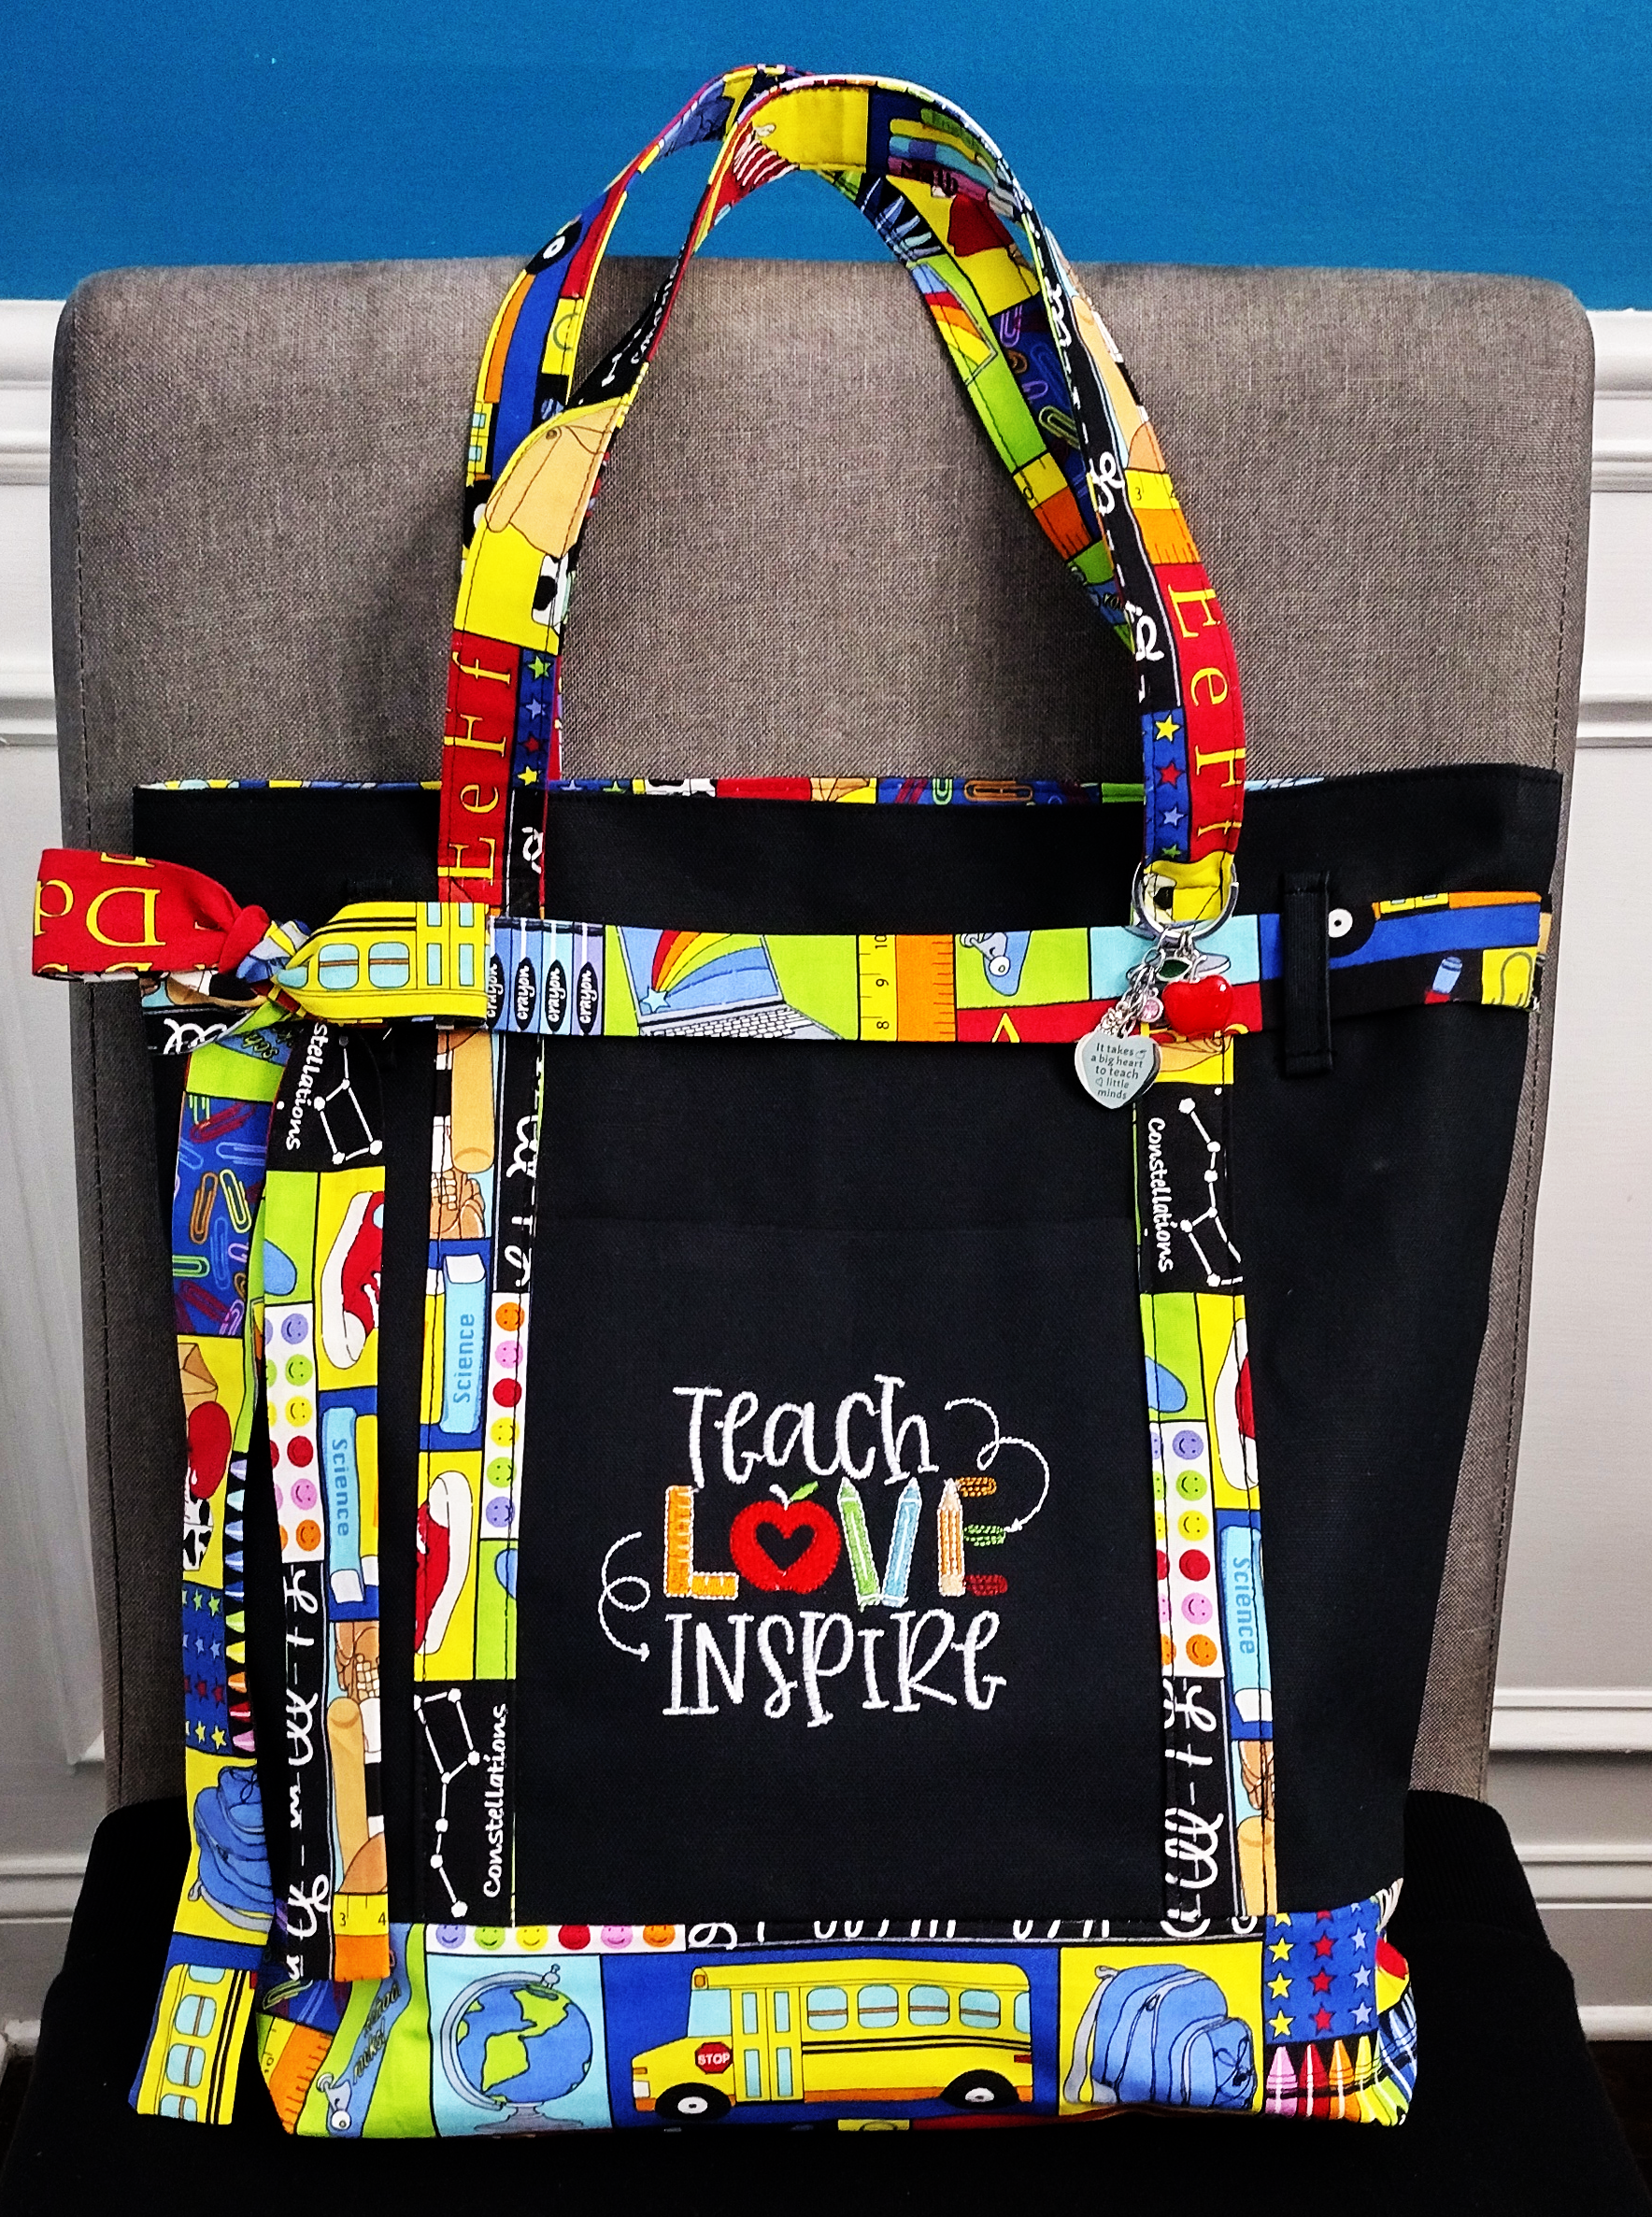
Now you will need to measure where you want your straps to be on the bag. I decided after the fact that I wanted a pocket. I cut two rectangles measuring 8 ½ x 7 inches and embroidered the words teach, love inspire on one side. If you are not embroidering anything you would just put right sides together and stitch at the top and flip. (Iron to make seam crisp) Next place the pocket in the middle of the main fabric, lining up bottom edges.
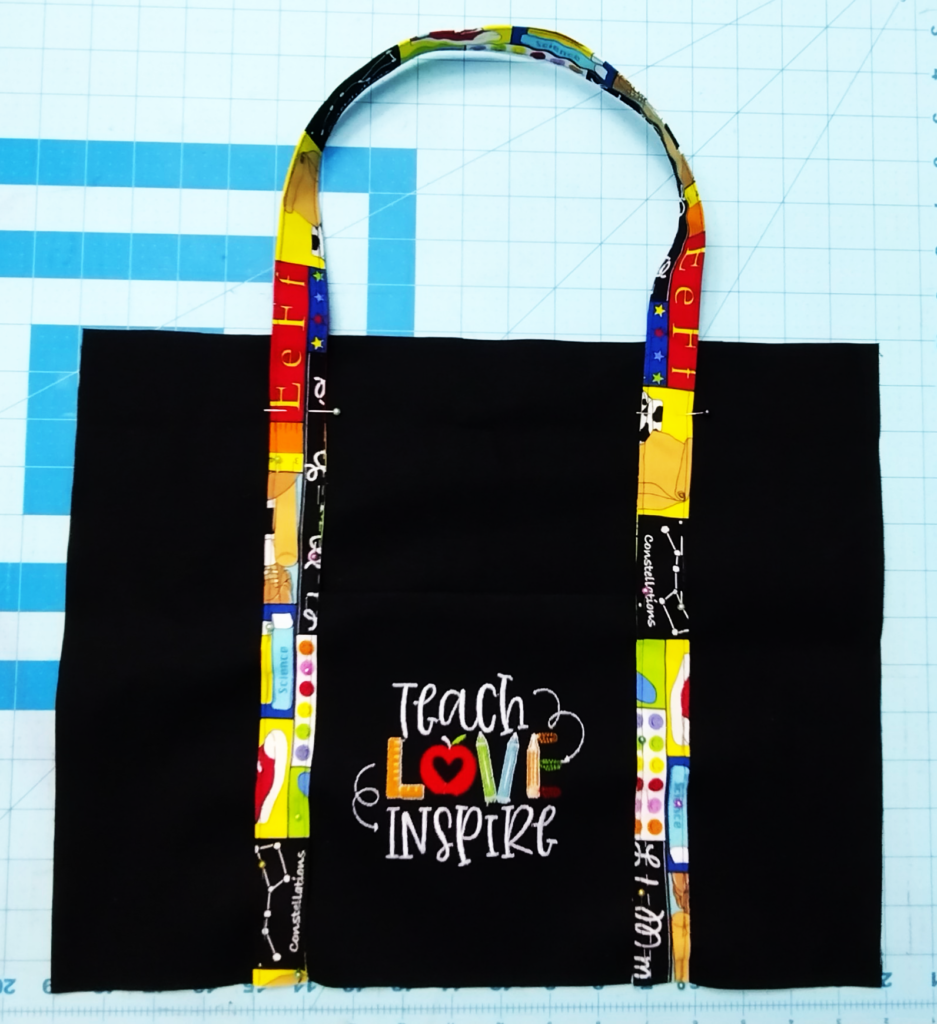
Pin straps to the pocket side edges. (They will overlap) Sew in place leaving the straps free one inch from the top. This will give you room later for attaching the lining piece. At the top of each strap mark a square with an X. Sew over these marks. You can leave this part, but it’s added for strength.
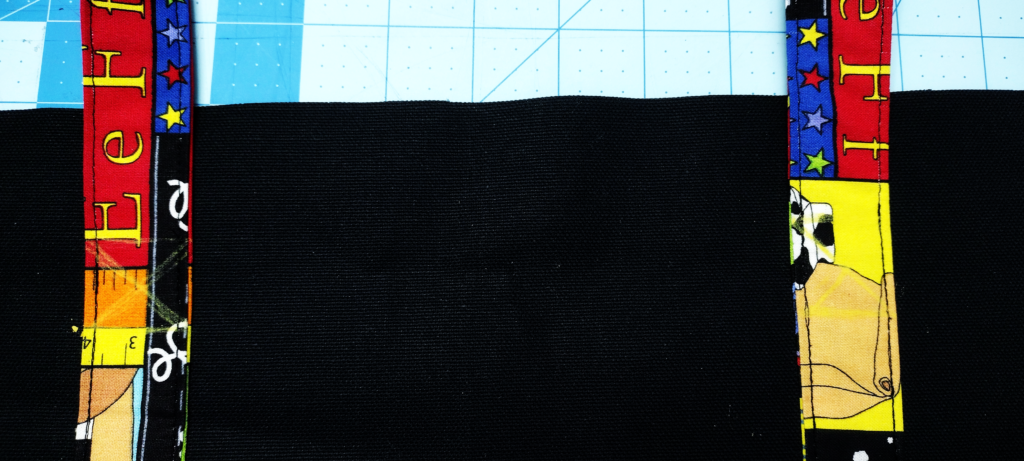
Now sew the main front pieces together. (Top and bottom) Repeat with the main back pieces. Once those pieces are sewn, pin right sides together. Stitch around the bag at the sides and bottom. Set aside.
Making the lining– Cut two rectangles measuring 17 x 18 inches. There is only two pieces because I didn’t want the lining two toned. (If you do, cut to the same measurement of the main fabric) Now is also where you would add any pockets or accents to the lining. Next, pin right sides together and sew the sides and bottom edges.
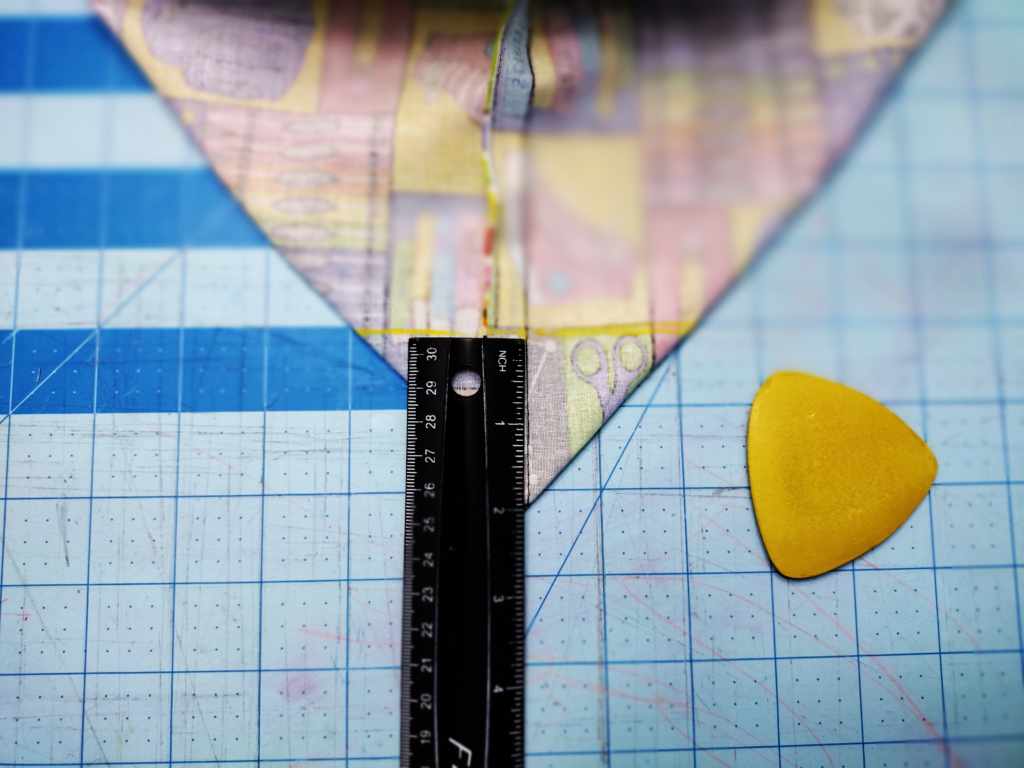
What you do next is up to how you want your tote to look. If you like pointed ends move to the next step. If you want the boxy look continue to read. Grab the outer bag’s corner pieces and line them up making a triangle. Measure up about two inches and draw a horizontal line. Sew along this line. Do this on both sides and repeat for the lining pieces. You can either cut the excess fabric off or just fold the triangular extra inward.
Disclaimer: there are several ways to attach the main piece to the lining piece. The way I am doing it in this tutorial is easiest because it takes out all the guesswork. By that I mean you do not have to figure out if you’re lining up your pieces together correctly. Nothing is worse than thinking you did then finding out once everything is sewn, your lining is the wrong way…
Putting it together– Turn main body piece right side out and iron. Keep the lining inside out but iron any wrinkles. Next place the lining into the main body. (Wrong sides touching) Fold the main bag piece a ½ inch toward the lining and iron all the way around. Then take the lining edge and fold it a ½ inch toward the main bag, ironing all the way around. Match sides together and pin. Topstitch as close to the edge as you are comfortable with. Be sure to secure your ends.
That’s it for the bag. If you have extra fabric and want to jazz up your bag like I did, add loops and a sash. There are 4 loops total that measures 3 x 2 inches each. The sash is two 6 x 34-inch pieces sewn together for one long strip. Oh… and I added a keychain from Amazon on the handle. Cute huh? It matches the theme perfectly 😉