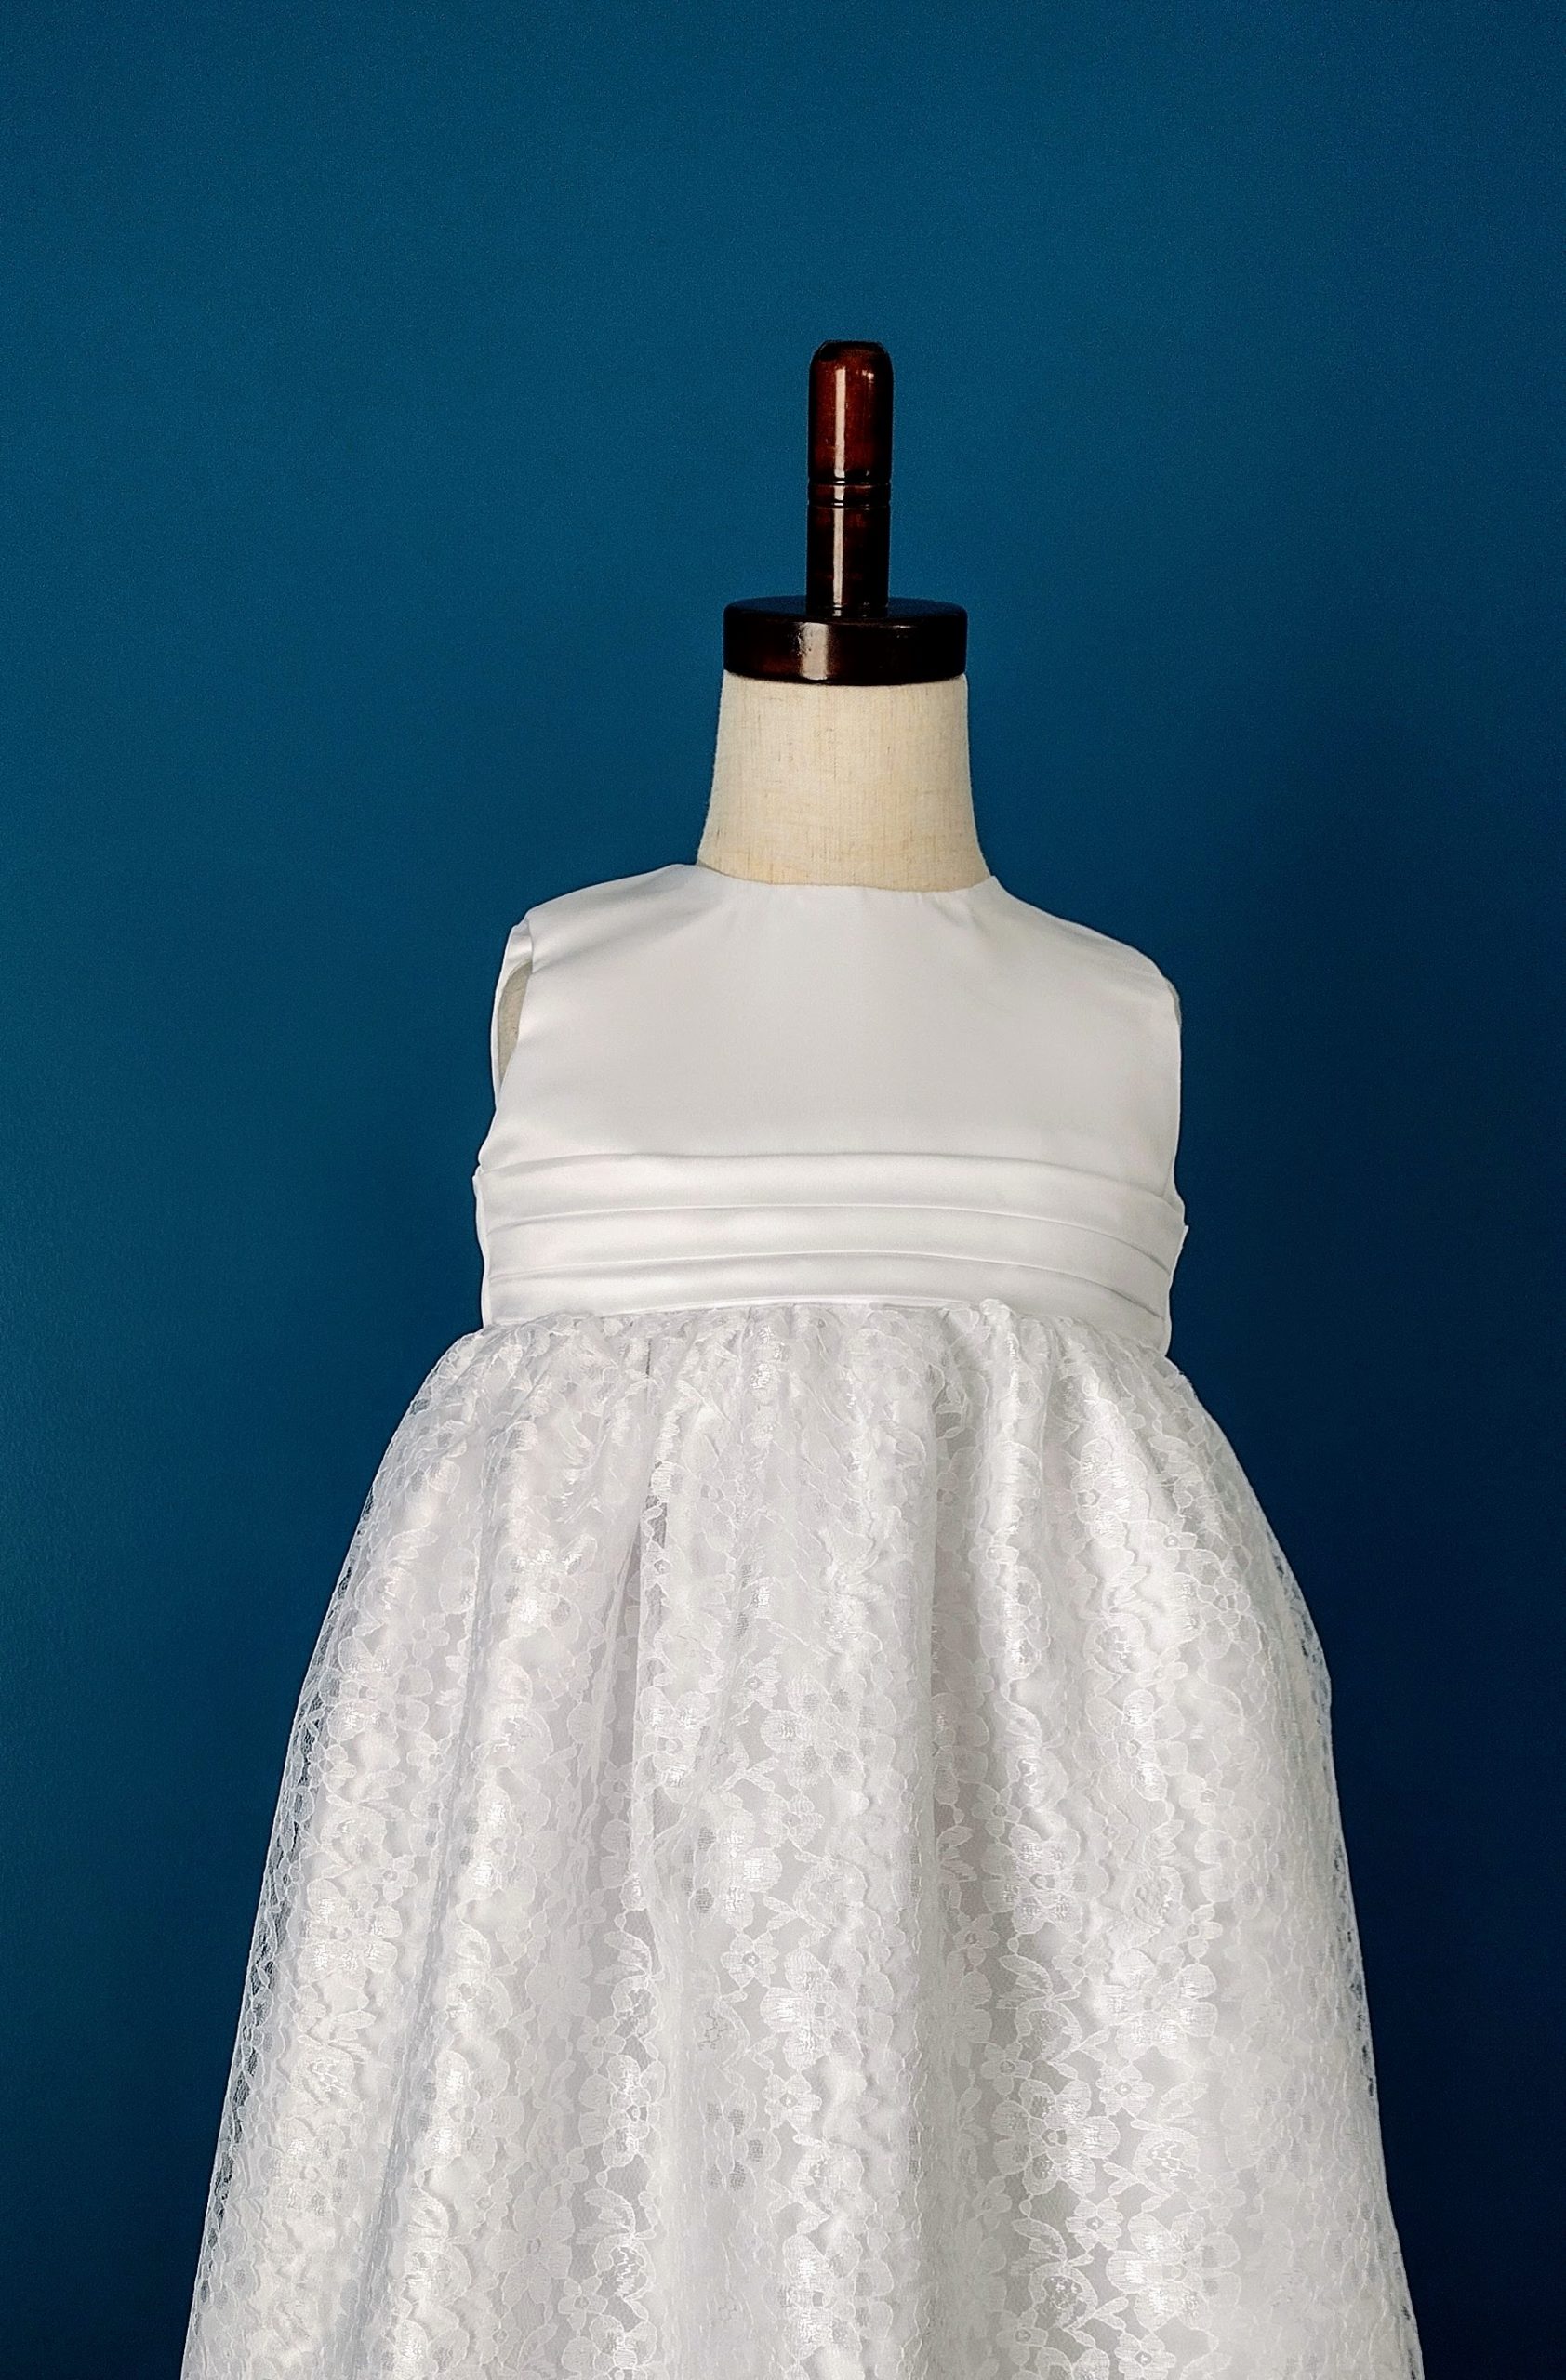
It’s finally completed! The princess dress I’ve been talking about making. If you missed my previous post I made a matching bolero to wear with this here.
Forewarning this dress has a lot of pieces! That doesn’t make it more difficult to make, it just takes longer than average to complete. This tutorial assumes you already have a pattern to a bodice or will be using one that you have drafted yourself.
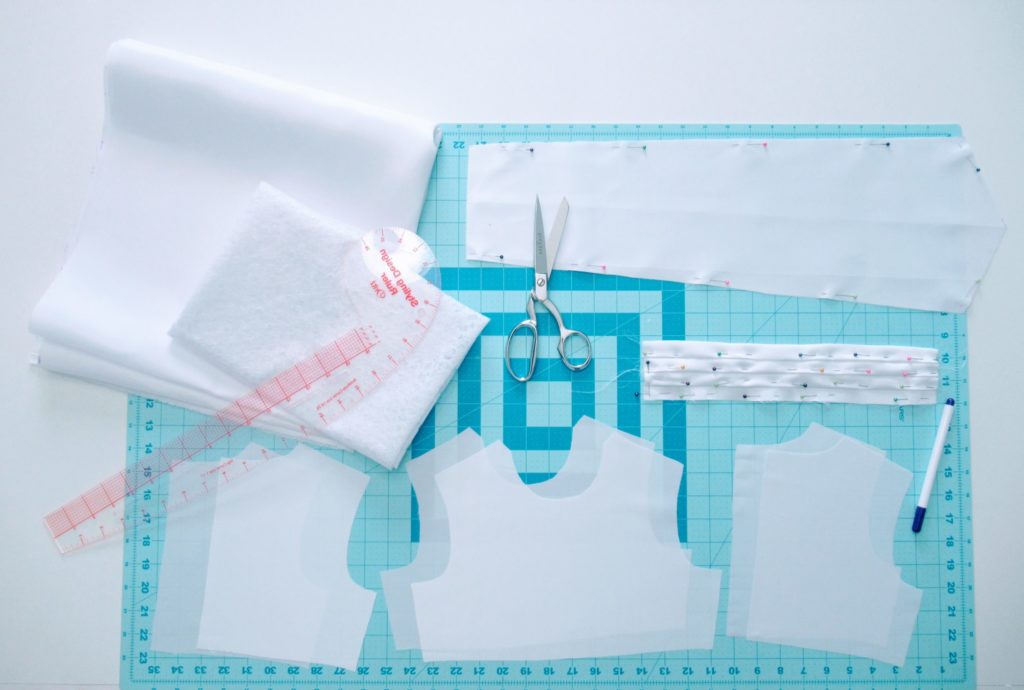
Things you’ll need:
- Fabric- 1.5 yards of satin, 1 yard of lace (if you’re using it)
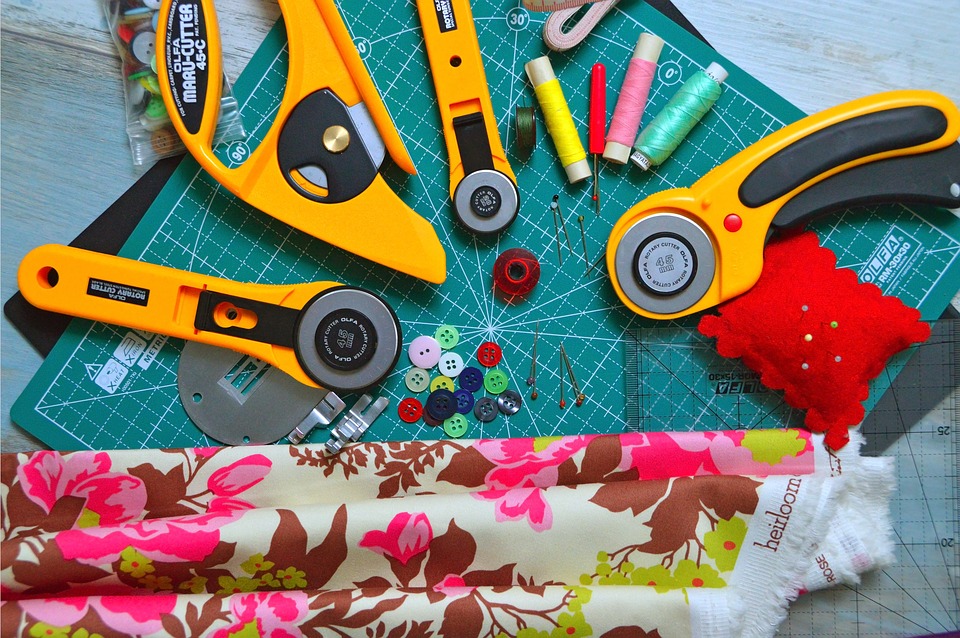
- Scissors or rotary cutter
- Ruler or tape Measurer
- Marking tool
- Pins
*** If you’re using satin be sure that your pins are sharp so that you won’t risk damaging that fabric. It is also a good idea to pin withing the seam allowance to avoid any puncture holes. ***
The first thing you want to do is to cut all your pieces and lay them out.
I already knew I wanted to add a pleated front band to my dress. My preference is for the finished band to be 2.5 inches in height. To get that I measured out a rectangle that was 9 inches tall by 13 inches wide. (Your width would be the measurement of your front bodice) My pleats are about a half an inch. I didn’t use any other math to get these pleats. The back side is flat so if you want a band like this you will just add pleats to the front part. Be sure to leave the space of a half inch at the bottom because you will have to sew it to the skirt part later. Pin or press the pleats and set it aside.
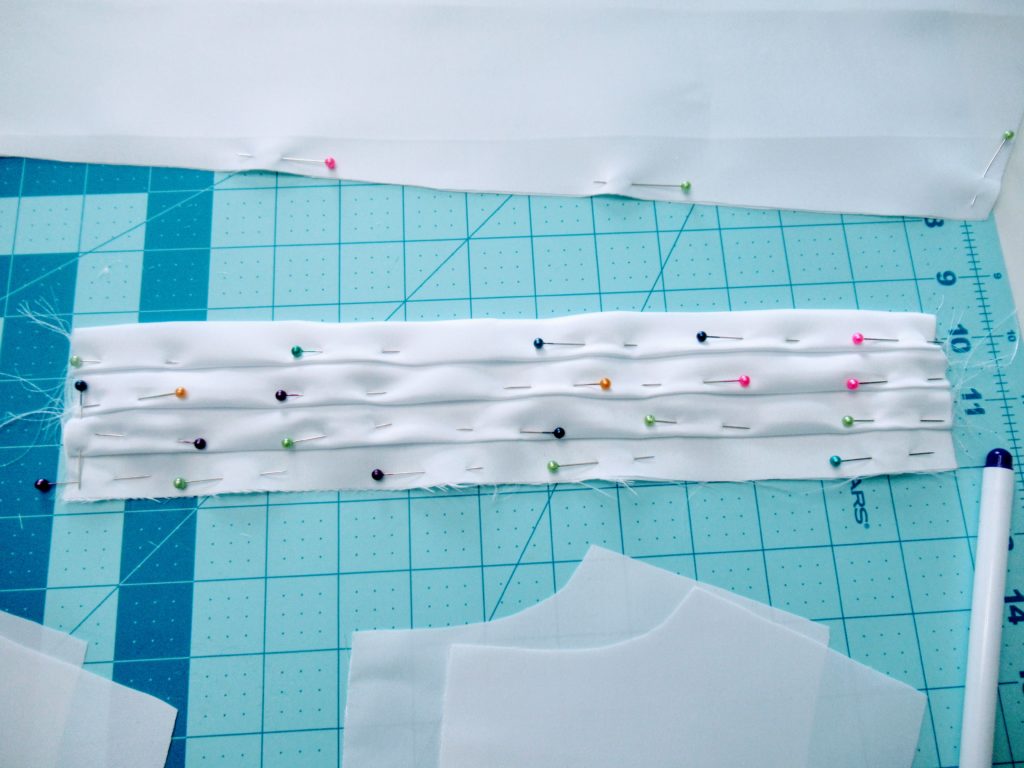
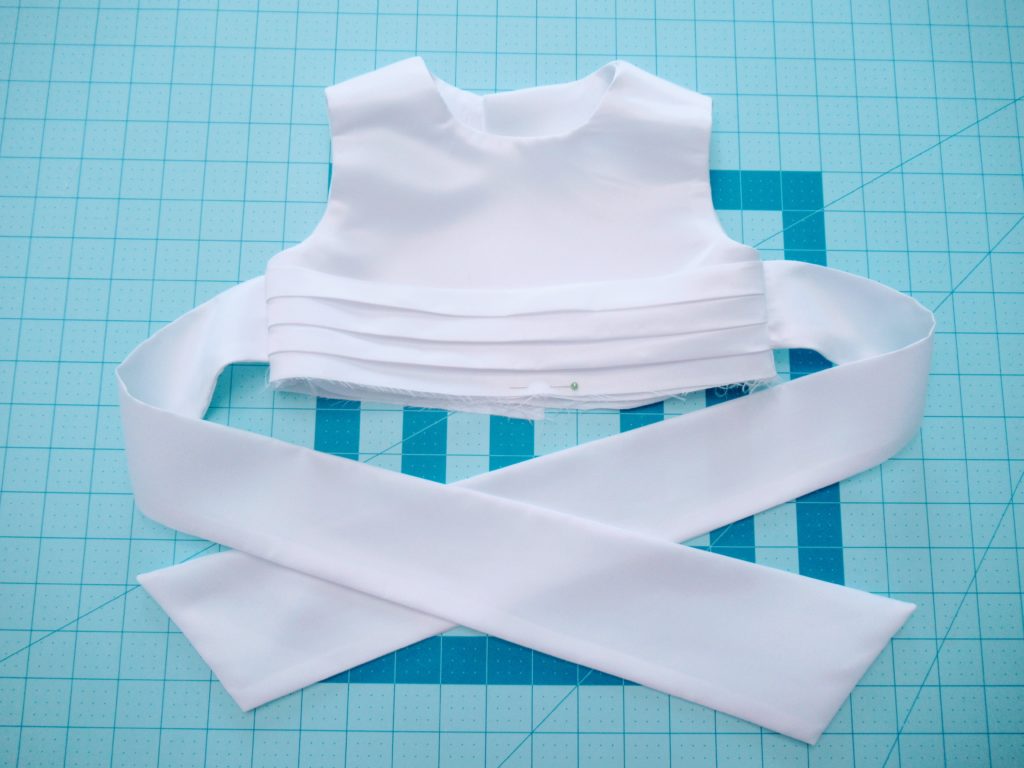
You will also notice in the picture above I’m adding a sash to this dress. I prefer sashes that come down at an angle when you tie them, so I cut my sash shaped like a tie instead of a rectangle. When you fold it, the beginning end will be smaller and gradually get bigger. Mines started off at 2.5 inches (same as the band) and went up to 4.5 inches.
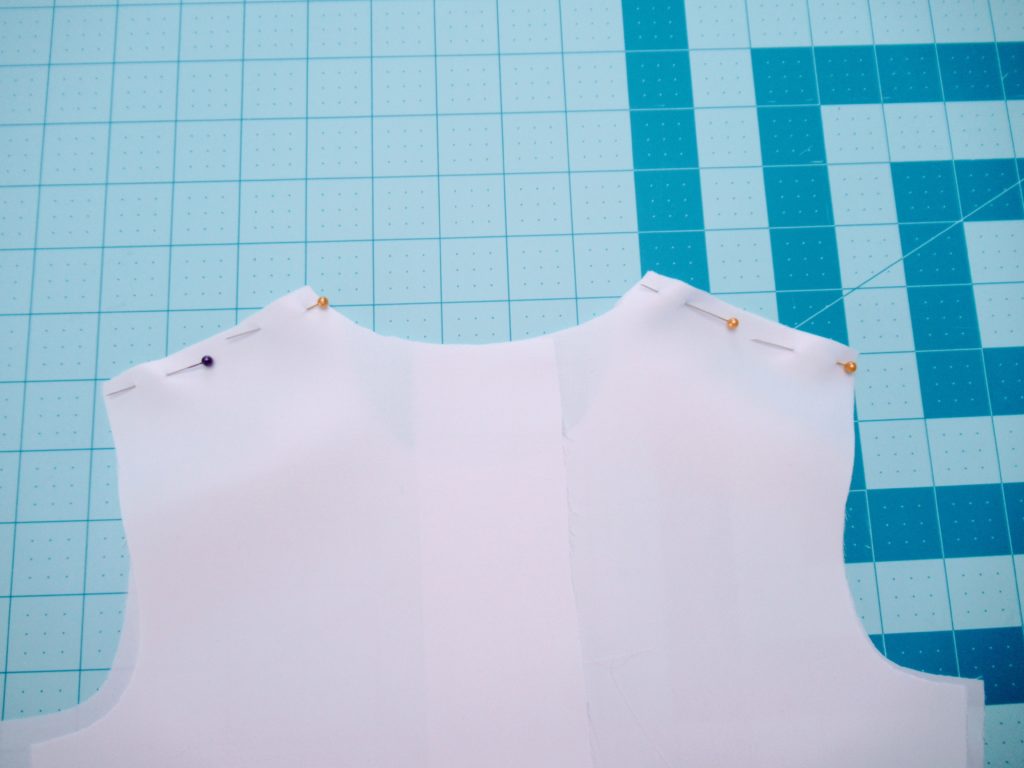
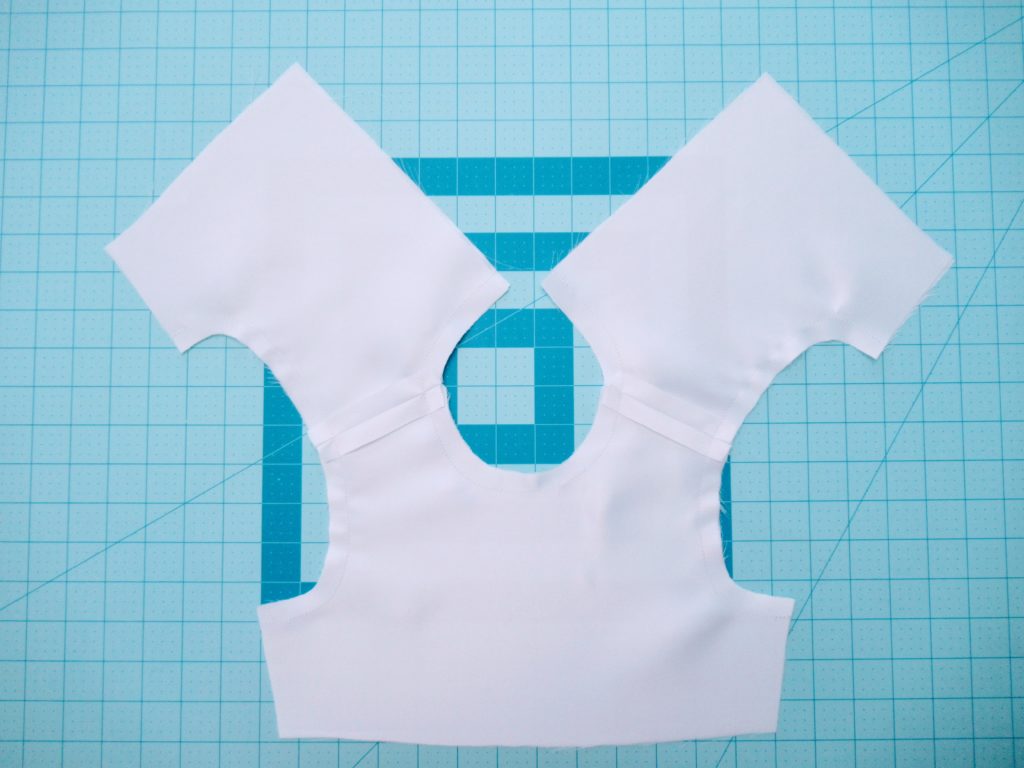
Pin shoulders together and sew the edges. Do this for the main bodice pieces and the lining. Press seams.
Next you will pin the right side of the main bodice to the liner at the neck and the armholes as pictured below.
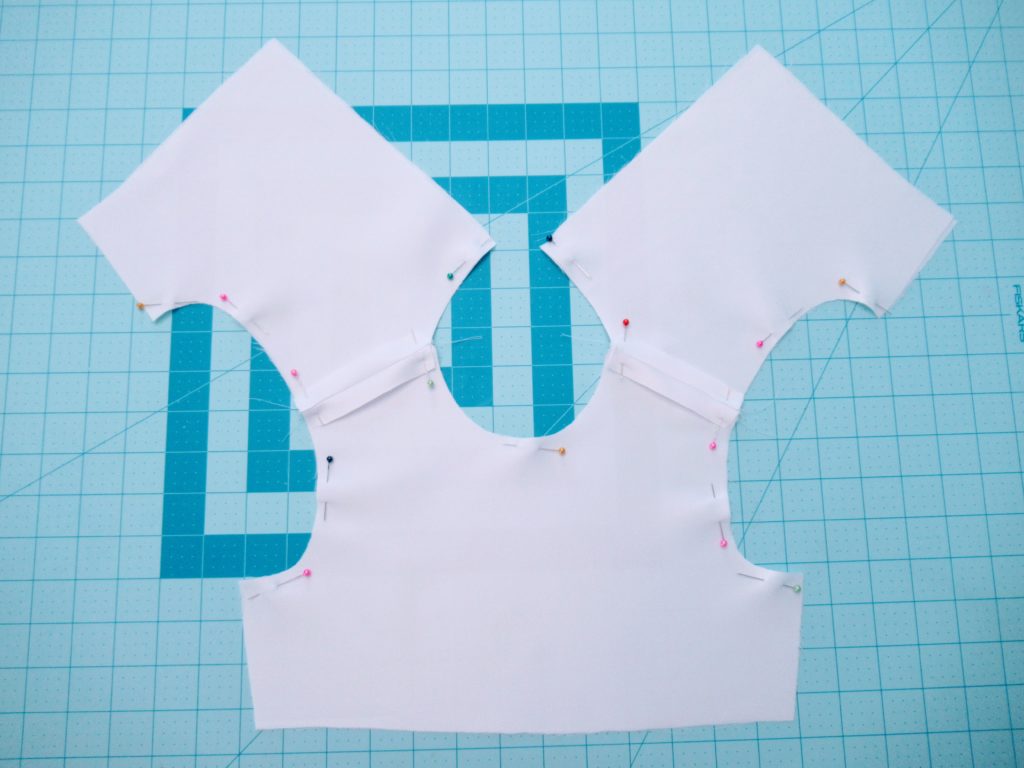
Sew edges of the neck and sides. Do NOT sew the back edges together. We’ll get to it in a minute. Clip curves before moving to the next step.
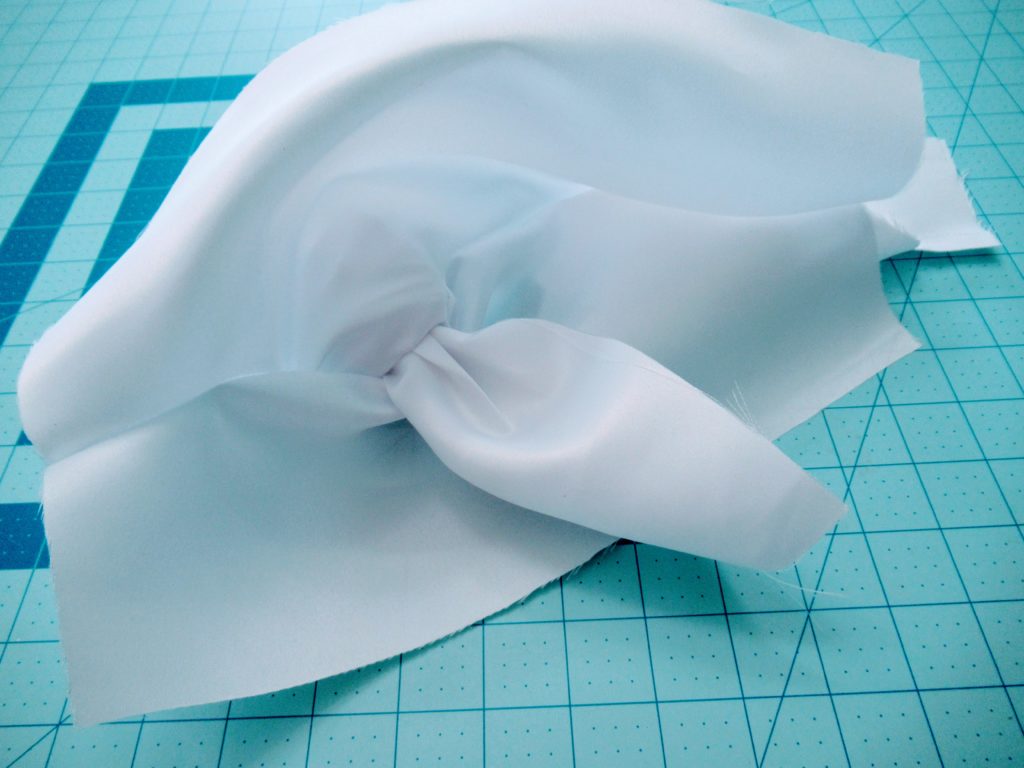
Now you will need to turn the bodice right side out. To do this you will take the bottom edge of a bodice piece, it doesn’t matter which piece, and pull it through the shoulders. This space is small so be careful as you pull it through to avoid damaging your seams.

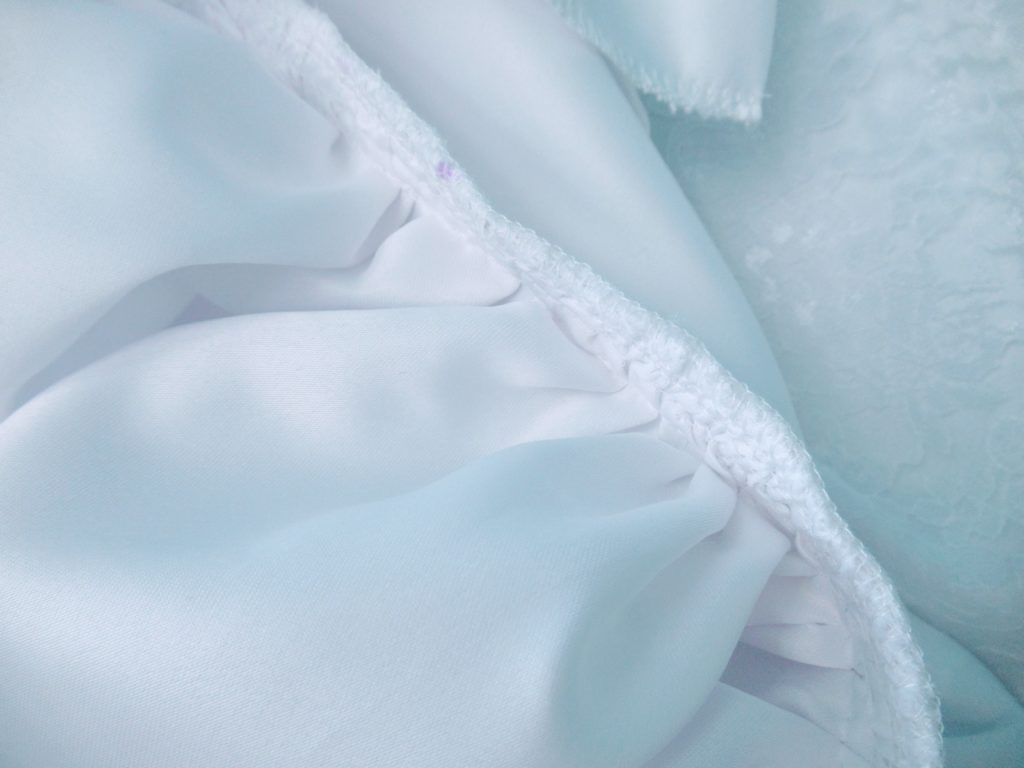
Pin the pleated band to the front side of the bodice. Be sure not to catch the lining side because we will be attaching it to the back side of the lining. Sew in place. Then pin the two sash pieces and sew it leaving the smaller end open. You will need to turn both sashes right side out and press before continuing.

Next, line up the edge of one sash to each side of the band. Then turn up the top side of the bodice and pin it to the top back side of the bodice. The front lining side will then be pinned to the back lining side.
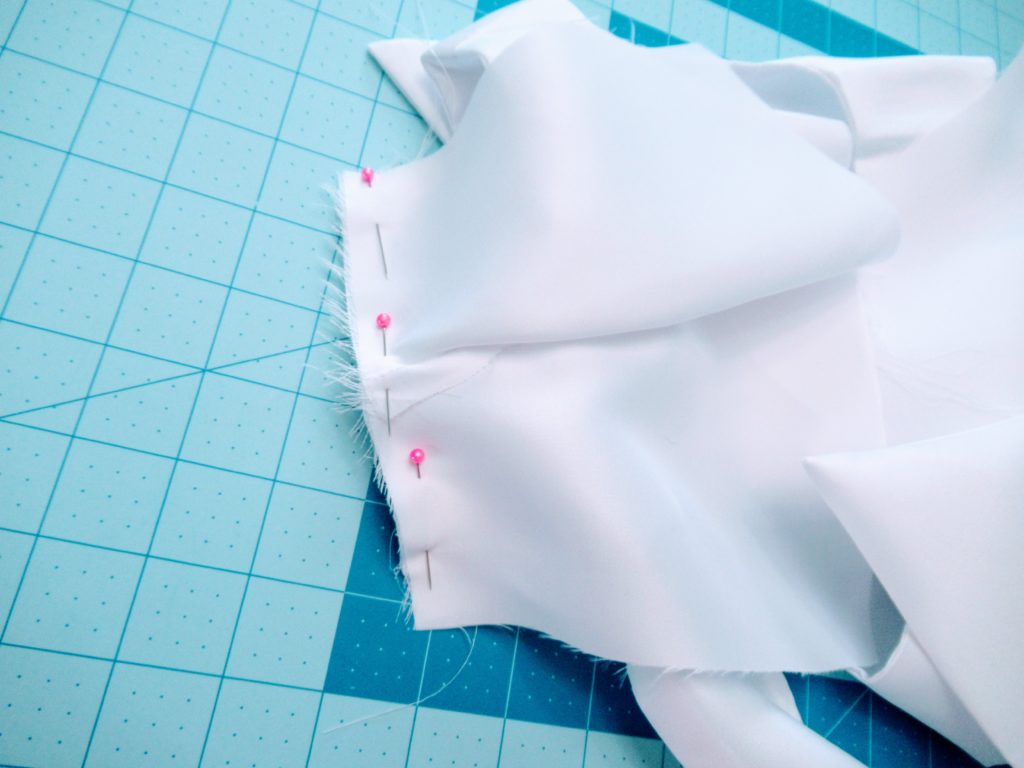
This sounds confusing, but you’re basically just closing the sides together while sandwiching the sashes. The bottom of your sash should line up to the last pleat and NOT the bottom of the band. If it doesn’t move it up so it won’t get caught later when you sew the skirt piece.
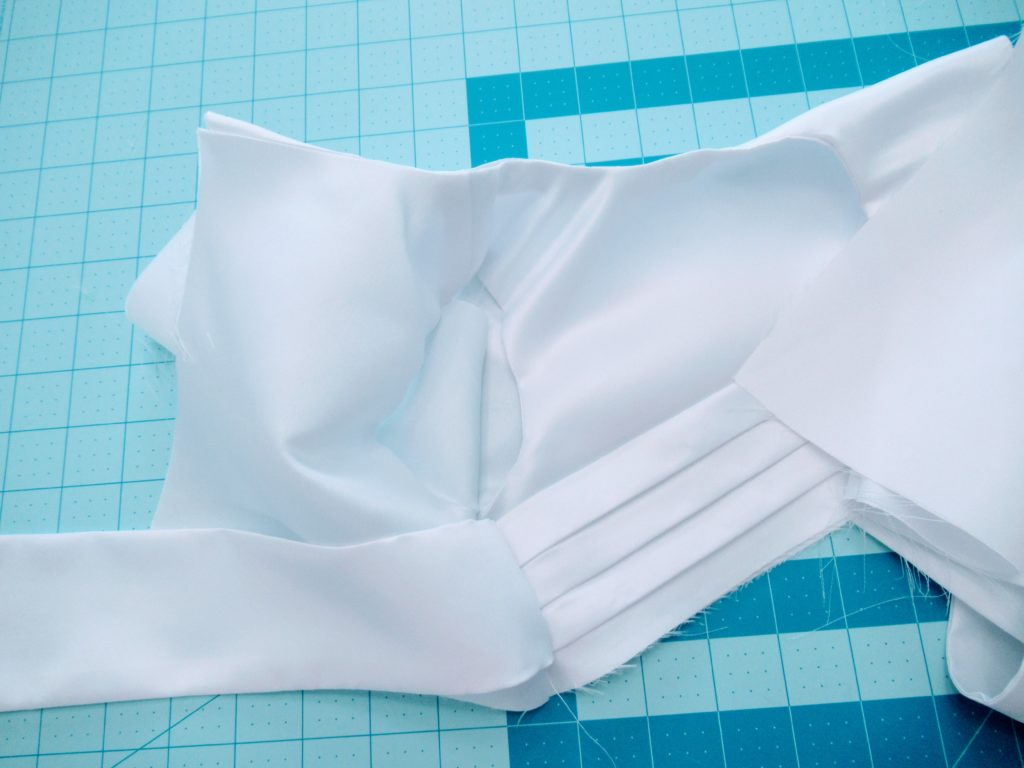
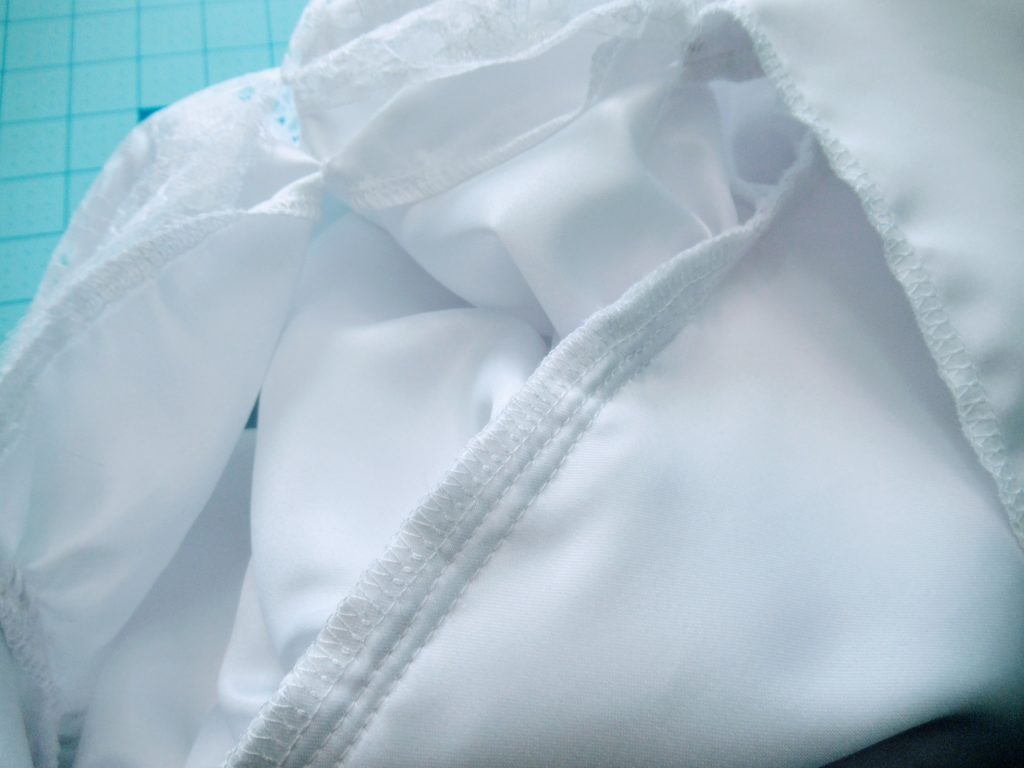
Whooo! That was a lot. Good news is most the work is over. Your top part should look similar to the picture below.
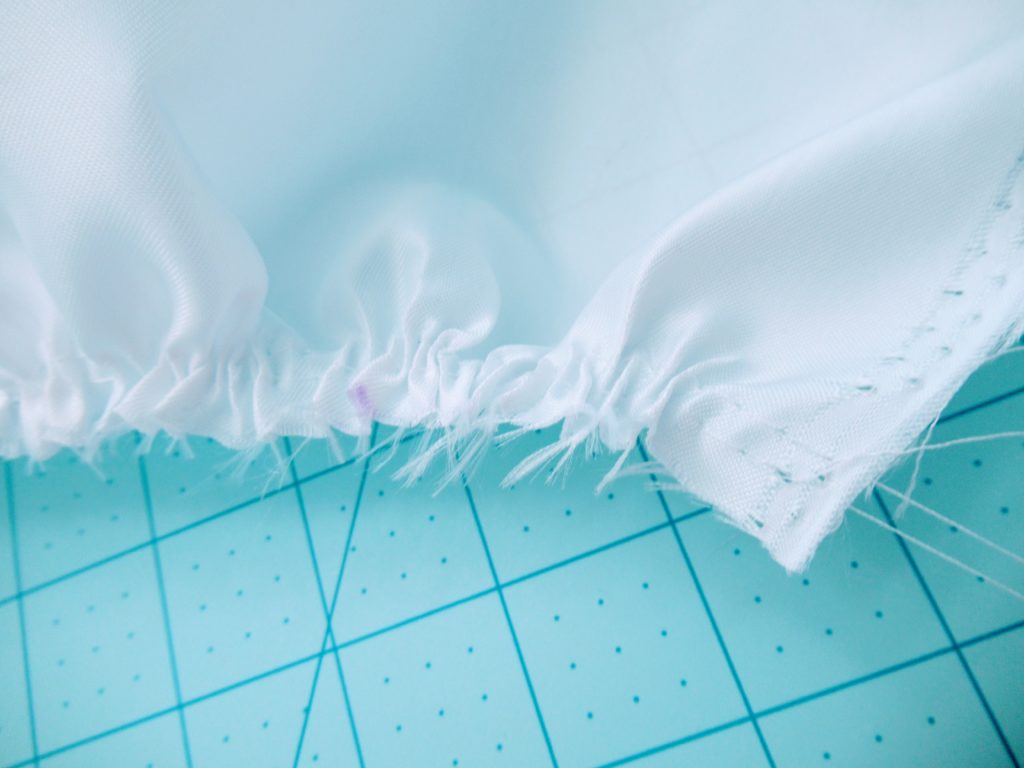
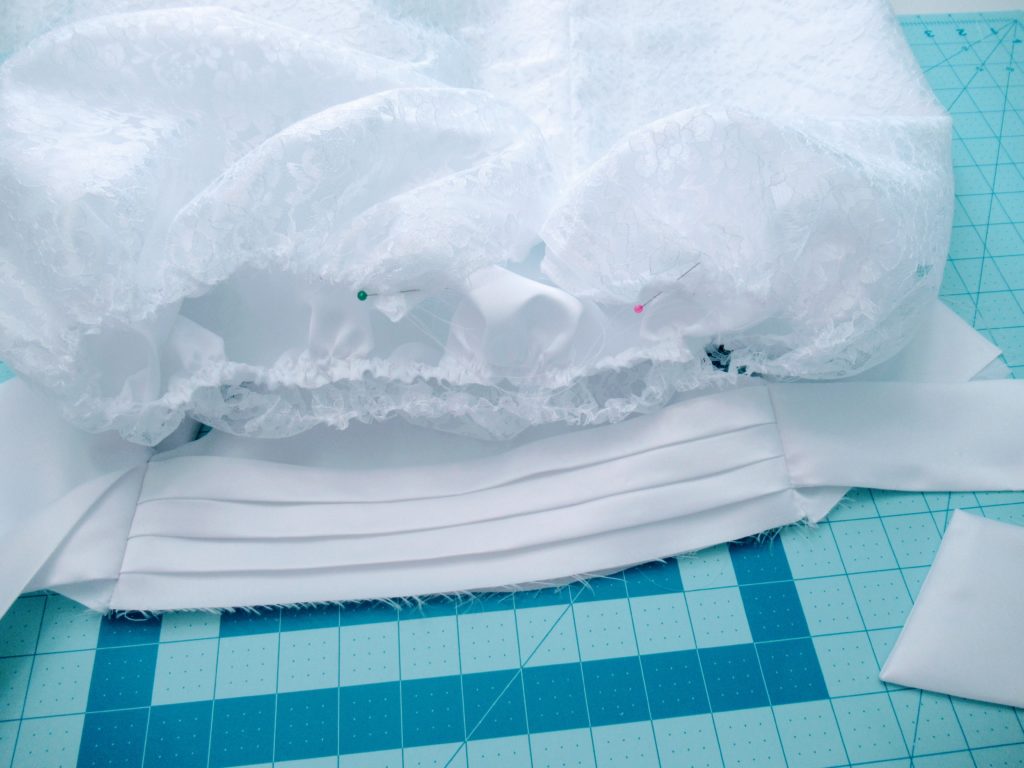
The band. It is a big rectangular piece. I made it my desired length plus hem allowance and twice the bodice width. You can make it less or more depending on how full you want the dress to be. The more you add, the fluffier the skirt piece will be. Gather the top. I like to use two rows when I gather so my strings will be stronger. There isn’t anything worse than gathering and having to start back over because your string popped while pulling. Repeat this if you’re using an overlay like me.
I made sure before sewing my seam together that my skirt pieces aligned with the bodice piece. Pin right side of the bodice to the right side of the skirt. Sew in place.
Before I moved to the next step I serged the ends to prevent future fraying. If you don’t have a serger you can use a zigzag stitch, overlock stitch or even fray stop.
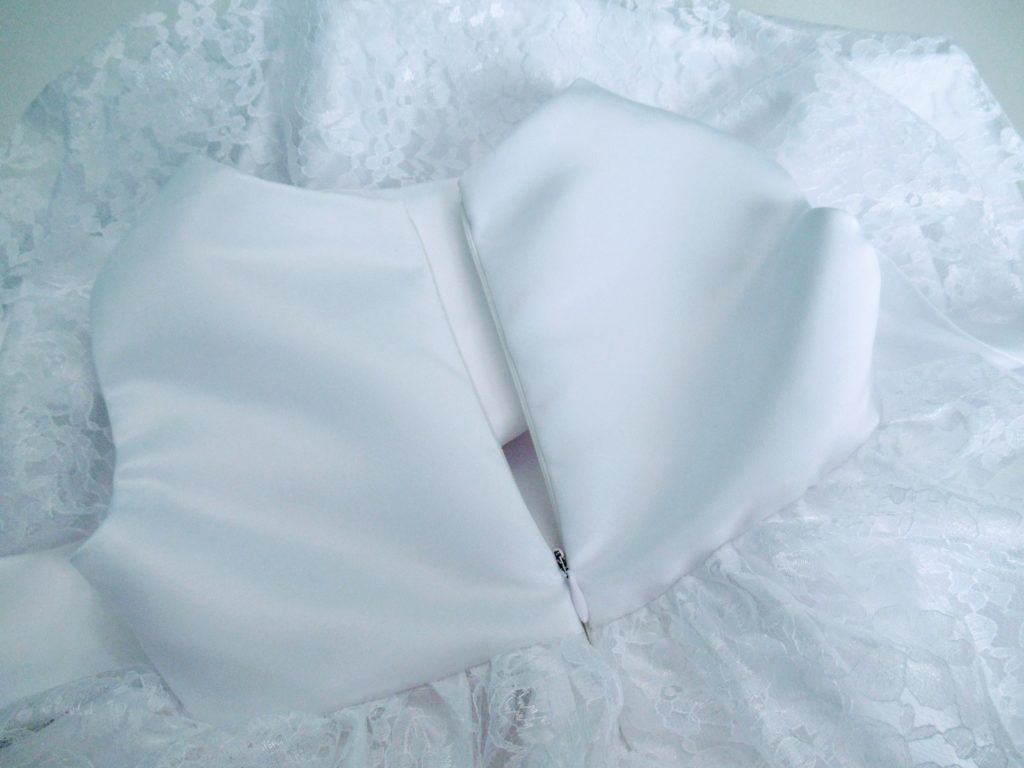
How you attach a zipper will determine what step is next. When making this dress I decided to sew the seam of the skirt and stop a few inches before the top for zipper space. Do this to both the main skirt and the lace overlay. ***Do not sew them together***
Next you want to attach your zipper foot to sew on the zipper. Do you need a zipper foot? Not exactly, but if you’re using an invisible zipper, an invisible zipper foot makes things sooooo much easier! Emphasis on the so. Line up your zipper so that the top reaches the of your dress. If you have excess, you can fold it over on the backside. Stitch all the way down until you reach the back seam of the skirt.
There ya have it, pretty in white.
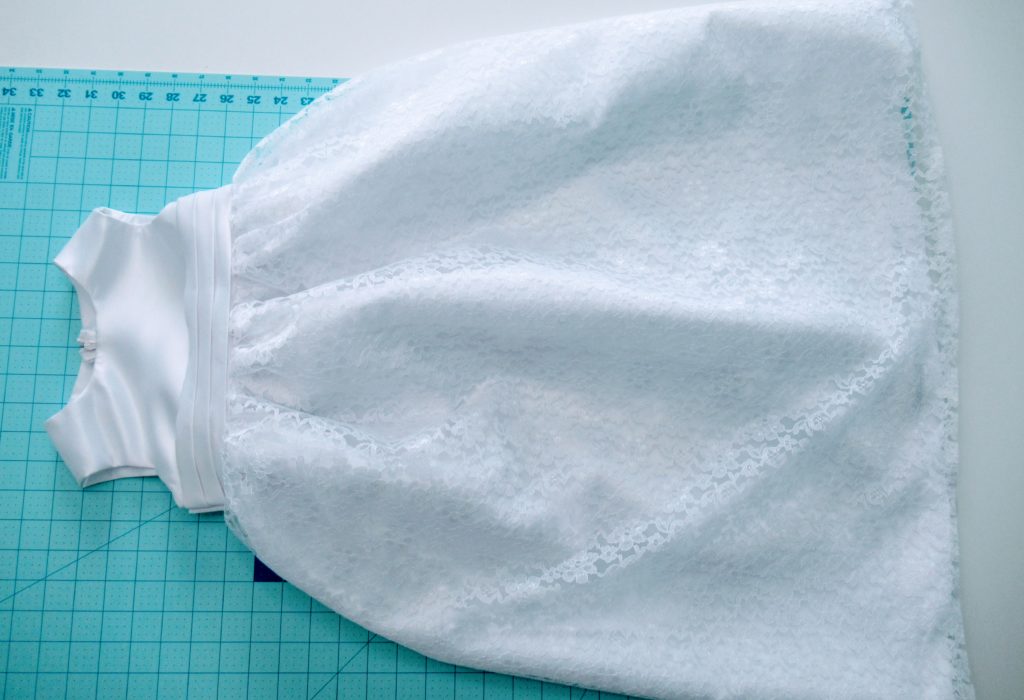
What do you guys think? Does this dress give off princess vibes?